Comments
Now that I have am starting to gain many followers and admires, I thought it was high time that I figure out what to do about my logo. So I set to work brainstorming the possibilities...
Continue reading to see my finished logo and how I made it... If you have been following me here on my blog, or through my facebook page, you will know that I am slowly working my way through crocheting barbie outfits inspired by disney heroines. I have finished using Tinkerbell for inspiration, and now I am working on a mermaid that is inspired by Ariel from "The Little Mermaid".
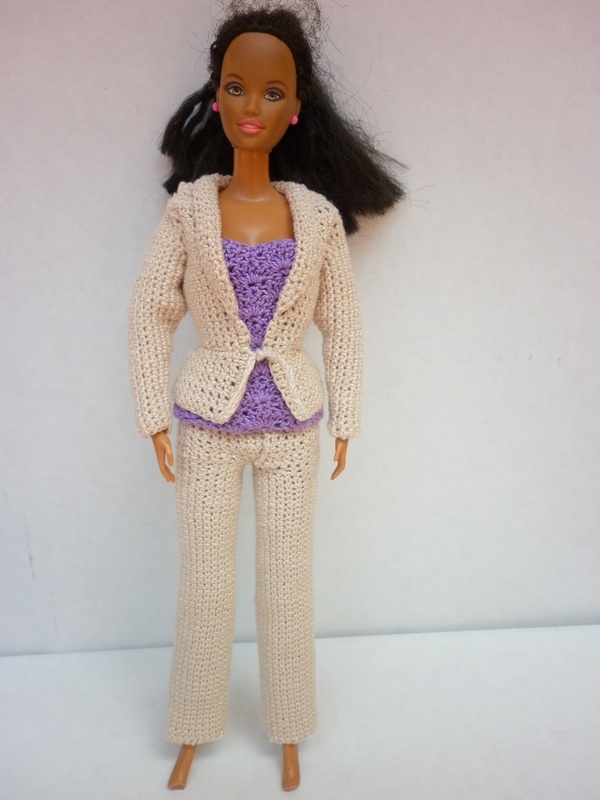
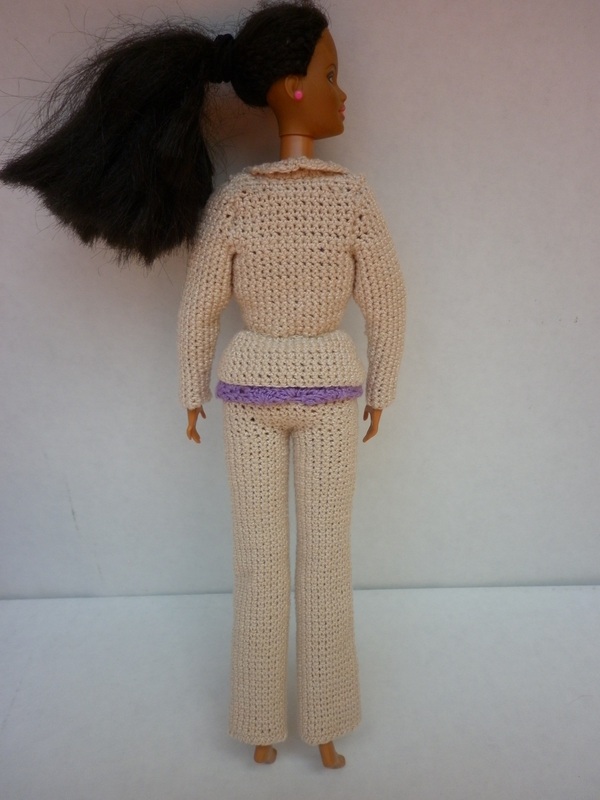
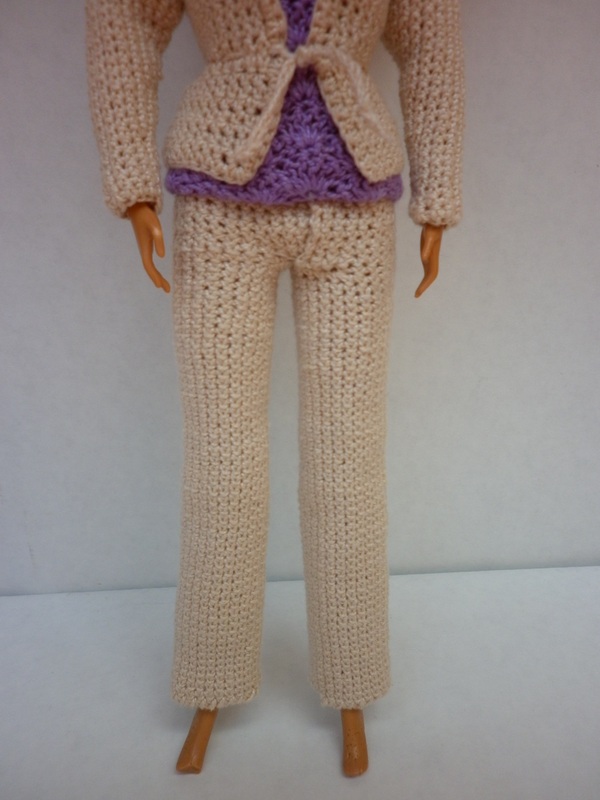
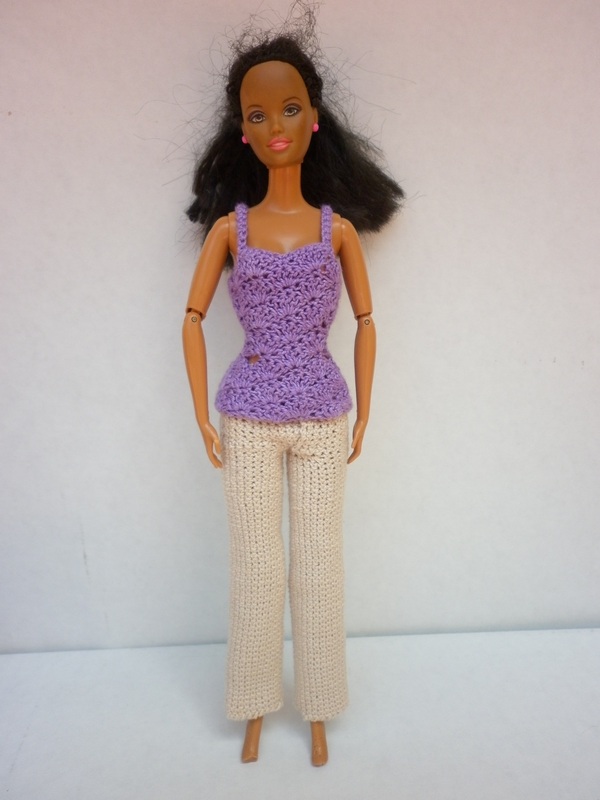
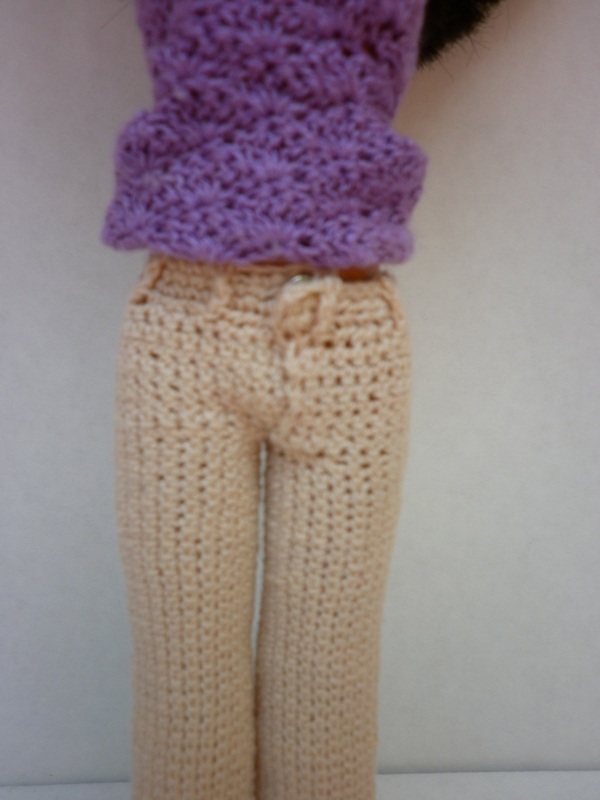
Some fun trivia before we get into this project... The Disney movie of "The Little Mermaid" came out in the same month and year that I was born. Also, this is one of my most favourite Disney Heroines! In May, I started to work on crocheting an executive outfit for barbie. I am planning to eventually make a pattern of it once I have had a chance to tweak it and all that jazz... However, I am looking for your lovely opinions... I would like to make a briefcase, heels and perhaps a belt of some kind. But I am not sure what colour I want to do for this set. What do you all think would look nice with it? Do you think there is something else this executive Barbie needs to go with this outfit? Let me know your thoughts in the comments below...
 After a few years of longing to make a topsy turvy, I finally made one for Boo Bear's birthday in May. This is my first attempt at making a topsy turvy cake! It is by no means perfect, but I think it turned out nicely. Plus, my sister absolutely loved it!
Each tier is about 2-3 inches tall, with the tiers being 3", 5", and 7" in circumference. Each tier has two layers with buttercream icing in the middle. The bottom layer is vanilla pound cake, whilst the top layer is chocolate pound cake. The top, middle and bottom tiers yield 2-3, 8-10, and 12-16 pieces of cake, depending on how big/small you cut your pieces. It took me 2 days to make this cake. On the first day, I made the vanilla and chocolate pounds cakes and the buttercream icing. I also cut and iced the cakes. On the second day, I made the marshmallow fondant, covered the tiers in the fondant, and finally added some decorative touches. Continue reading to see how I made the cake with pictures, and scroll down to the bottom to see additional views of the finished cake. |


Hello, my name is Rebeckah.
I hope my crochet inspires you to create your very own treasures! Learn more about me... Categories
All
Archives
October 2021
© 2012-2021 Rebeckah Ferger
All rights reserved. Disclaimer: This website makes use of sponsored and/or affiliate links. Please see this page for more information.
|
- Home
-
-
- Special Offers
- New Releases
- Accessory Crochet Patterns
- Afghan Square Crochet Patterns
- Amigurumi Crochet Patterns
- Applique Crochet Patterns
- Baby Crochet Patterns
- Dolly Crochet Patterns
- Fashion Doll Crochet Patterns
- Free Downloads
- Holiday Crochet Patterns
- Tapestry Crochet Patterns
- Under the Sea Crochet Patterns
- Wedding Crochet Patterns
- Disclaimer and FAQs
-
-
- Free Crochet Patterns
- New Free Releases
- Free Accessory Crochet Patterns
- Free Afghan Square Crochet Patterns
- Free Amigurumi Crochet Patterns
- Free Applique Crochet Patterns
- Free Baby Crochet Patterns
- Free Dolly Crochet Patterns
- Free Fashion Doll Crochet Patterns
- Free Guest Crochet Patterns
- Free Holiday Crochet Patterns
- Free Tapestry Crochet Patterns
- Free Under the Sea Crochet Patterns
- Free Wedding Crochet Patterns
- Free Crochet Patterns Coming Soon
Welcome Visitor! I hope you enjoy my treasures.


 RSS Feed
