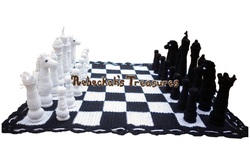
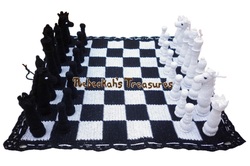
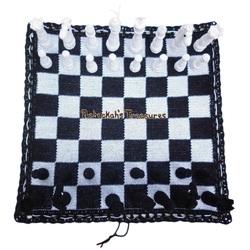
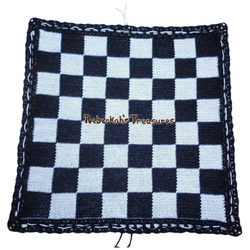
Each piece is worked amigurumi style from bottom to top. The queens, bishops and pawns are worked continuously, whilst the king, castle/rook, and knight are not. The pawns have pennies for bases, while the rest of the pieces have nickels for bases. The board is Tapestry Crochet, and it doubles as a drawstring bag to store the pieces. When I started, I was still uncertain how I wanted to go about crocheting the board. I knew that I wanted it to convert into a draw string bag, and I knew how big it needed to be. I played around with several ideas. Should I make granny squares and sew them together? Should I single crochet squares and sew them together? Or, should I use one of my favourite techniques and make it all one piece even though it takes lots of time to do? I finally decided that I would do my favourite technique even though it would take more time. As you can see, it turned out great! And most important, my Pappa loves it! Though I think is more because I made it for him then anything else. Wink, wink. This is the first time I have made something for my Pappa that I can remember. So it made it even more special, or at least I think so. Continue Reading to see more pictures of the chess pieces, and how to store it.
Comments
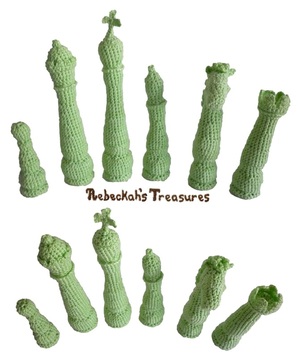 From Left to Right: Pawn, Queen, King, Bishop, Knight, Castle/Rook. From Left to Right: Pawn, Queen, King, Bishop, Knight, Castle/Rook. After seeing a crochet chess set online, I thought it would be a lot of fun to make one myself. So, I went searching for some free patterns. I couldn't find any that I like. So I resolved myself to make up my own. Using this photo as a guide and as inspiration, I present to you what I came up with. It took a little more than week to crochet these chess pieces. Each piece is worked continually from bottom to top. The exceptions are the King, the Knight and the Castle/Rook. The pawns have pennies for bases, while the rest of the pieces have nickels for bases. Below are different views of the Knight... I made these with my own patterns to follow closely to the style of the Little Bigfoot Collection by Sharon Ojala.
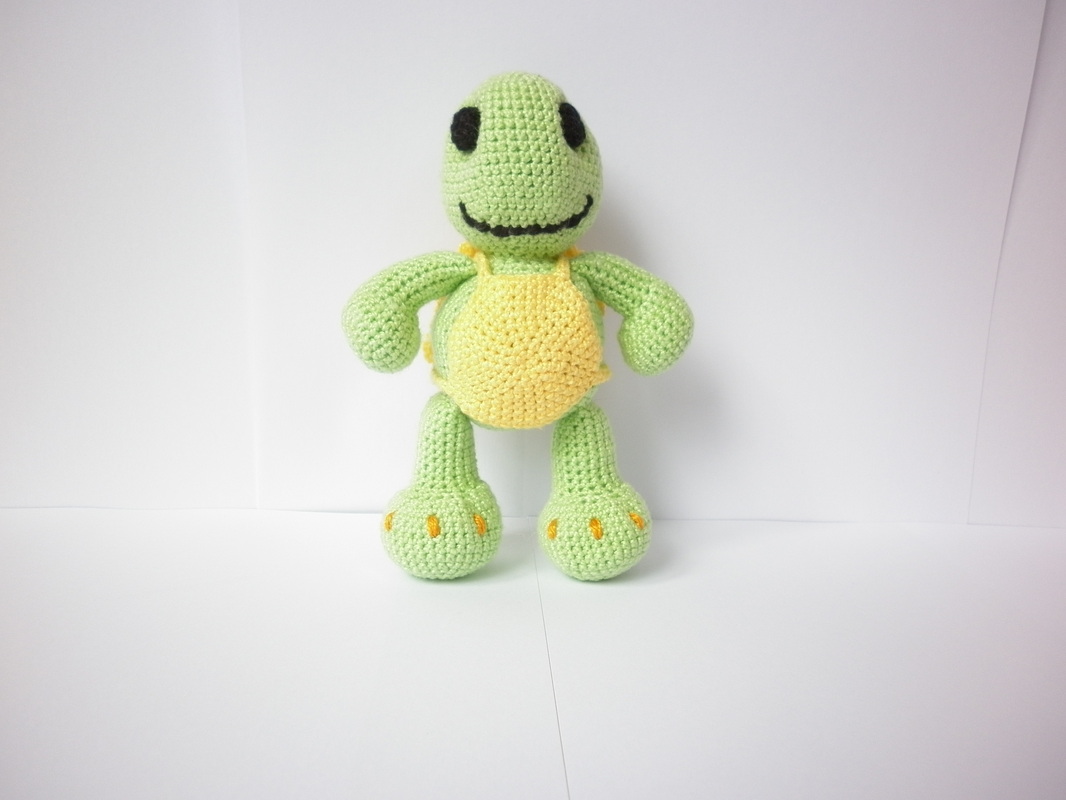
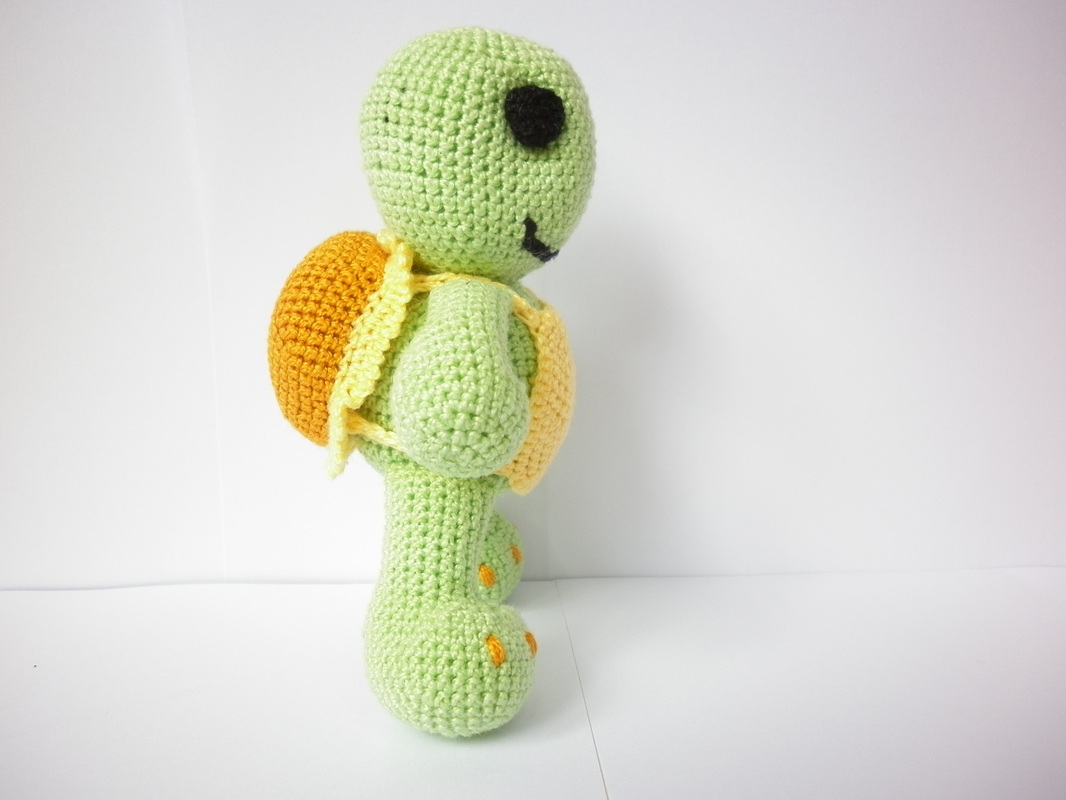
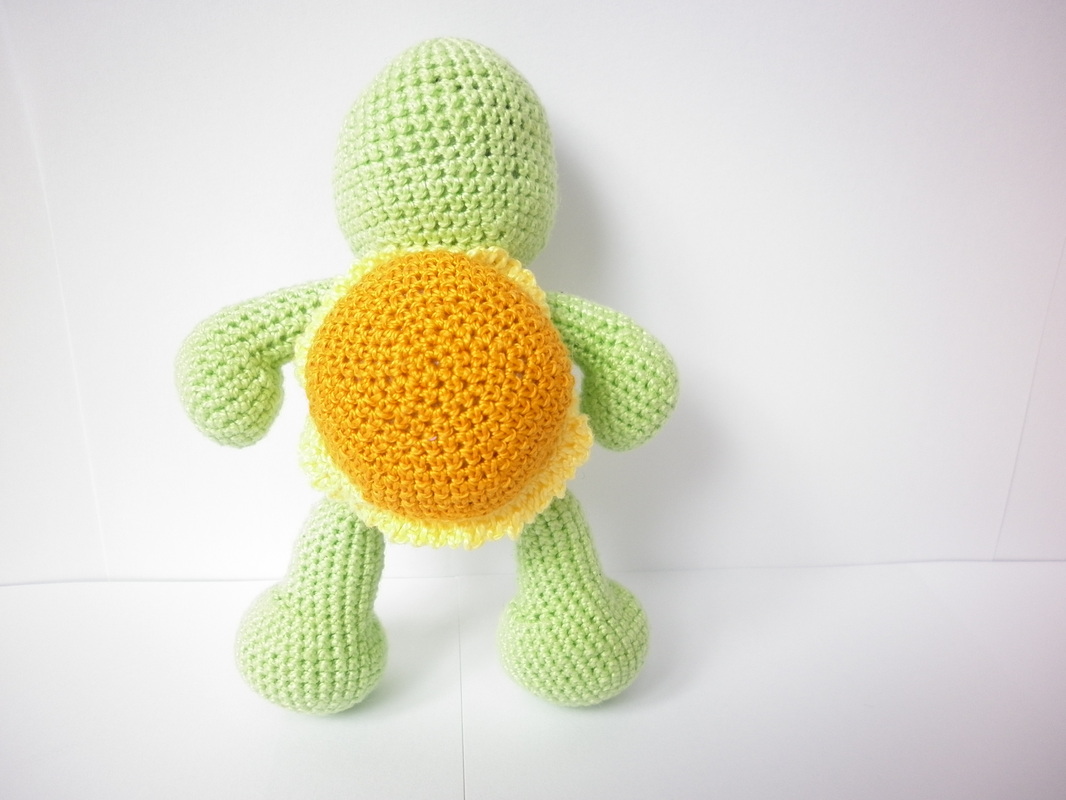
The little ones took about 1-2 days each, and the larger ones took about 2-3 days each to make. This is a 5" tall Amigurumi Turtle. I wanted the same look and size as Sharon's Little Bigfoot Turtle. However, the only worst-weight yarn I have access to is of extremely cheap quality, and it irritates my hands. So I changed the stitching to make that happen, and I made my own pattern to accommodate the crochet cotton yarn and small hook size I had on hand. Check out Amigurumi Animals to see other animals I have made in a similar fashion, and to see the smaller turtle.
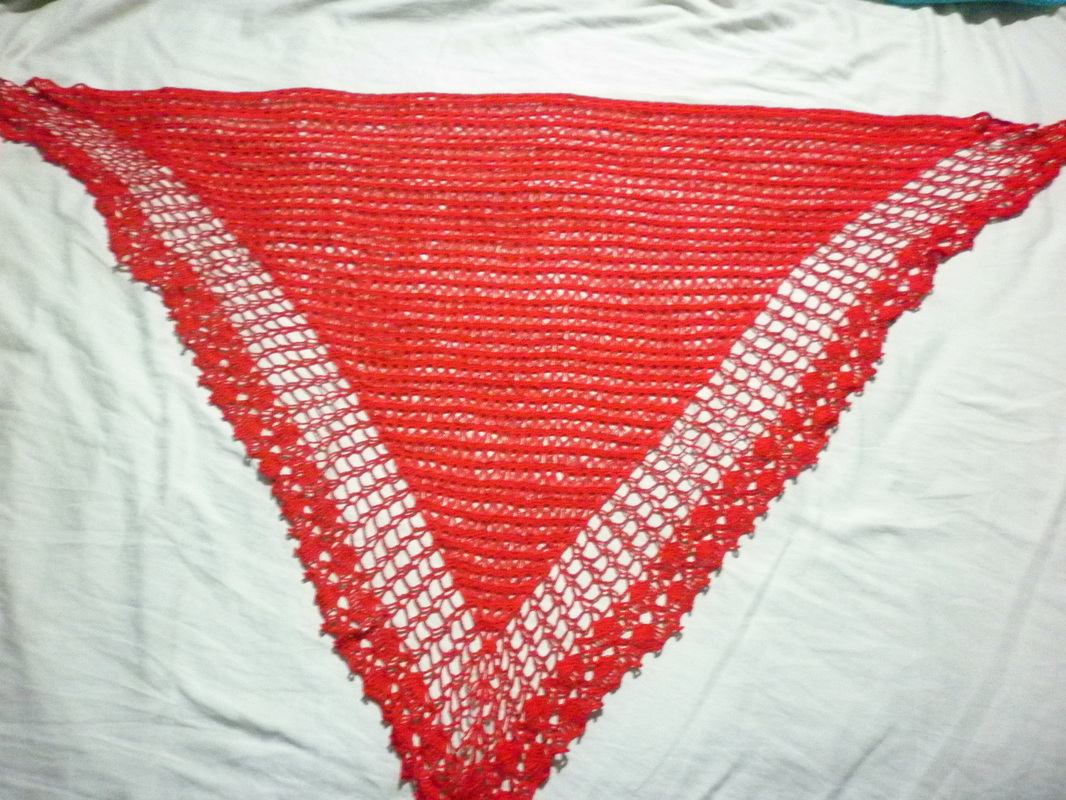
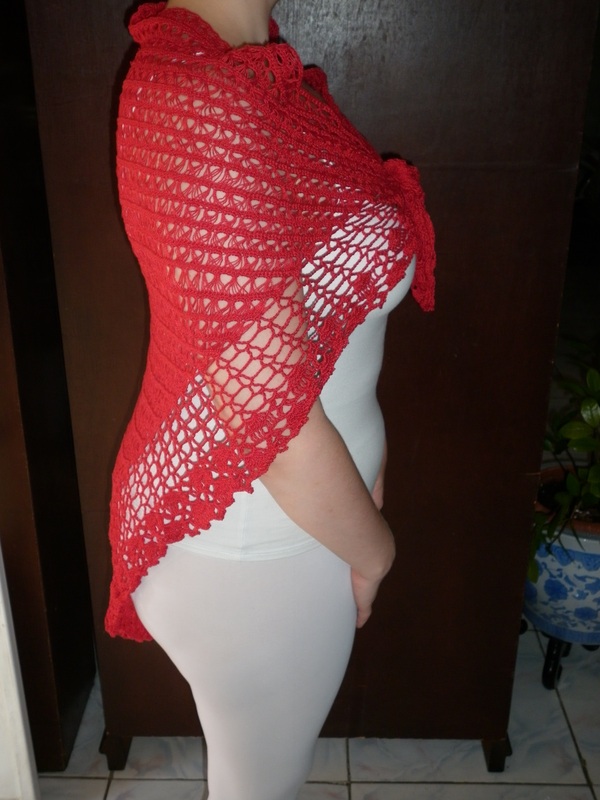
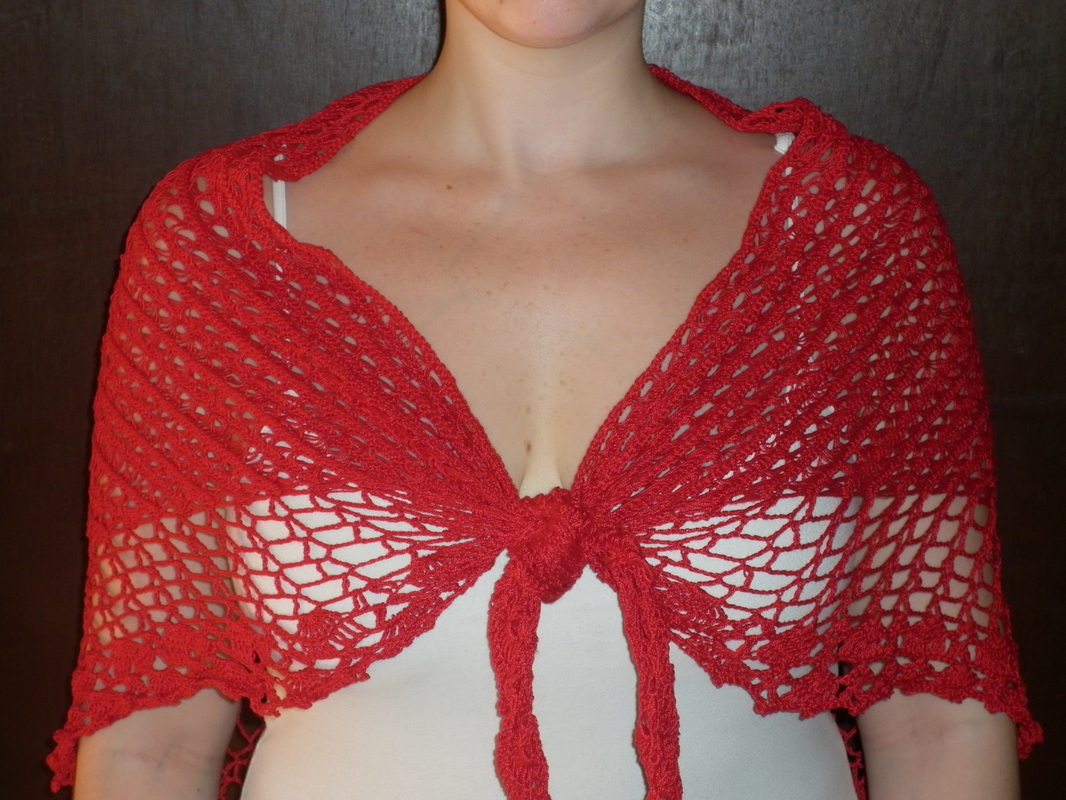
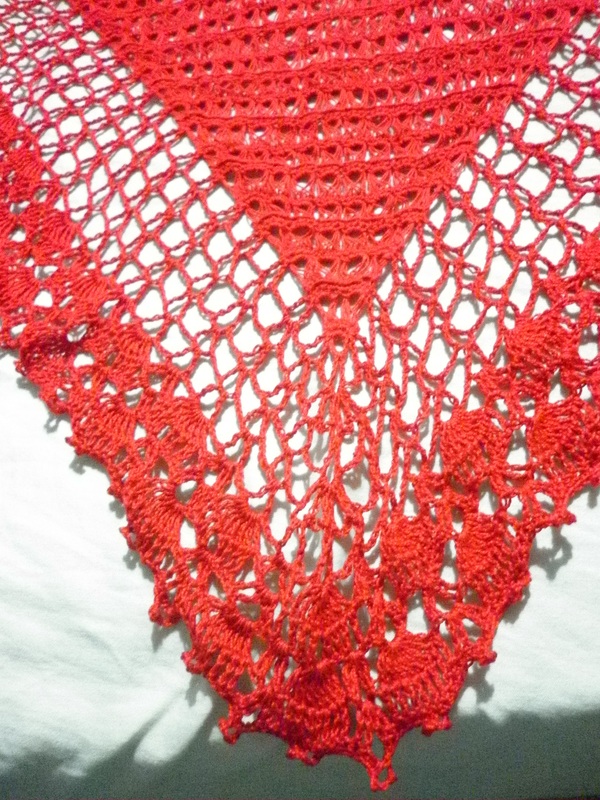
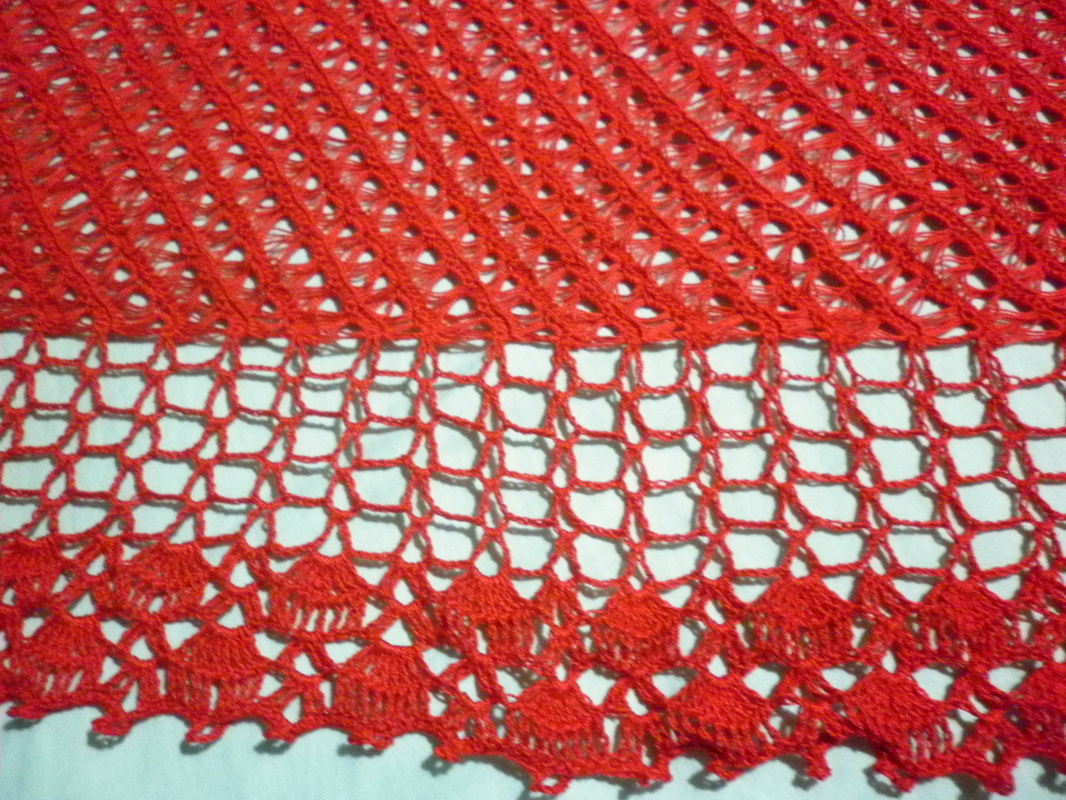
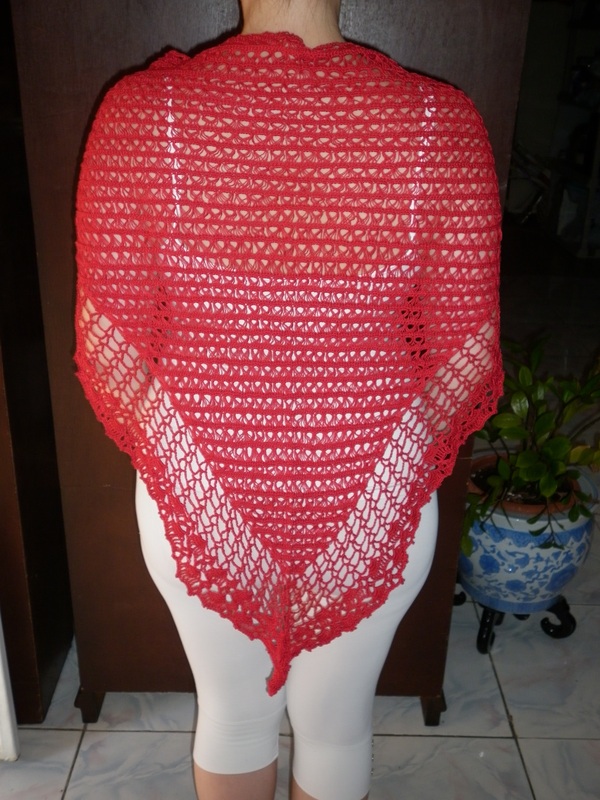
This is the first shawl I have crocheted. I started this shawl in January/February of 2012, then I put it aside for several months, and resumed/finished it in November. It took me several weeks to make. I used the broomstick lace stitch for the main part of the shawl and then added a lacy boarder.
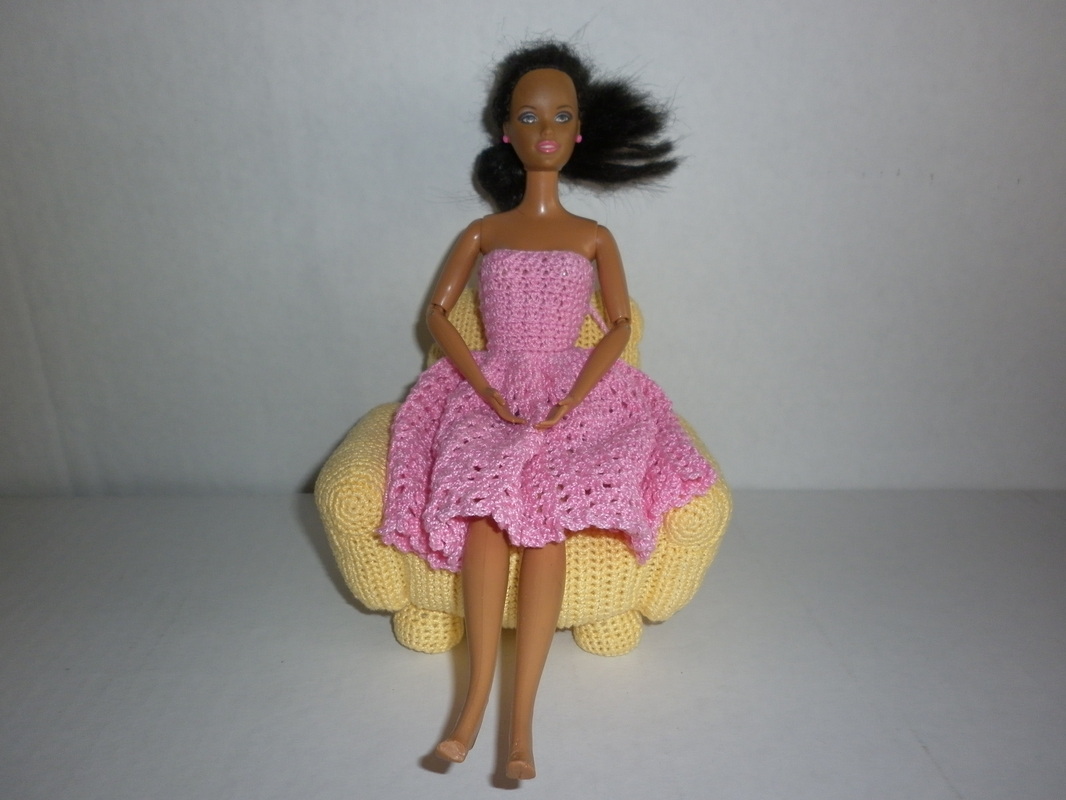
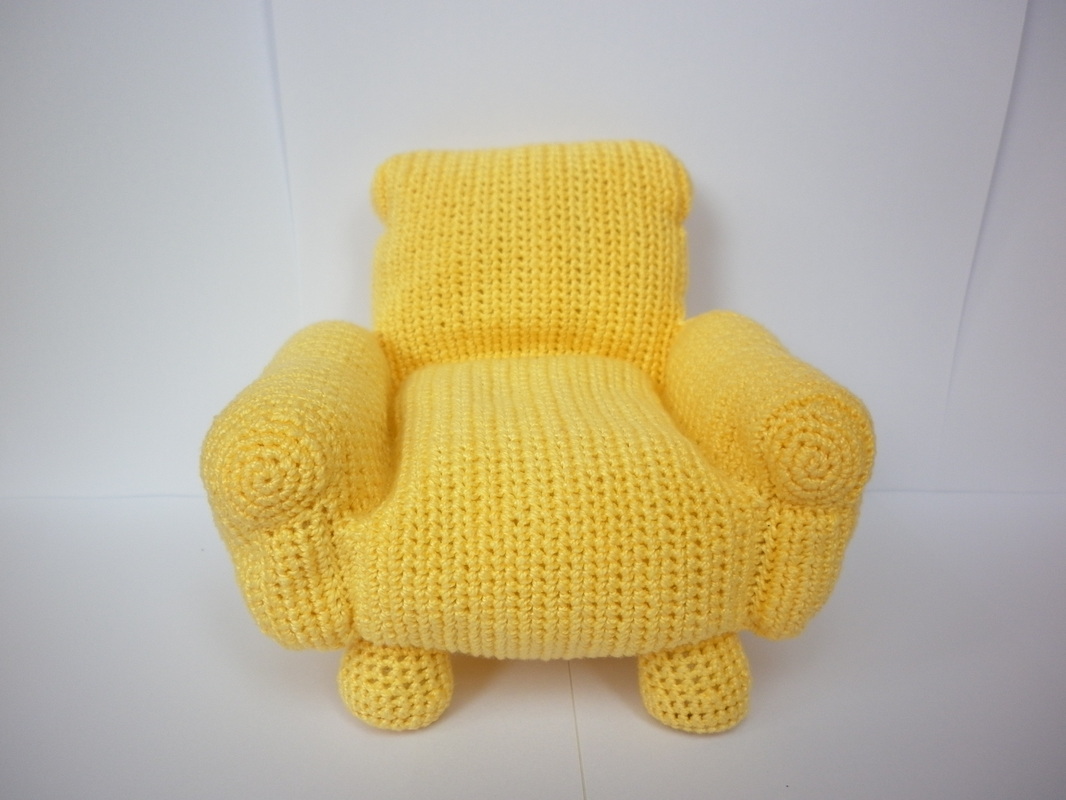
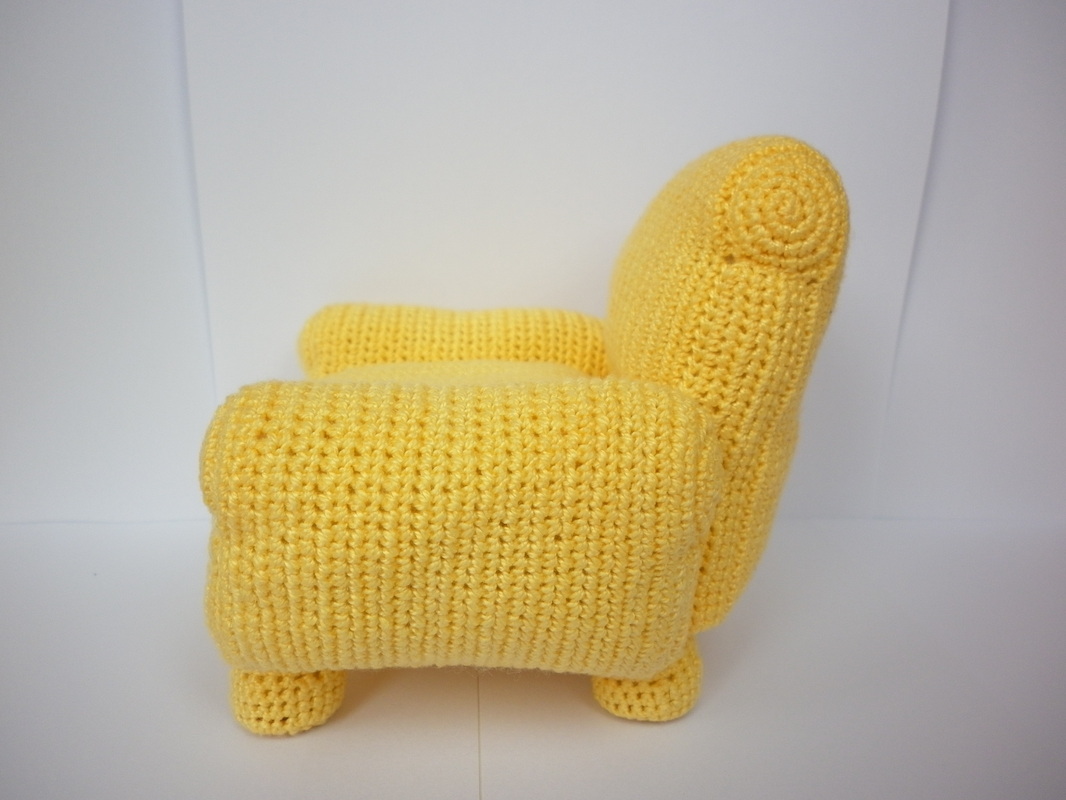
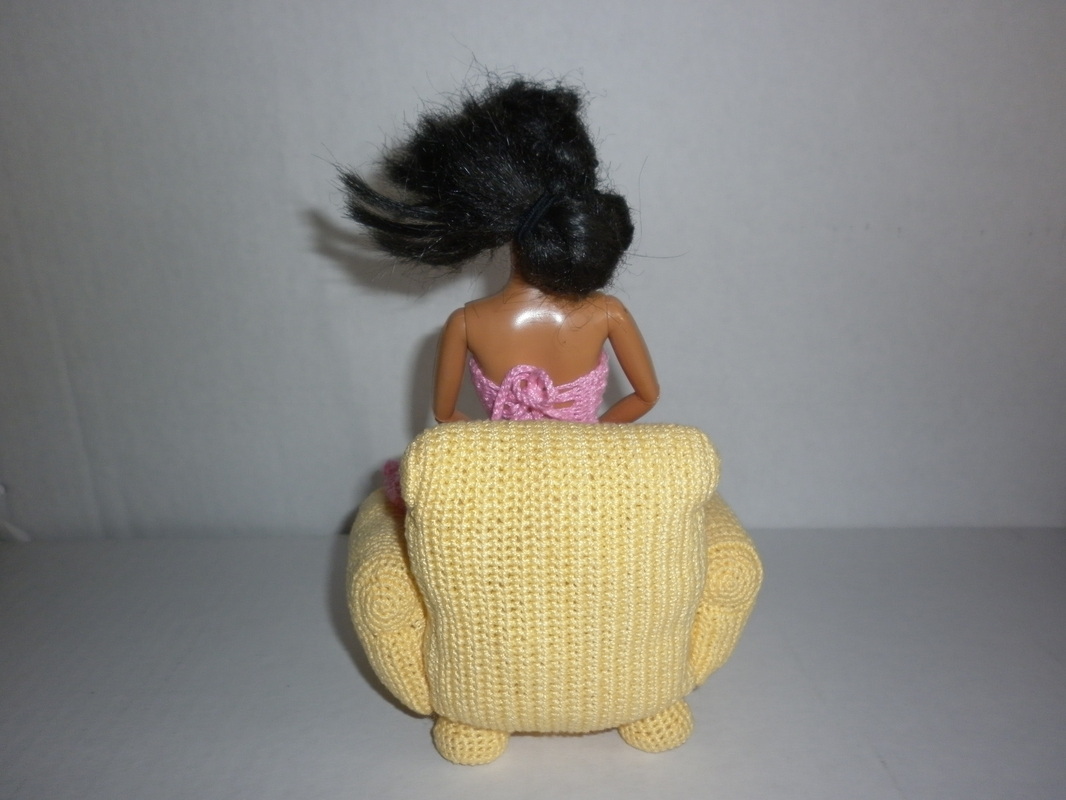
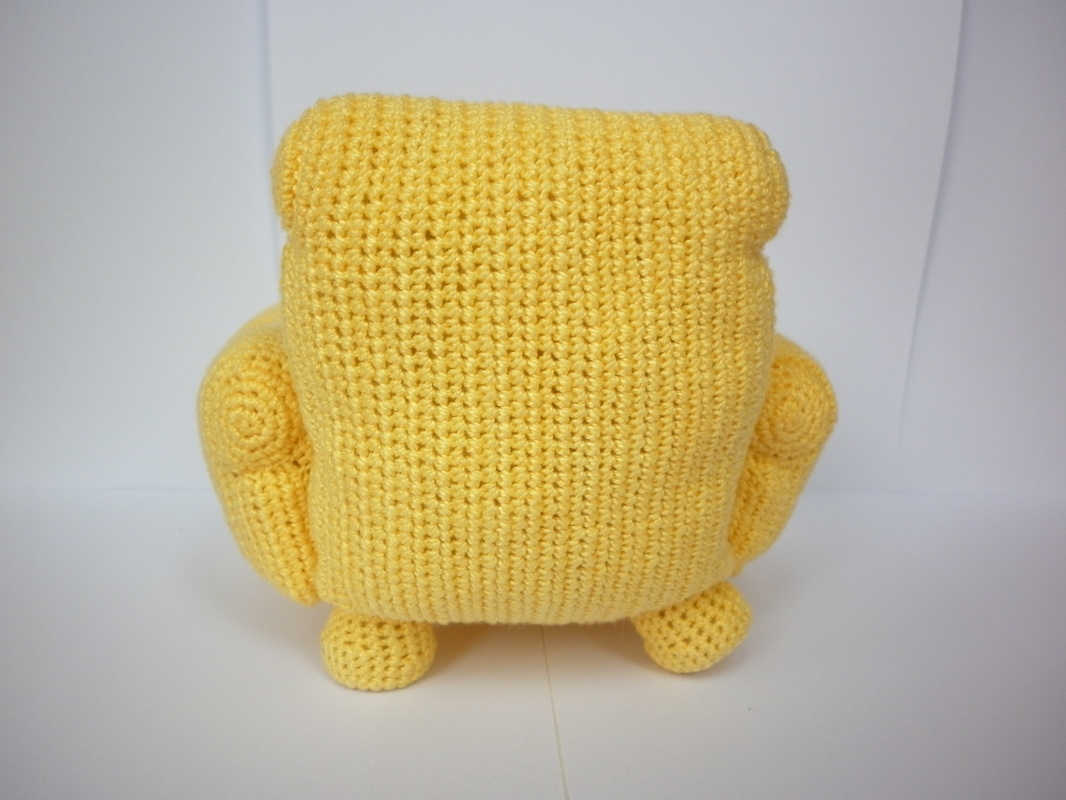
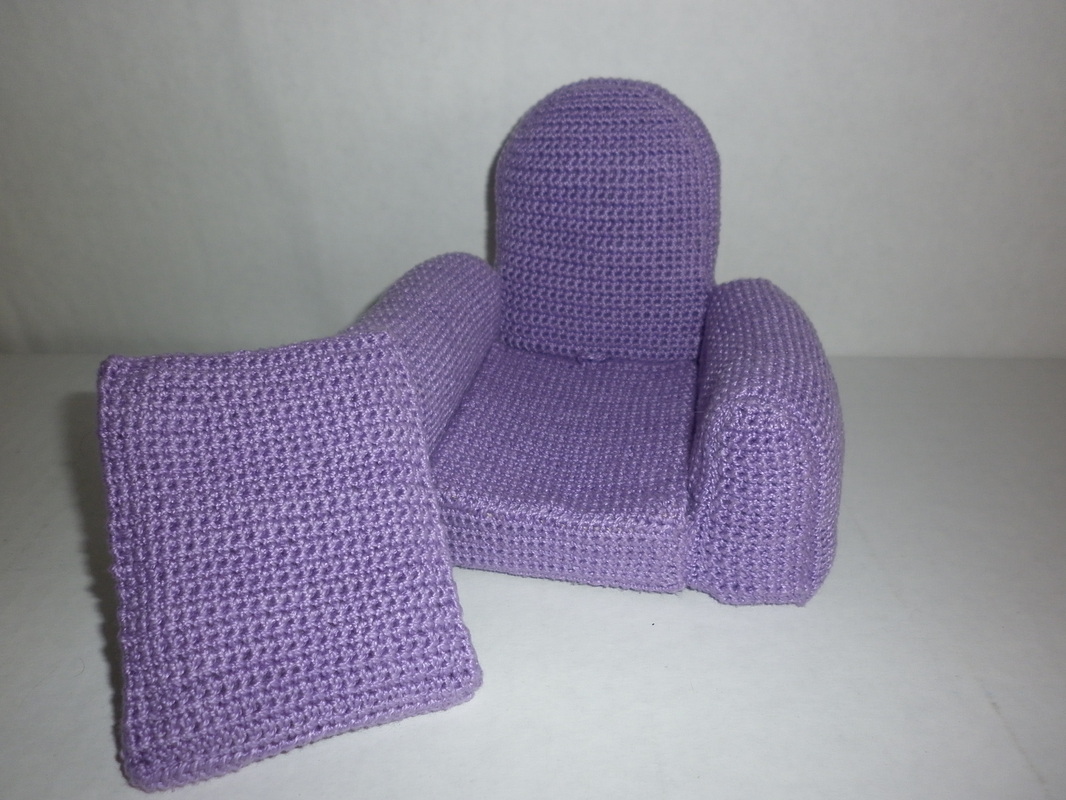
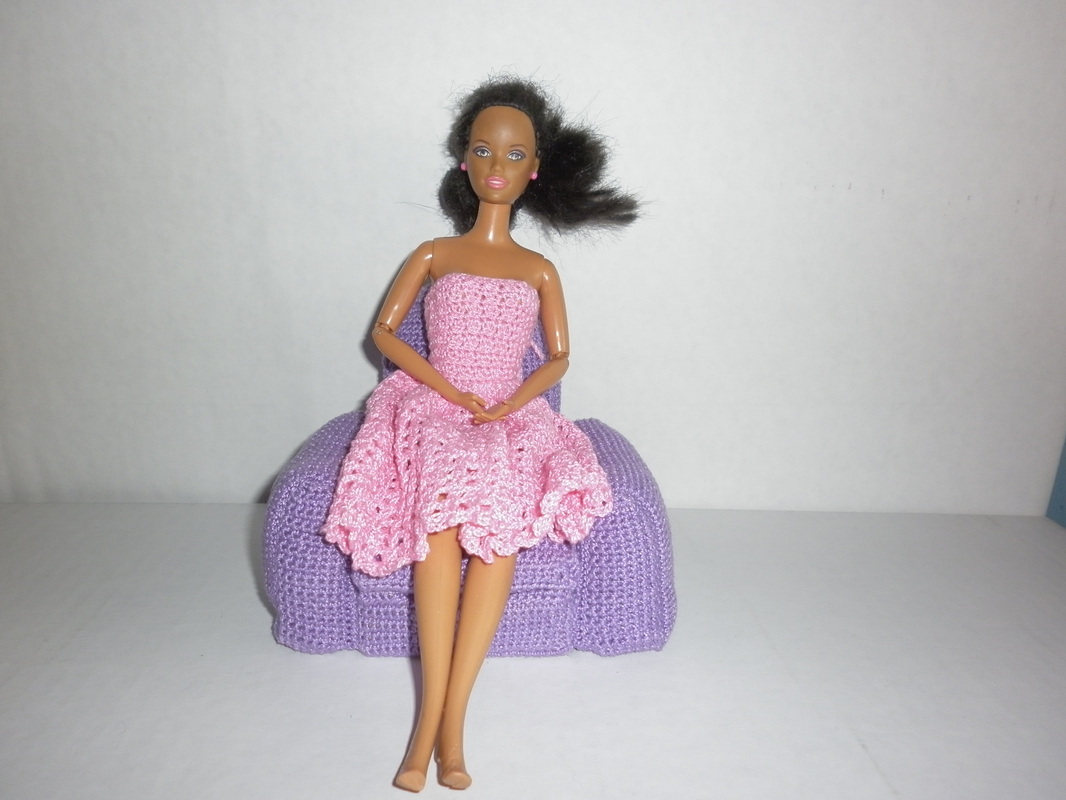
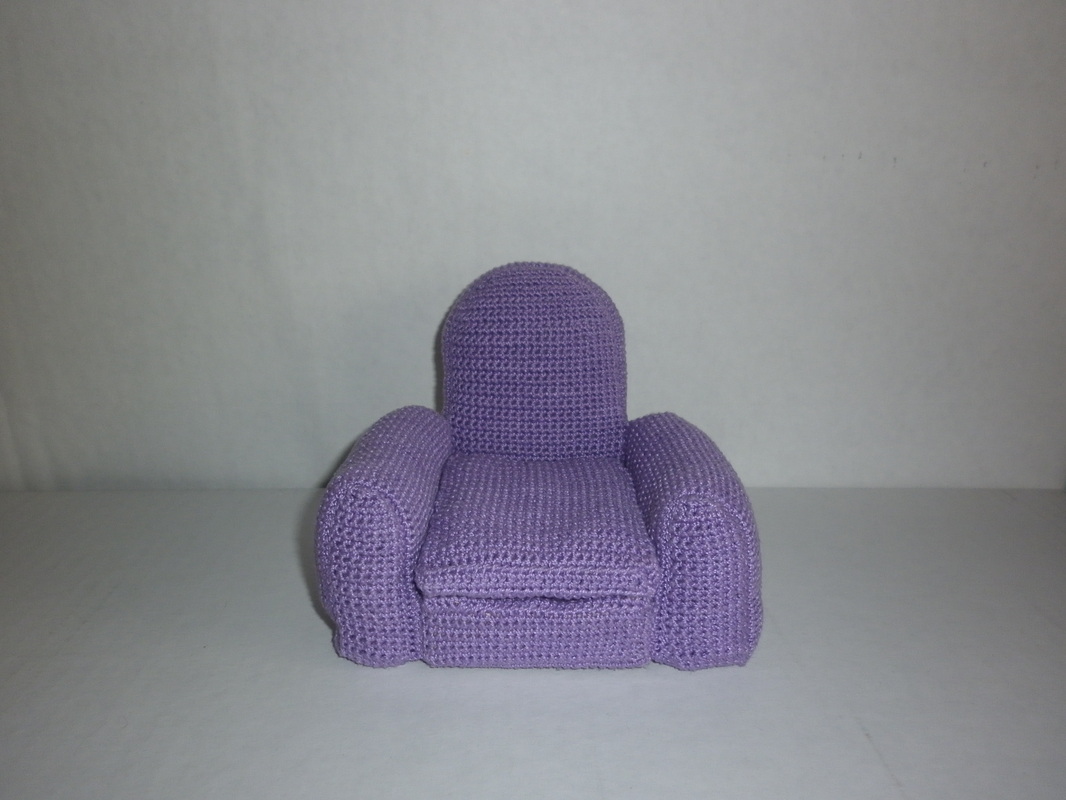
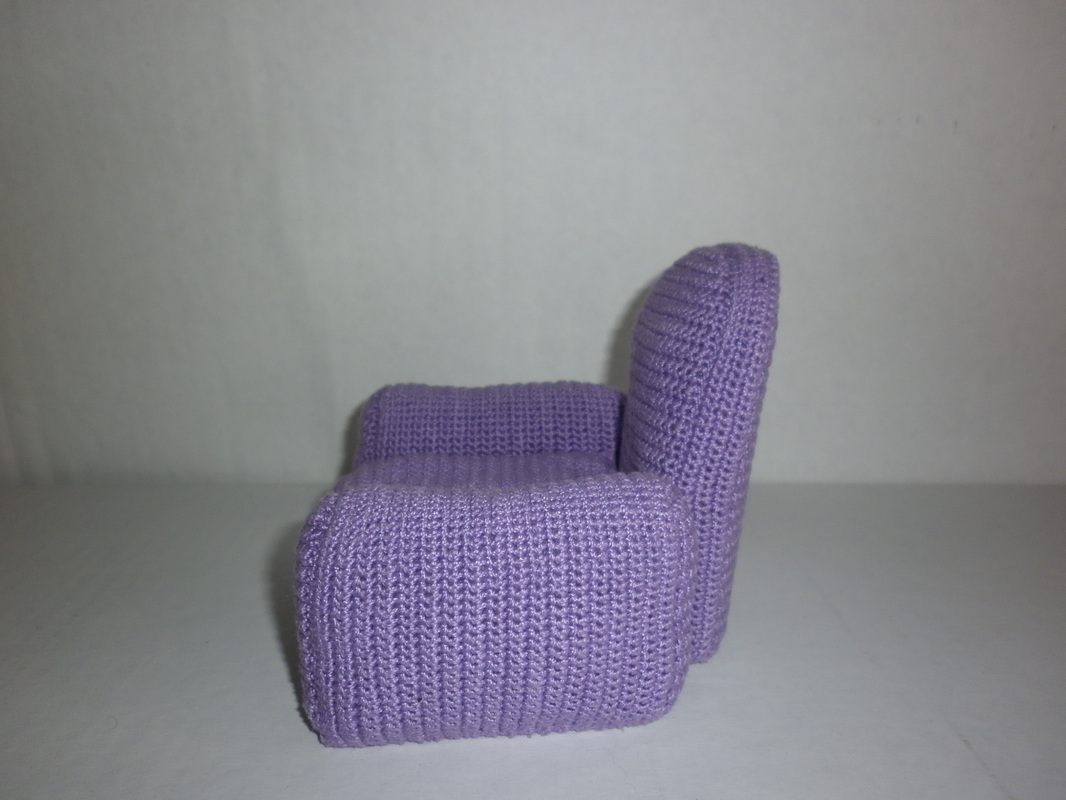
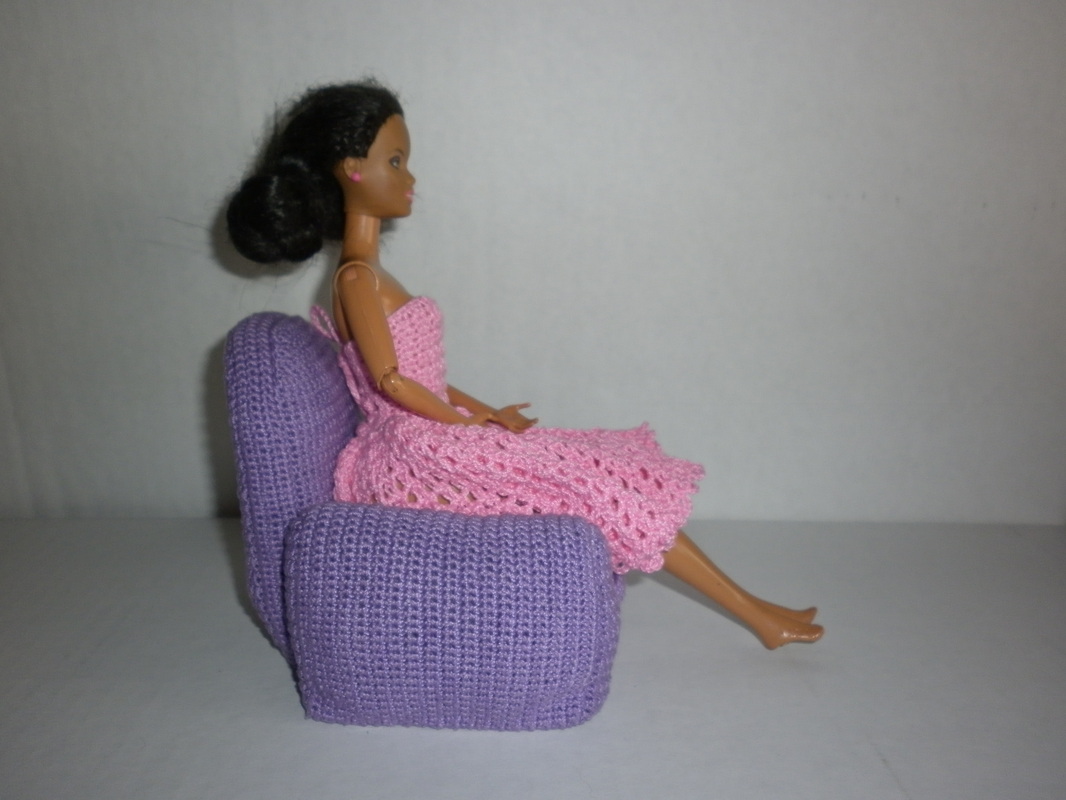
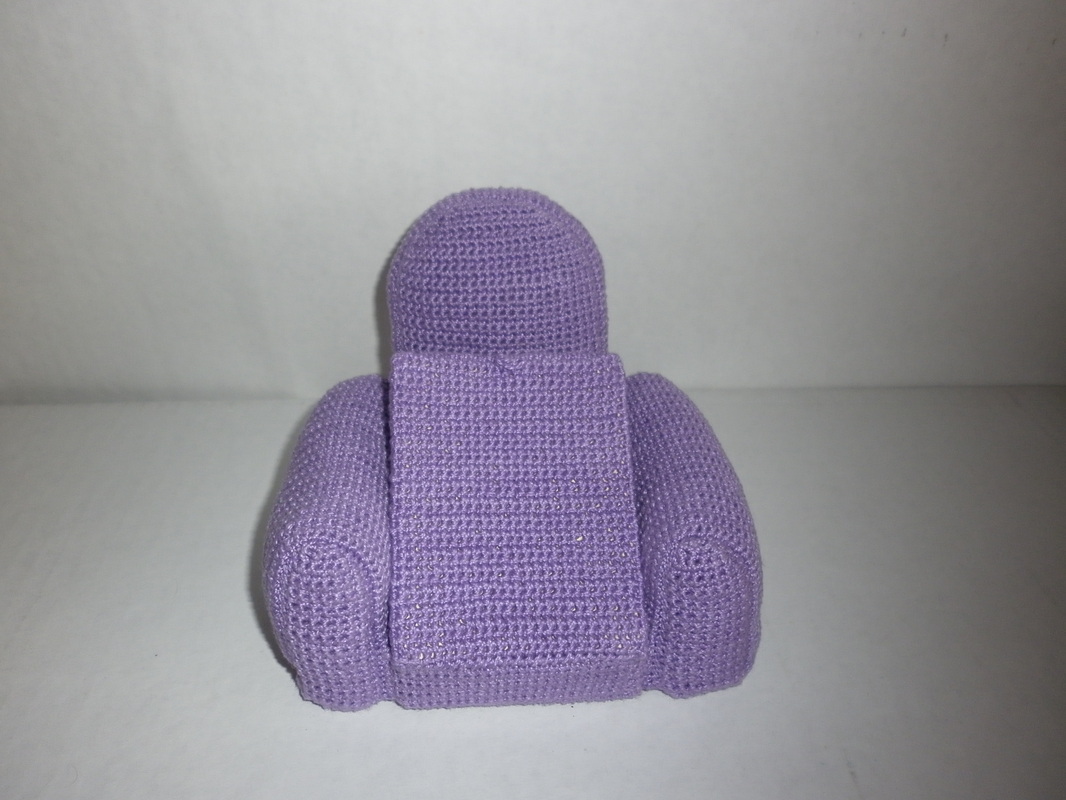
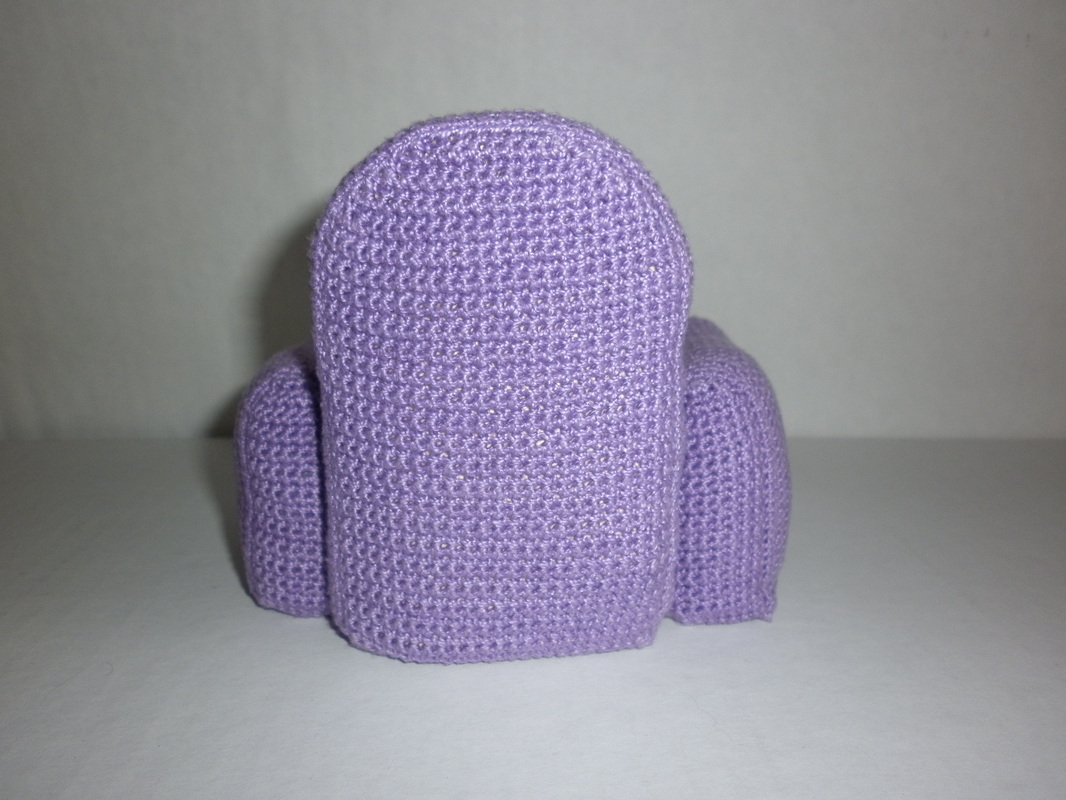
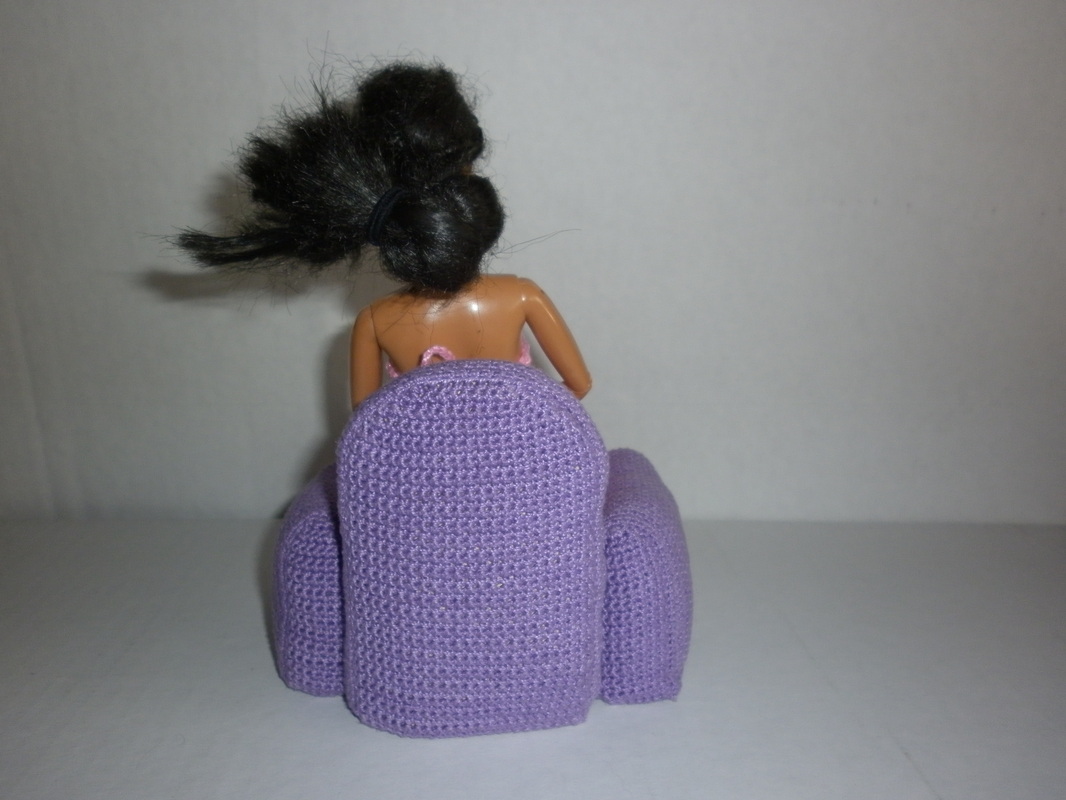
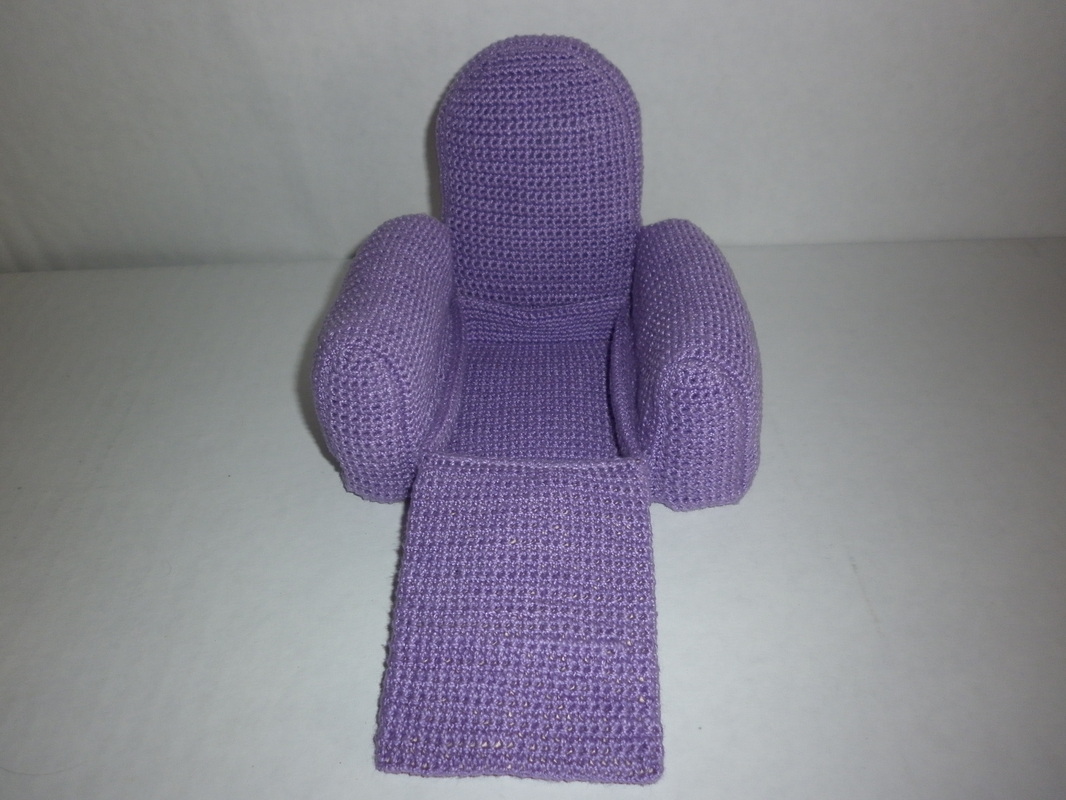
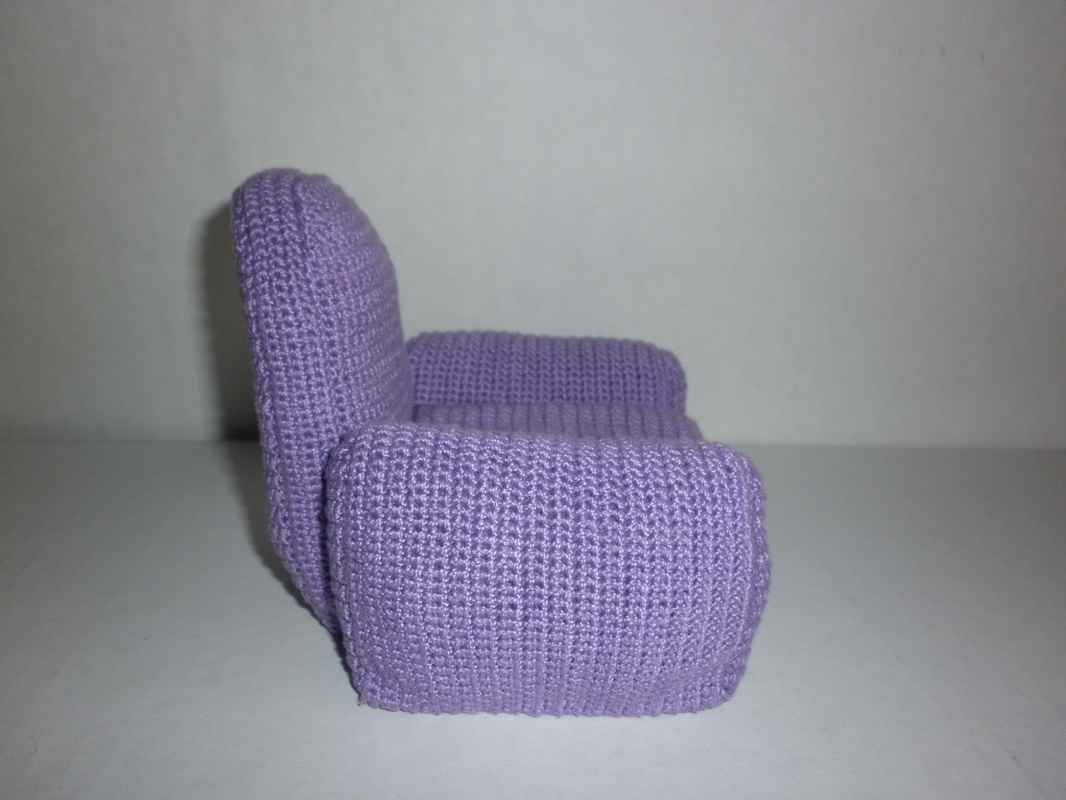
I thought it would be fun to crochet an armchair for barbie so I did. This is my first attempt. Since making this one I have figured out other ways I can make them more efficiently. The arm chair is stuffed with polyester fiber fill, and the base of the feet have a penny. Check out my second attempt to make a Crochet Barbie Armchair with a Hideaway Compartment.
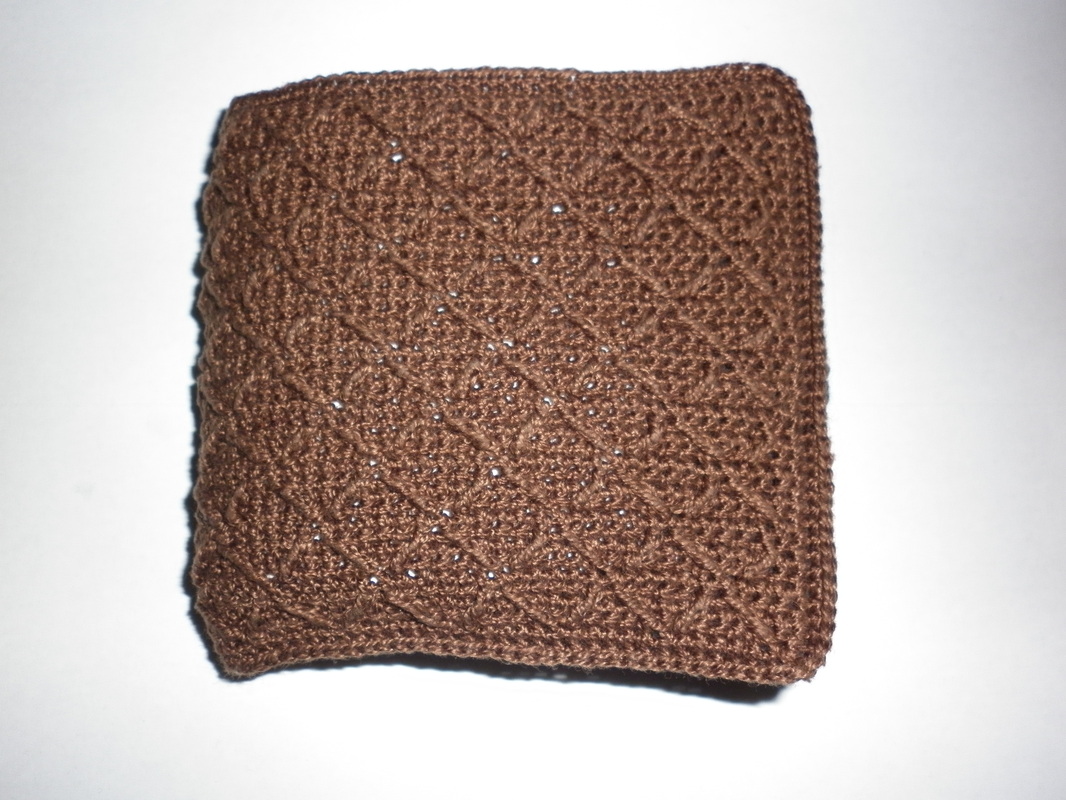
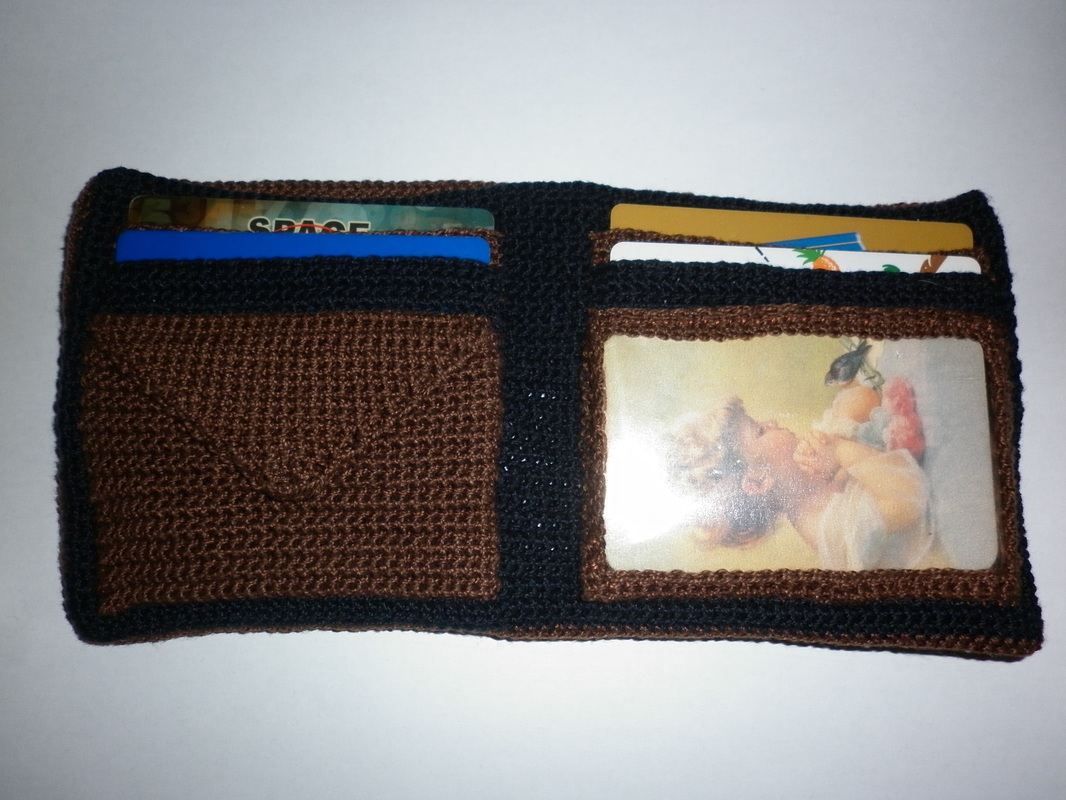
This is a wallet I crocheted for my grandfather in January. It took me a two days to make it.
I used the diamond stitch for the outside of the wallet. It has a space for bank notes, coins, four visa cards, and a photo/id card. It is slightly taller than a normal sized wallet because it is made especially for european bank notes.
|
Hello, my name is Rebeckah.
I hope my crochet inspires you to create your very own treasures! Learn more about me... Categories
All
Archives
October 2021
© 2012-2021 Rebeckah Ferger
All rights reserved. Disclaimer: This website makes use of sponsored and/or affiliate links. Please see this page for more information.
|
- Home
-
-
- Special Offers
- New Releases
- Accessory Crochet Patterns
- Afghan Square Crochet Patterns
- Amigurumi Crochet Patterns
- Applique Crochet Patterns
- Baby Crochet Patterns
- Dolly Crochet Patterns
- Fashion Doll Crochet Patterns
- Free Downloads
- Holiday Crochet Patterns
- Tapestry Crochet Patterns
- Under the Sea Crochet Patterns
- Wedding Crochet Patterns
- Disclaimer and FAQs
-
-
- Free Crochet Patterns
- New Free Releases
- Free Accessory Crochet Patterns
- Free Afghan Square Crochet Patterns
- Free Amigurumi Crochet Patterns
- Free Applique Crochet Patterns
- Free Baby Crochet Patterns
- Free Dolly Crochet Patterns
- Free Fashion Doll Crochet Patterns
- Free Guest Crochet Patterns
- Free Holiday Crochet Patterns
- Free Tapestry Crochet Patterns
- Free Under the Sea Crochet Patterns
- Free Wedding Crochet Patterns
- Free Crochet Patterns Coming Soon
Welcome Visitor! I hope you enjoy my treasures.








 RSS Feed
