|
Disclaimer: This website makes use of sponsored and/or affiliate links. Please see this page for more information.
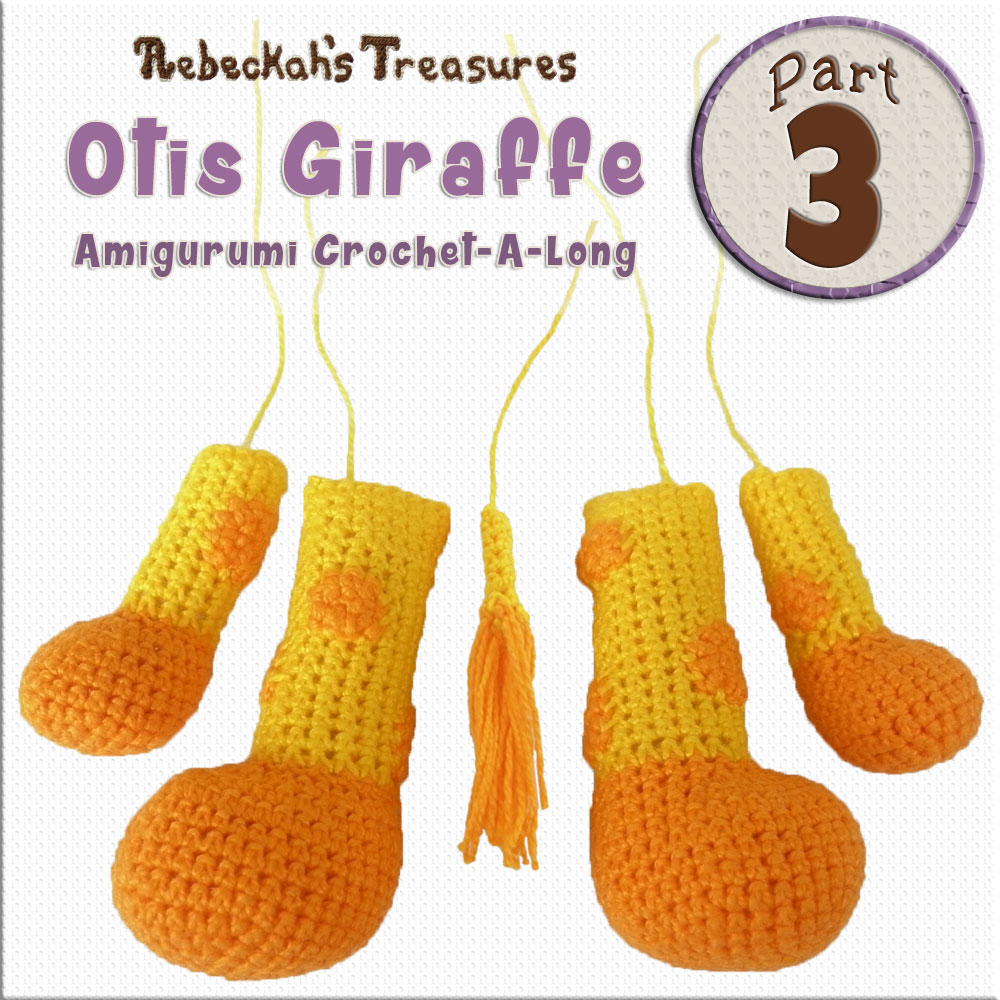
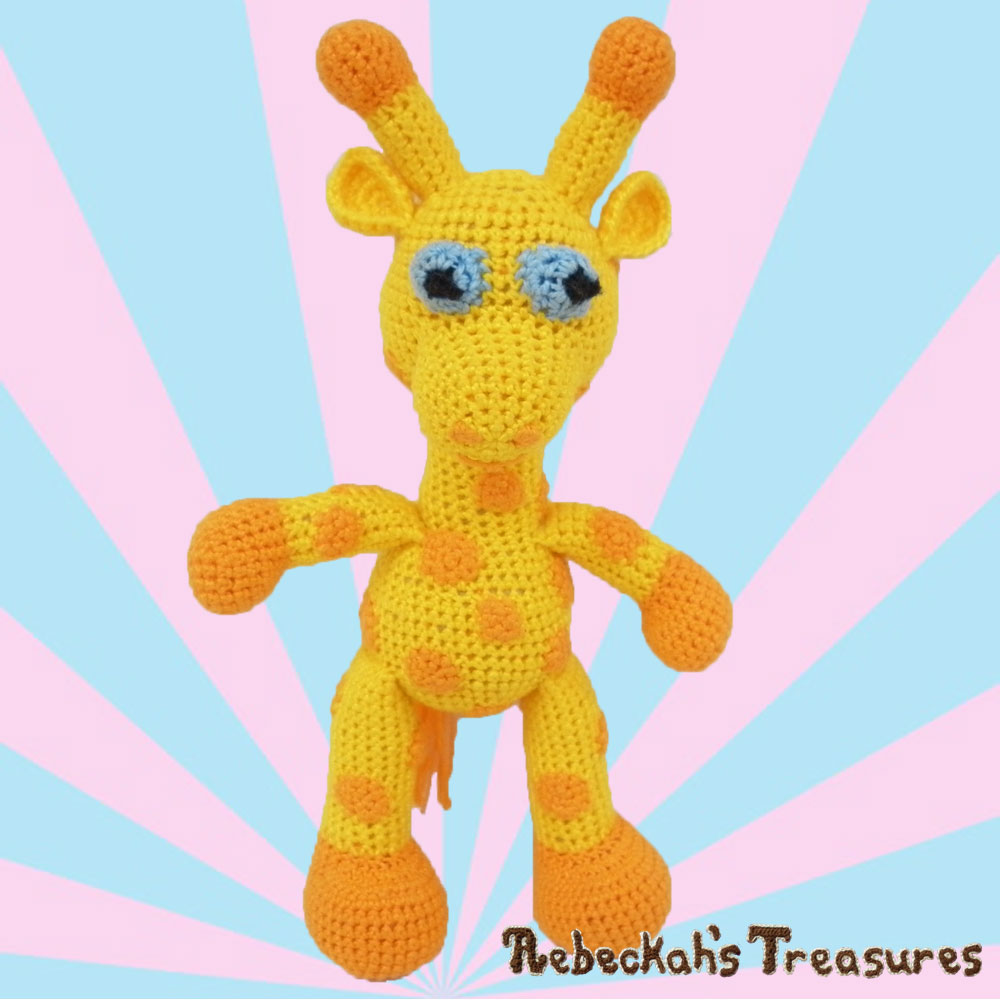
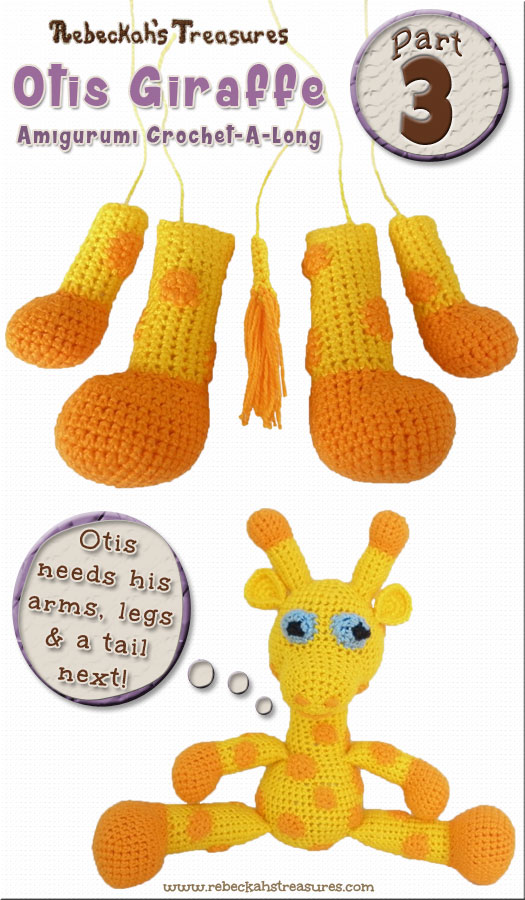
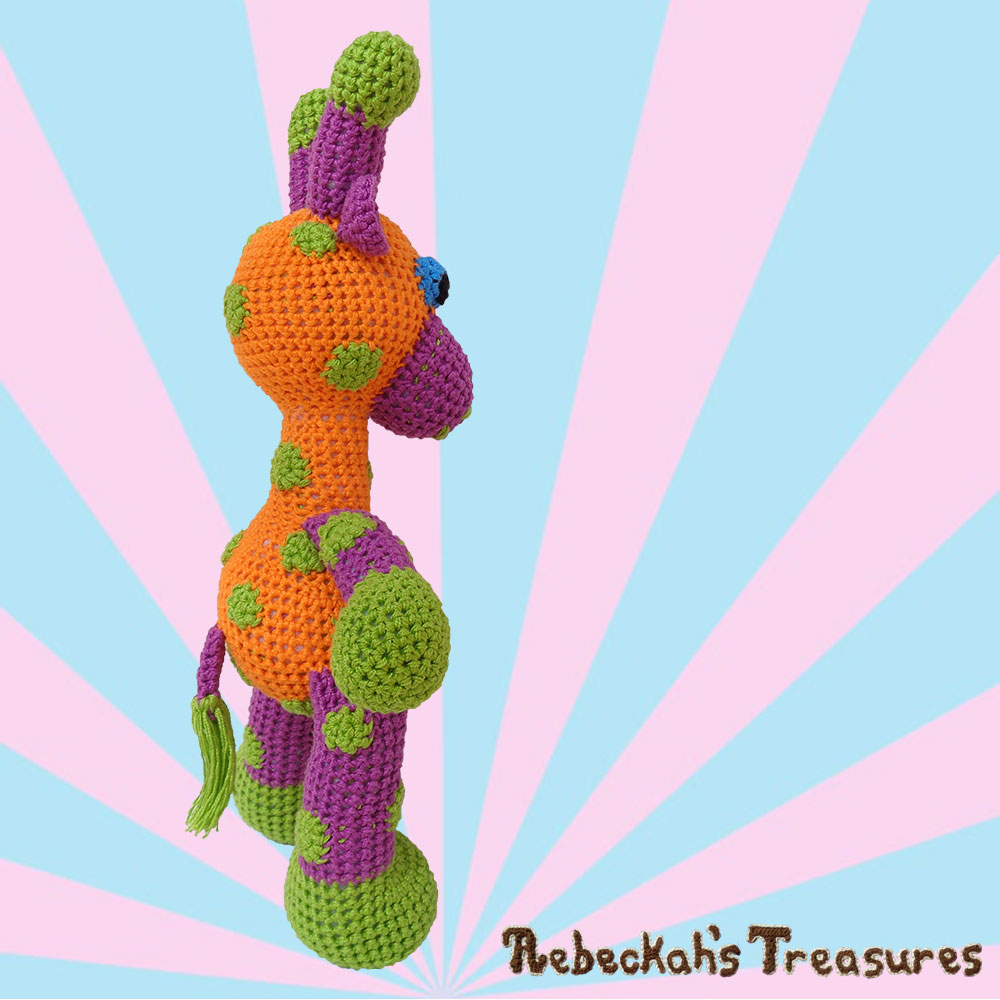
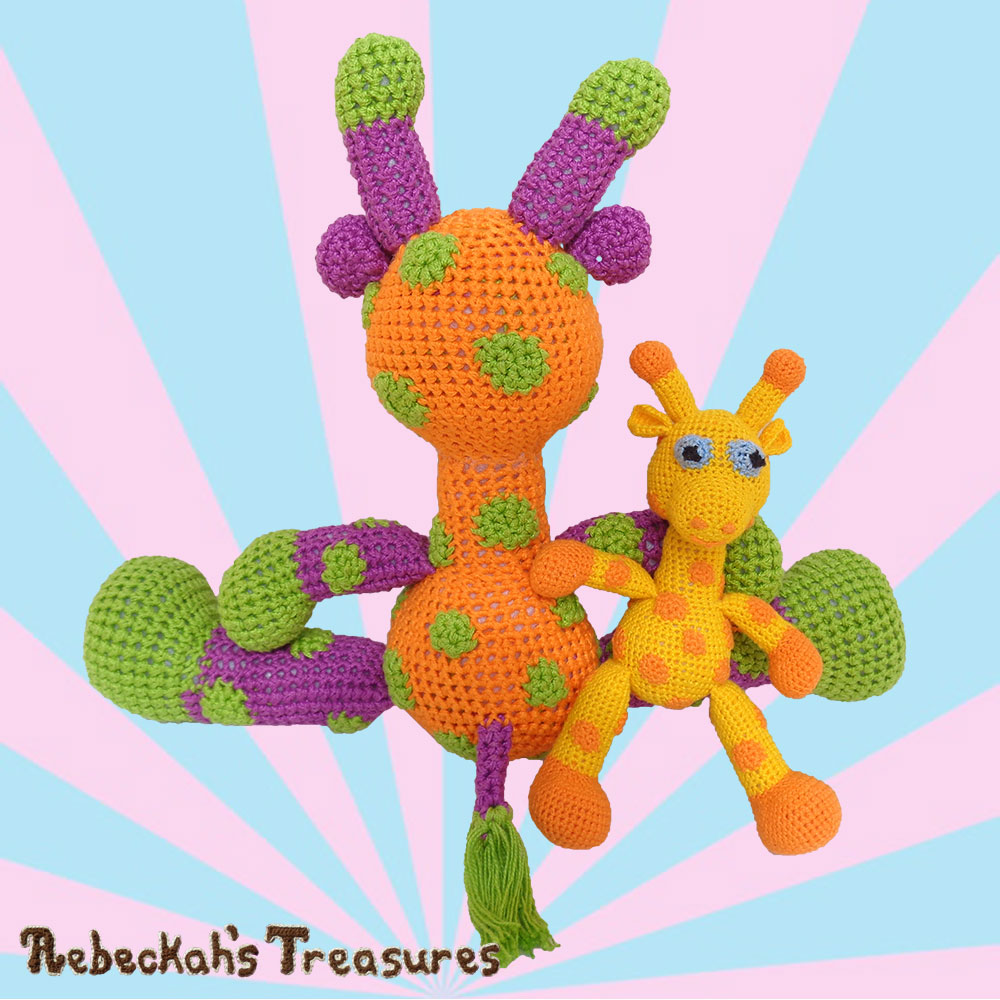
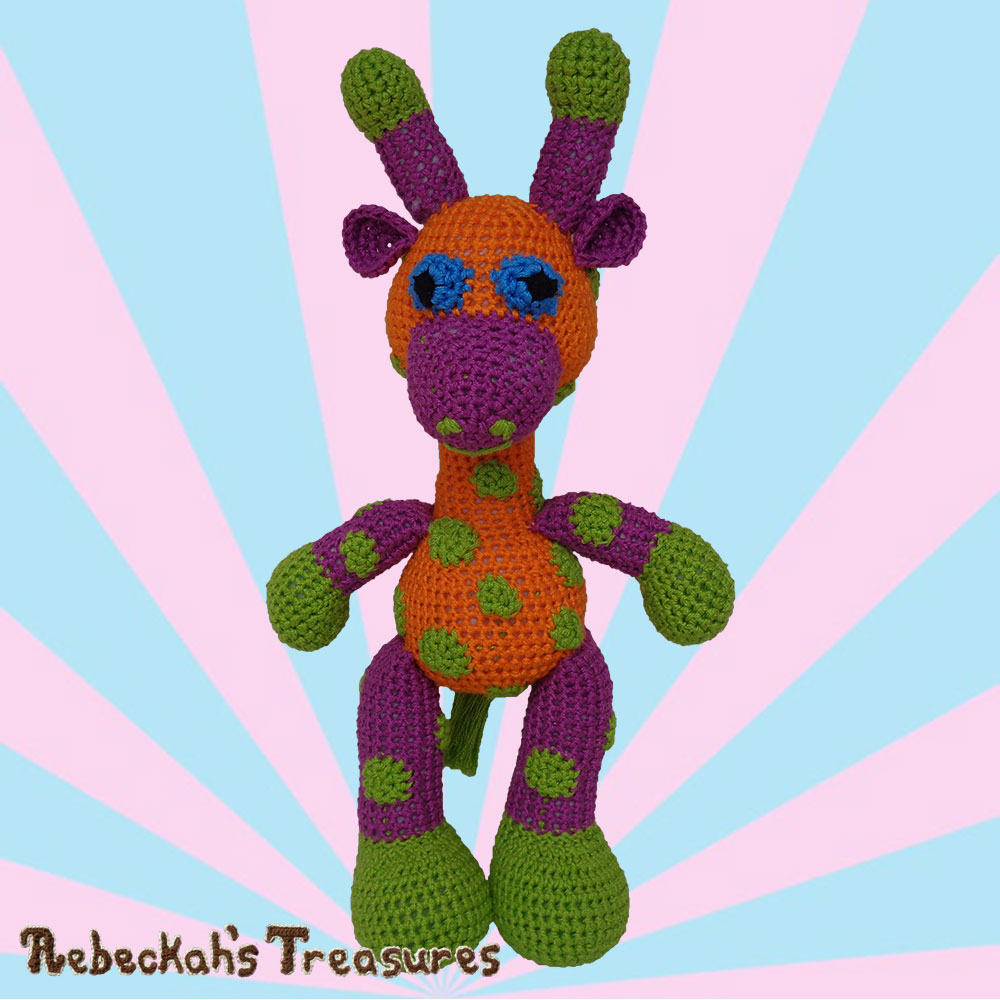
Welcome to Part 3 of the Otis Giraffe CAL! This part will cover all of the giraffe’s limbs, including, the arms, legs and tail. You have the option to incorporate the spots as you crochet the arms and legs, OR you can sew them on later – YOUR CHOICE.
Photo tutorials available for this part (on the blog only) show how to work the tail hair attachment. 3 FULL video tutorials for all the limbs are available! Whether you're a beginner to Amigurumi, or an advanced crocheter just learning the join-as-you-go for the first time, you'll find them invaluable. Are you excited to crochet and join the spots as you go? Let's start hooking...
Otis is part of a HUGE ongoing series of Amigurumi CALS Hosted by CAL – Crochet A Long!!! All in multiple languages. So, if you haven't already, make sure you join their Facebook Group here, then SIGN UP for the FULL EVENT HERE or the Individual Event for Otis Giraffe Here.
If you'd rather connect personally with just me, sign up to my page event for Otis Giraffe CAL Here, or join one of my Crocheting Treasures groups/communities on Facebook, Ravelry or Google+. PLUS: Join me tomorrow (Tuesday, April 11th, 2017) at 2:00 P.M. (EST) for FACEBOOK LIVE on my business page, Rebeckah's Treasures.
STOP!!! For the join-as-you-go, you need to have the spots finished first.
~SEE PART TWO HERE~ to Crochet the Spots before continuing below. ~SEE PART ONE HERE~ for Abbreviations & Important Notes.
This crochet pattern and it's complimentary photos and videos are copyrighted to Rebeckah Ferger of www.rebeckahstreasures.com. They are for personal use only. No part of this pattern may be copied or distributed in any way. If you sell what you make from this pattern, please credit me as the designer.
All rights reserved, 2017. Giraffe Arm Instructions:
Make 2. The giraffe arm is worked in continuous rnds from the bottom-up, starting with the hands.Do not turn at the end of rnds. Side facing you = WS.
*Start with AC. Rnd 1: Sc 6 into a magic circle (6 sts). Rnd 2: 2 sc into each st around (12 sts). Rnd 3: [Sc 1, 2 sc into the next st] 6 times (18 sts). Rnd 4: [Sc 2, 2 sc into the next st] 6 times (24 sts). Rnd 5-8: Sc 24 – 4 rnds (24 sts). Rnd 9: Sc2tog x 6, sc 12 (18 sts). Rnd 10: Sc2tog x 6 – switch to MC on the last sc2tog, sc 6 (12 sts). You may like to start stuffing the arm here & as you go along... From rnd 11 of the arm, follow the TRADITIONAL or JOIN-AS-YOU-GO instructions as desired.
Giraffe Arm Rnd 11+ –Option 1– Traditional Instructions:
Rnd 11-20: Sc 12 – 10 rnds, sl st join to the first st of the last rnd, f/o with a long tail (12 sts). Attach spots onto the arm now or later as desired. If attaching now, take the ending tail and use the whipstitch to sew each spot into place wherever you’d like to see them. Finish stuffing arms. Set aside and cont to the Giraffe’s Legs below…
Giraffe Arm Rnd 11+ –Option 2– Join-As-You-Go Instructions (recommended):
Have one small + one big spot per arm at the ready. *Work ONLY in Arm Stitches unless directed otherwise. Remember, as each spot join stitch is worked, you are working through 2 stitch layers at a time, where the hook will go through the arm stitch first, then through the spot stitch. AND, once both stitches are on the hook, complete the sc, hereby joining the spot to the arm. Rnd 11: Sc 12 (12 sts). Rnd 12: Sc 10, sc 2 attach a small spot (12 sts). Rnd 13: Sc 9, sc 1 join to spot, sc 2 (12 sts). Rnd 14: Sc 1 join to spot, sc 4, sc 3 attach a big spot, sc 1, sc 1 join to spot, sc 2 (12 sts). Rnd 15: Sc 1 join to spot, [sc 3, sc 1 join to spot] 2 times, sc 1, sc 2 join rem small spot sts (12 sts). Rnd 16-17: Sc 4, sc 1 join to spot, sc 3, sc 1 join to spot, sc 3 – 2 rnds (12 sts). Rnd 18: Sc 5, sc 3 join rem big spot sts, sc 4 (12 sts). Rnd 19-20: Sc 12 – 2 rnds, sl st join to the first st of the last rnd, f/o (12 sts). Finish stuffing arms. Set aside and cont to the Giraffe’s Legs below… Giraffe Leg Instructions:
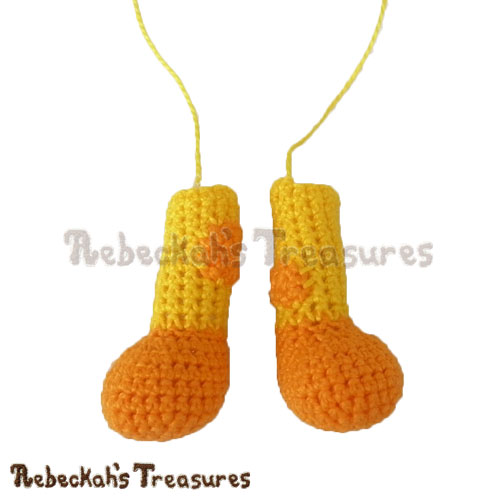
Make 2. The giraffe leg is worked in continuous rnds from the bottom-up, starting with the foot. Do not turn at the end of rnds. Side facing you = WS.
*Start with AC. Rnd 1: Sc 6 into a magic circle (6 sts). Rnd 2: 2 sc into each st around (12 sts). Rnd 3: [Sc 1, 2 sc into the next st] 6 times (18 sts). Rnd 4: [Sc 2, 2 sc into the next st] 6 times (24 sts). Rnd 5: [Sc 3, 2 sc into the next st] 6 times (30 sts). Rnd 6: [Sc 4, 2 sc into the next st] 6 times (36 sts). Rnd 7-12: Sc 36 – 6 rnds (36 sts). Rnd 13: Sc2tog x 8, sc 20 (28 sts). Rnd 14: Sc2tog x 10 – switch to MC on the last sc2tog, sc 8 (18 sts). You may like to start stuffing the leg here & as you go along... From rnd 15 of the leg, follow the TRADITIONAL or JOIN-AS-YOU-GO instructions as desired.
Giraffe Leg Rnd 15+ –Option 1– Traditional Instructions:
Rnd 15-30: Sc 18 – 16 rnds, sl st join to the first st of the last rnd, f/o with a long tail (18 sts). Attach spots onto the leg now or later as desired. If attaching now, take the ending tail and use the whipstitch to sew each spot into place wherever you’d like to see them. Finish stuffing legs. Set aside and cont to the Giraffe’s Tail below…
Giraffe Leg Rnd 15+ –Option 2– Join-As-You-Go Instructions (recommended):
Have two small + two big spot per leg at the ready. *Work ONLY in Leg Stitches unless directed otherwise. Remember, as spots are joined, hook goes through the leg stitch first, then through the spot stitch. Rnd 15: Sc 10, sc 3 attach a big spot, sc 5 (18 sts). Rnd 16-17: Sc 9, sc 1 join to spot, sc 3, sc 1 join to spot, sc 4 – 2 rnds (18 sts). Rnd 18: Sc 3 attach a big spot, sc 6, sc 1 join to spot, [sc 3, sc 1 join to spot] 2 times (18 sts). Rnd 19: Sc 3, sc 1 join to spot, sc 7, sc 3 join rem big spot sts, sc 3, sc 1 join to spot (18 sts). Rnd 20: Sc 3, sc 1 join to spot, sc 13, sc 1 join to spot (18 sts). Rnd 21: Sc 3, sc 1 join to spot, sc 14 (18 sts). Rnd 22: Sc 3 join rem big spot sts, sc 3, sc 2 attach a small spot, sc 10 (18 sts). Rnd 23-24: Sc 5, sc 1 join to spot, sc 2, sc 1 join to spot, sc 9 – 2 rnds 12 (18 sts). Rnd 25: Sc 6, sc 2 join rem small spot sts, sc 5, sc 2 attach a small spot, sc 3 (18 sts). Rnd 26-27: Sc 12, sc 1 join to spot, sc 2, sc 1 join to spot, sc 2 – 2 rnds (18 sts). Rnd 28: Sc 13, sc 2 join rem small spot sts, sc 3 (18 sts). Rnd 29-30: Sc 18 – 2 rnds, sl st join to the first st of the last rnd, f/o (18 sts). Finish stuffing legs. Set aside and cont to the Giraffe’s Tail below… Giraffe Tail Instructions:
Make one in MC. Work giraffe tail in continuous rnds from the bottom-up. Do not turn at the end of rnds. Side facing you = WS.
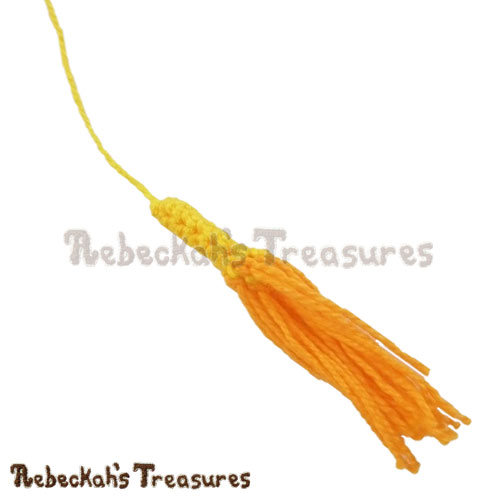
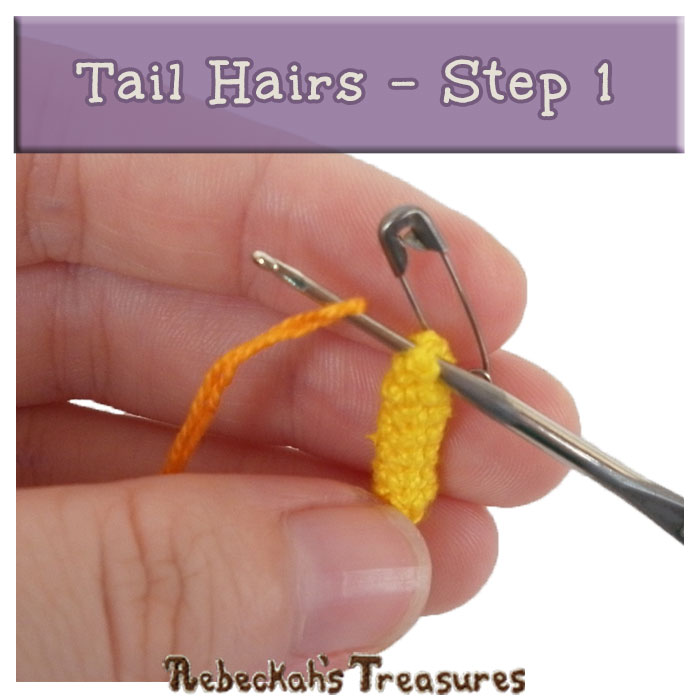
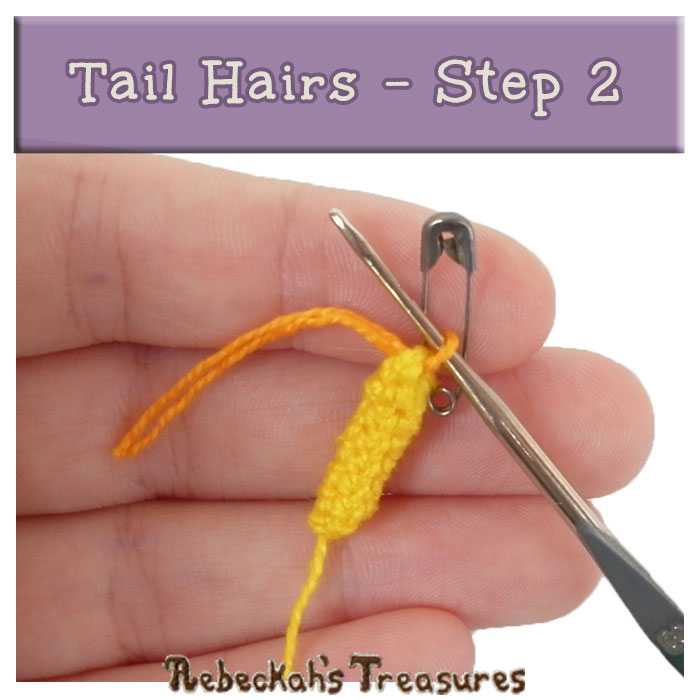
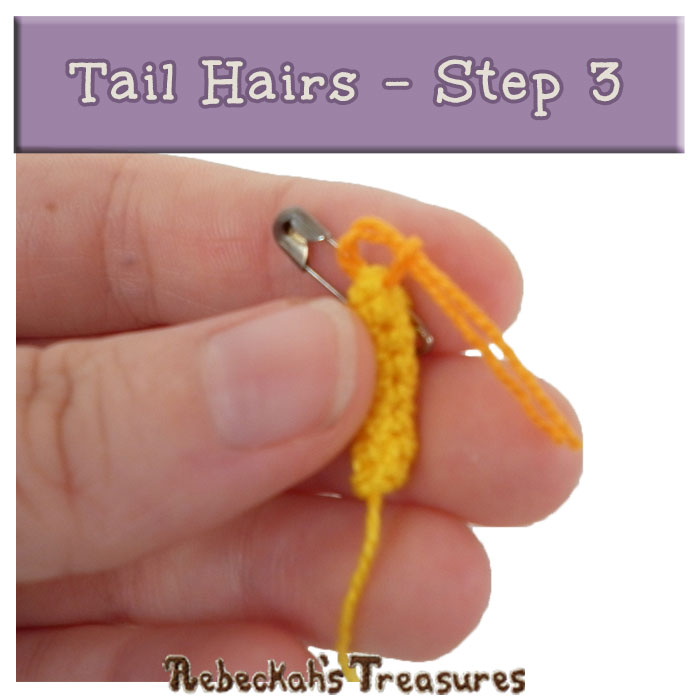
Rnd 1: Sc 4 into a magic circle (4 sts). Rnd 2-7: Sc 4 – 6 rnds, sl st join to the first st of the last rnd, f/o (with a long tail – traditional) (4 sts). For hairs: Cut 8-12 strands, about 3-5” (8-13cm) in length, in AC. Use shorter tails if working with thread or longer tails if working with yarn. Use more strands for a fuller tail, or fewer strands for a slender tail. In a latch hook fashion, attach the hairs to the bottom of the tail until it is as full as desired. Trim excess.
Latch Hook Fashion Instructions Expanded:
Step 1: Starting at the bottom round, insert hook into stitches from top to bottom. Step 2: Fold one strand in half. Pull loop partway through stitches. Step 3: Grab both ends of the strand and pull through loop. Step 4: Repeat around bottom two rounds of tail until it is as full as desired. *Click on images to zoom in and have a closer look...
Set aside and cont to the Giraffe’s Body – AVAILABLE in Part 4!
Multiple Languages Available - DOWNLOAD Part 3 NOW!!!
Written pattern for this part is available in these languages:
DOWNLOADS BEGIN AUTOMATICALLY: Just Click on Your Favourite Button.
Join me tomorrow (Tuesday, April 11th, 2017) at 2:00 P.M. (EST) for FACEBOOK LIVE on my business page, Rebeckah's Treasures.
There, you can ask questions about the Otis Giraffe CAL and share your ideas and what colour you picked for the spots... And feel free to ask me questions about me too as you like! Support & Share!
Are you enjoying this CAL, so far? Here's how you can support me...
However you decide to support me, THANK YOU!!! All comments, shares and donations mean so much to me, and are greatly appreciated. Many hearts...
Thanks so much for visiting today!
If you have any questions, or need pattern help, comment below, send me an inquiry through my website form, OR visit my one of my groups / communities on Facebook, Google+ or Ravelry. Wishing you a marvelous day! We'll meet again on Thursday, April 13th for Part 4: How to Crochet the Body. 
Hello Visitor and Welcome to Rebeckah's Treasures... I am a Norwegian/Canadian currently studying Midwifery in the UK. I love to crochet! At Rebeckah's Treasures, I share my crochet patterns and treasures. I hope they inspire you to crochet your own little treasures too... 
Comments
|
Hello, my name is Rebeckah.
I hope my crochet inspires you to create your very own treasures! Learn more about me... Categories
All
Archives
October 2021
© 2012-2021 Rebeckah Ferger
All rights reserved. Disclaimer: This website makes use of sponsored and/or affiliate links. Please see this page for more information.
|
- Home
-
-
- Special Offers
- New Releases
- Accessory Crochet Patterns
- Afghan Square Crochet Patterns
- Amigurumi Crochet Patterns
- Applique Crochet Patterns
- Baby Crochet Patterns
- Dolly Crochet Patterns
- Fashion Doll Crochet Patterns
- Free Downloads
- Holiday Crochet Patterns
- Tapestry Crochet Patterns
- Under the Sea Crochet Patterns
- Wedding Crochet Patterns
- Disclaimer and FAQs
-
-
- Free Crochet Patterns
- New Free Releases
- Free Accessory Crochet Patterns
- Free Afghan Square Crochet Patterns
- Free Amigurumi Crochet Patterns
- Free Applique Crochet Patterns
- Free Baby Crochet Patterns
- Free Dolly Crochet Patterns
- Free Fashion Doll Crochet Patterns
- Free Guest Crochet Patterns
- Free Holiday Crochet Patterns
- Free Tapestry Crochet Patterns
- Free Under the Sea Crochet Patterns
- Free Wedding Crochet Patterns
- Free Crochet Patterns Coming Soon
Welcome Visitor! I hope you enjoy my treasures.


















 RSS Feed
