|
Disclaimer: This website makes use of sponsored and/or affiliate links. Please see this page for more information.
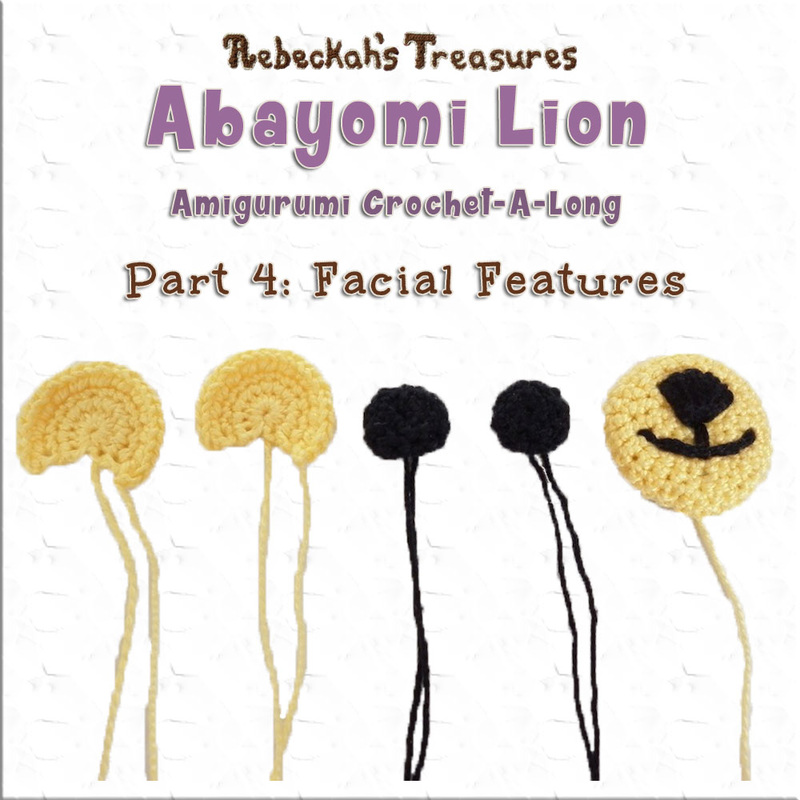
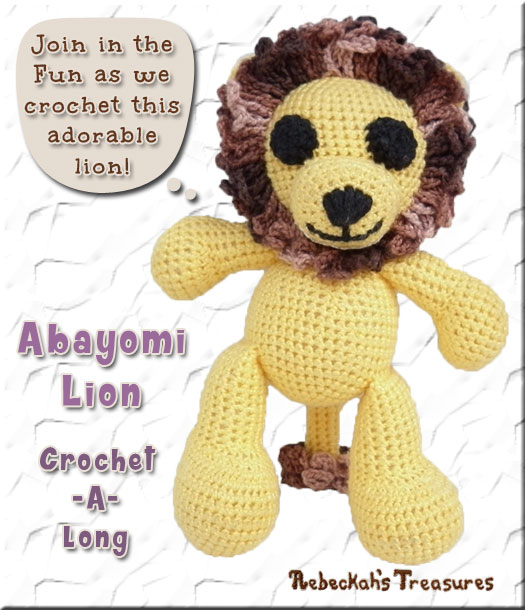
Welcome to part four of the amigurumi Abayomi lion crochet-a-long. Now, let's crochet Abayomi's facial features! This includes his ears, eyes and a muzzle with an embroidered mouth and nose...
Are you just joining us today? Be sure to check out Amigurumi Abayomi Lion CAL Part 1, where we go over the pattern notes, abbreviations and gather our supplies.
Already completed this step? Move on to Amigurumi Abayomi Lion CAL Part 5 (link will activate on Sunday, September 13th, 2015), where we will crochet the head, or check out the full schedule for this CAL below...
This pattern is copyrighted to Rebeckah Ferger of www.rebeckahstreasures.com. It is for personal use only. No part of this pattern may be copied or distributed in any way. If you sell what you make from this pattern, please credit me as the designer. All rights reserved, 2015.
You may be wondering, why are we crocheting the facial features before the head. The answer is simple... We're crocheting these parts first so we can attach them to the head in the same fashion as we did for the arms, legs and tail. No time consuming sewing here! We get to be lazy. :D
REMINDER: Side facing you as you crochet equals the WS of work for muzzle and eyes. Odd rnds equal the RS of work for ears. Crochet in continuous rnds unless directed to do otherwise. Lion Muzzle Instructions:
Make 1
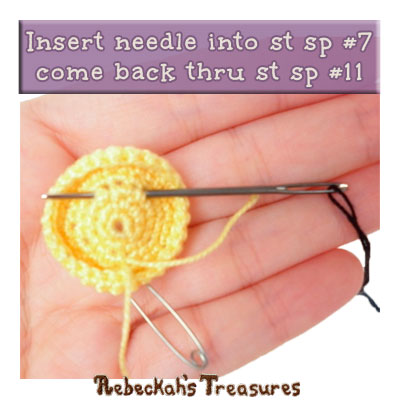
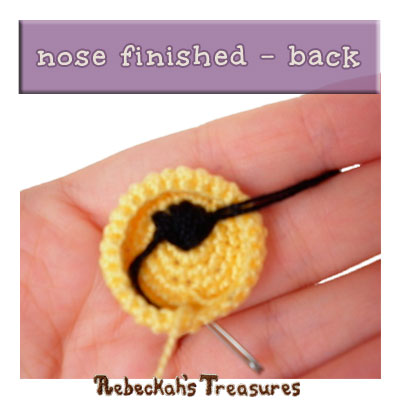
*Use MC rnd 1: sc 6 into a magic circle (6 sts) rnd 2: sc 2 into each st around (12 sts) rnd 3: [sc, sc 2 into next st] x 6 (18 sts) rnd 4: [sc 2, sc 2 into next st] x 6 (24 sts) rnd 5: [sc 5, sc 2 into next st] x 4 (28 sts) rnd 6-7: sc 28 for 2 rnds, sl st join to first st of last rnd, f/o (if you will be sewing muzzle onto the head, f/o with a long tail). Now it’s time to embroider a nose and a mouth onto the muzzle. Use the following instructions and how-to pictures as a guideline... Lion Nose Instructions: For nose, st sps #7-#11 of rnd 5 will be the top of the nose with the center of the magic circle being the bottom. Thread a long strand of black yarn onto a tapestry yarn needle like you are going to do some hand sewing – knot the ends. Insert needle into st sp #7 from the inside (WS) going out (RS). Come back in through st sp #11, and lock yarn into place by sticking the needle through the end of the yarn on the thread.
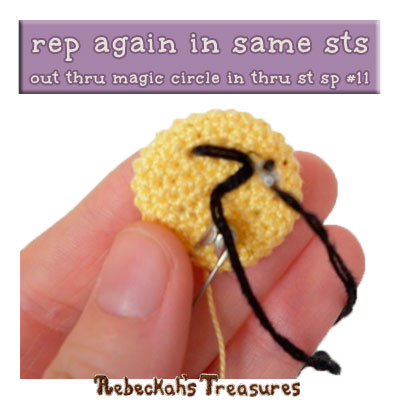
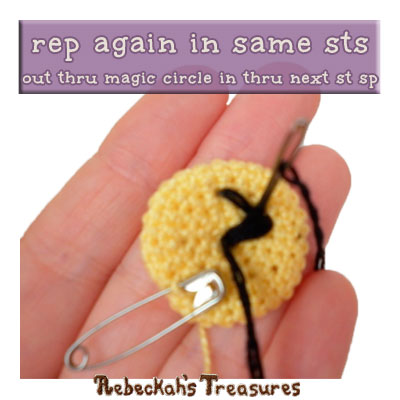
Next, poke needle out through the magic circle (you may have to wiggle it a lot the first time). Come back in through st sp #11 or the top left st you have marked. Rep again in the same st sps. Rep this process in each of the top st sps marked, going through each of the top sts twice, and ending with st sp #7.
Lion Mouth Instructions:
Continuing where you left off for the nose, embroider the mouth below the nose. Poke needle back out through magic circle again. Count vertically 2-3 st sps down, and go back to the inside.
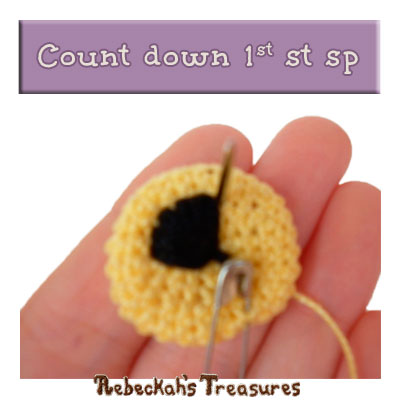
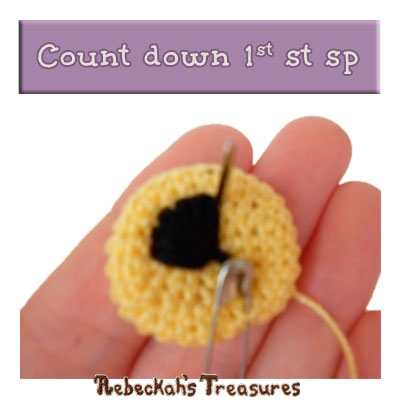
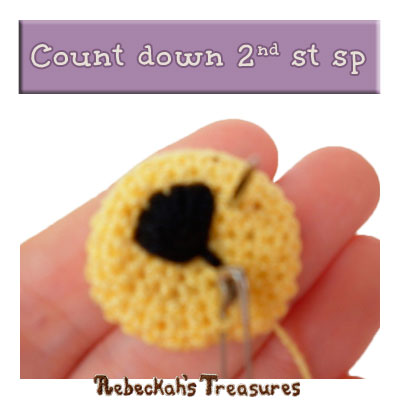
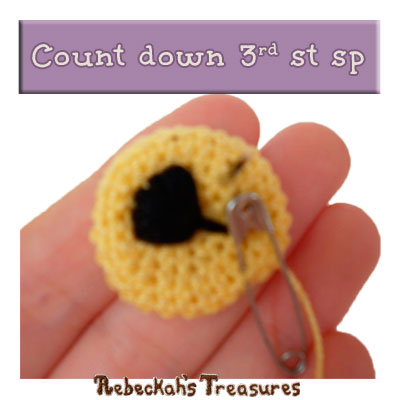
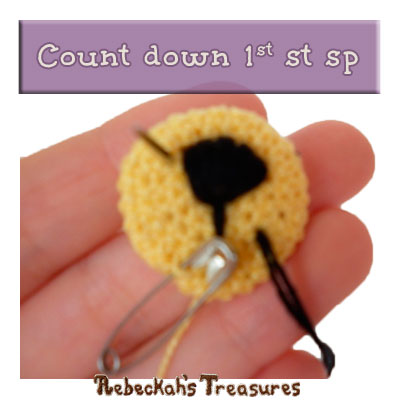
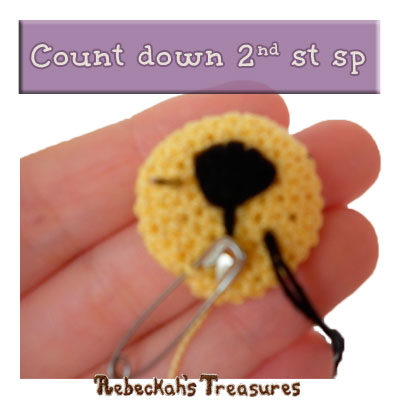
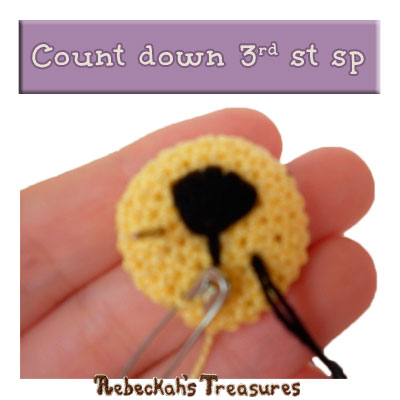
Next, create the smile... To determine where to come back out, use your needle to count sts from the same rnd as the top of the nose. Starting from the top left st of the nose, count down 4 st sps. Come through the fourth one. Use the same method to determine where to go back in for the right side of the mouth. This time, count the sts from the other side of the nose. Bottom of smile completed.
Insert hook back through the bottom center st of the mouth so that it comes out above the smile. Wrap around smile and go back in through the same st to lock into place.
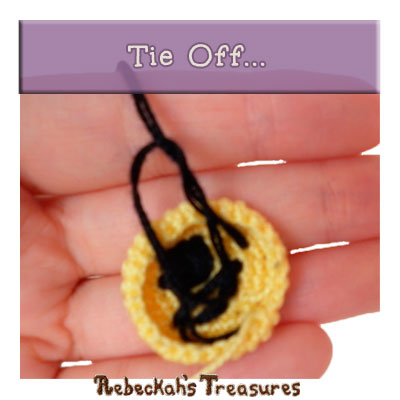
Extend the left side of the smile by coming out through the left smile st and going back inside a few sts up and over to the left. Extend the right side of the smile by repeating the same process again. Finally, securely f/o the yarn for your lion’s nose and mouth by wrapping it around the loose threads closest to it on the WS. Make a double knot and tie off. Set aside. Lion Ear Instructions:
Make 2 - This time odd rnds = RS
*Use MC rnd 1: sc 12 into a magic circle, ch 1, turn (12 sts) rnd 2: mirror sc 12, ch 1, turn rnd 3: sc 12, ch 1, turn rnd 4: mirror sc 2 into each st around, ch 1, f/o (if you will be sewing ears onto the head, f/o with a long tail) (24 sts) Lion Eye Instructions:
Make 2 - Omit if using Safety Eyes
*Use Black rnd 1: sc 12 in a magic circle (12 sts) rnd 2: [sc, sc2tog] x 4 (8 sts) rnd 3: [sc, sc 2 in next st] x 4 (12 sts) rnd 4: sc 12, sl st, f/o (if you will be sewing eyes onto the head, f/o with a long tail). Use starting tail to stuff eye. Set aside.
Are you enjoying this Abayomi Lion CAL? Tell me what you think either by commenting below, by visiting this pattern on ravelry, or by giving this pattern a star-rating…
Amigurumi Abayomi Lion CAL Schedule & Links to Each Part:

Hello Visitor and Welcome to Rebeckah's Treasures... I am a Norwegian/Canadian currently studying Midwifery in the UK. I love to crochet! At Rebeckah's Treasures, I share my crochet patterns and treasures. I hope they inspire you to crochet your own little treasures too... 
Comments
|
Hello, my name is Rebeckah.
I hope my crochet inspires you to create your very own treasures! Learn more about me... Categories
All
Archives
October 2021
© 2012-2021 Rebeckah Ferger
All rights reserved. Disclaimer: This website makes use of sponsored and/or affiliate links. Please see this page for more information.
|
- Home
-
-
- Special Offers
- New Releases
- Accessory Crochet Patterns
- Afghan Square Crochet Patterns
- Amigurumi Crochet Patterns
- Applique Crochet Patterns
- Baby Crochet Patterns
- Dolly Crochet Patterns
- Fashion Doll Crochet Patterns
- Free Downloads
- Holiday Crochet Patterns
- Tapestry Crochet Patterns
- Under the Sea Crochet Patterns
- Wedding Crochet Patterns
- Disclaimer and FAQs
-
-
- Free Crochet Patterns
- New Free Releases
- Free Accessory Crochet Patterns
- Free Afghan Square Crochet Patterns
- Free Amigurumi Crochet Patterns
- Free Applique Crochet Patterns
- Free Baby Crochet Patterns
- Free Dolly Crochet Patterns
- Free Fashion Doll Crochet Patterns
- Free Guest Crochet Patterns
- Free Holiday Crochet Patterns
- Free Tapestry Crochet Patterns
- Free Under the Sea Crochet Patterns
- Free Wedding Crochet Patterns
- Free Crochet Patterns Coming Soon
Welcome Visitor! I hope you enjoy my treasures.














 RSS Feed
