|
Disclaimer: This website makes use of sponsored and/or affiliate links. Please see this page for more information.
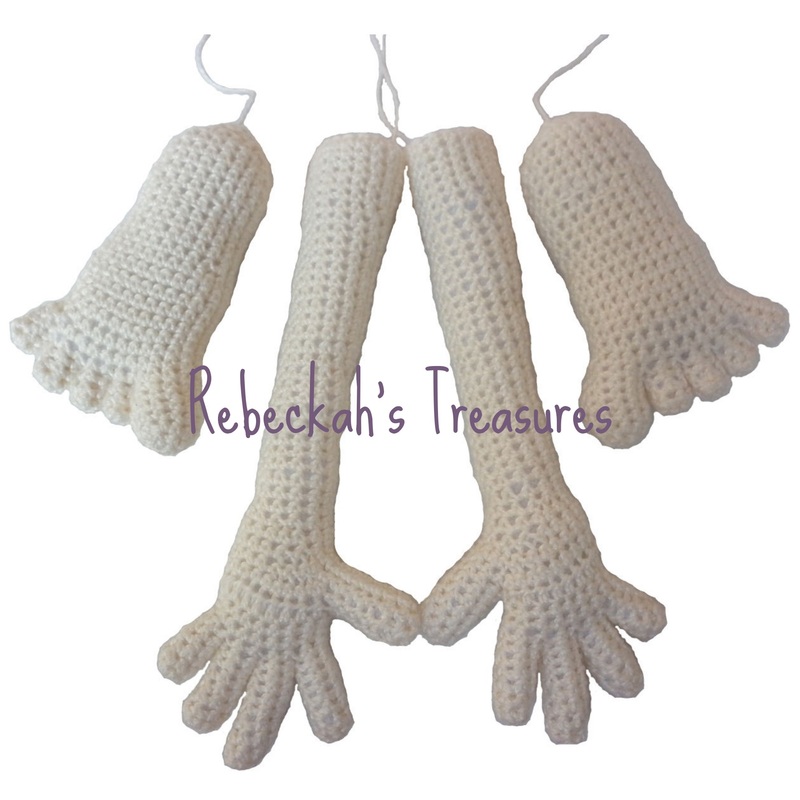
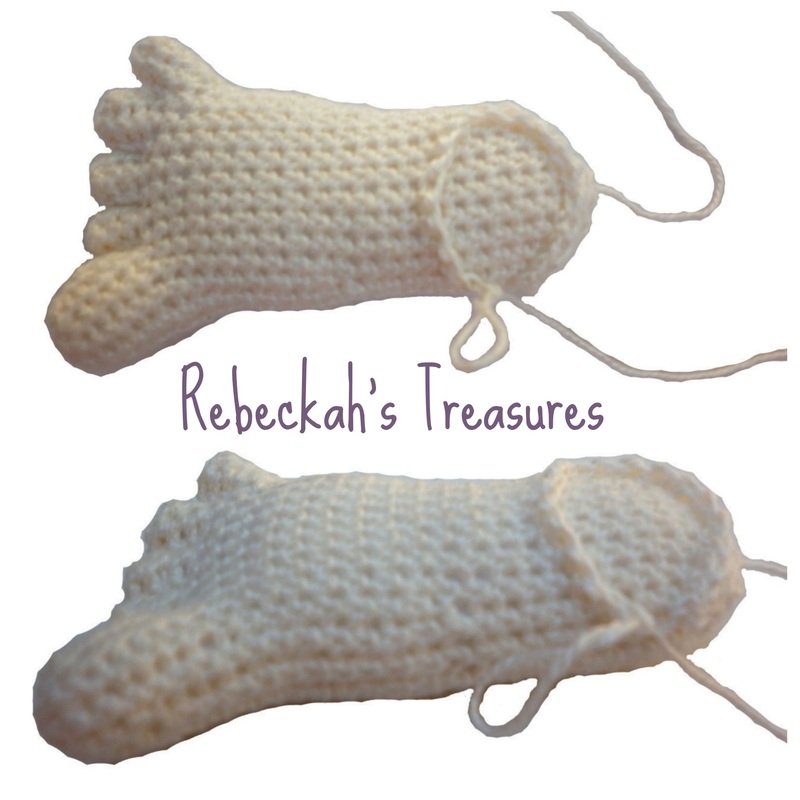
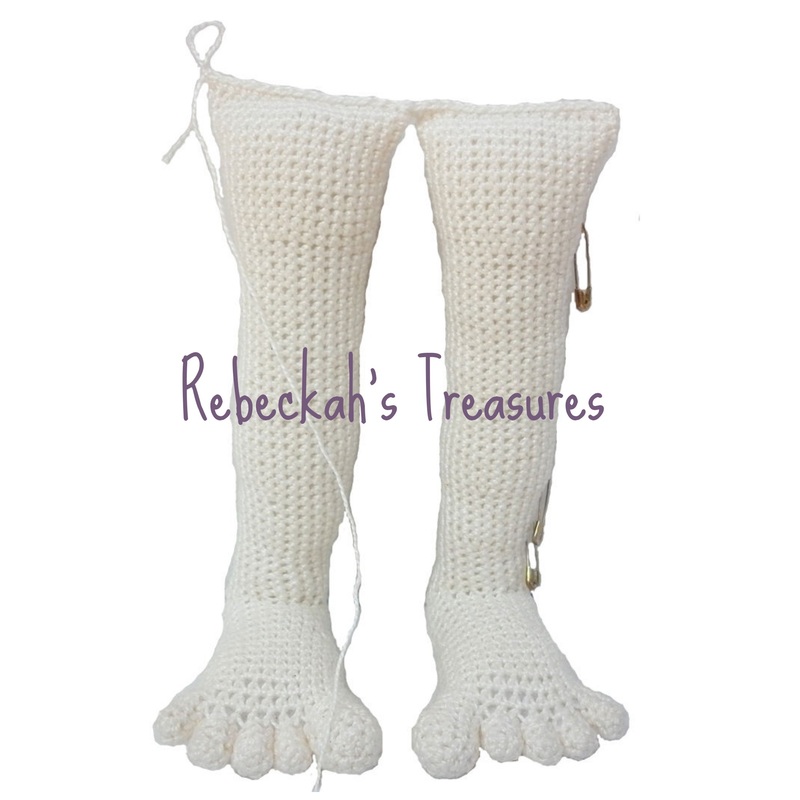
Hands & Feet
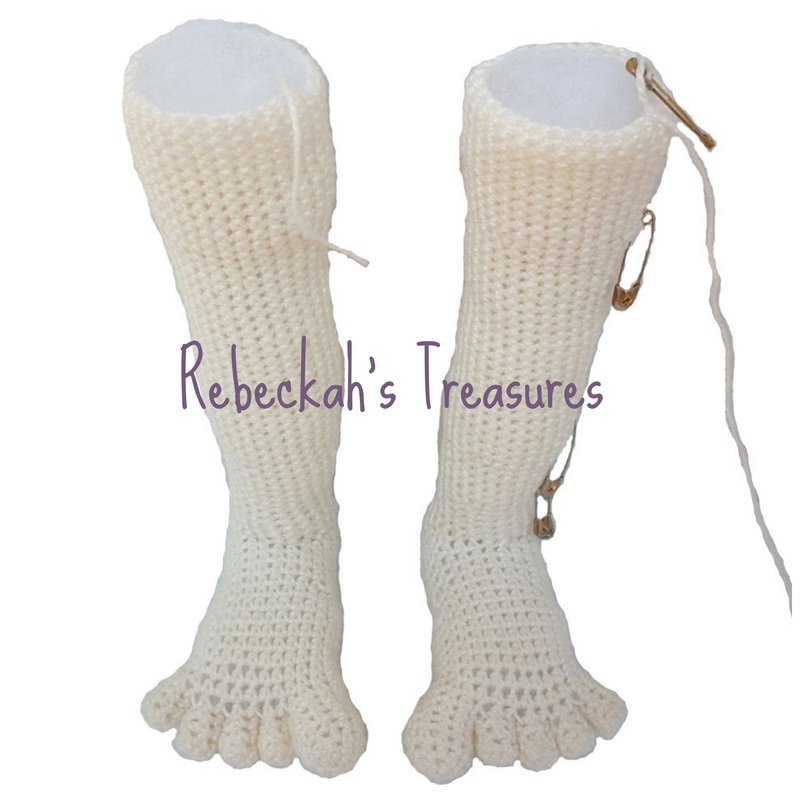
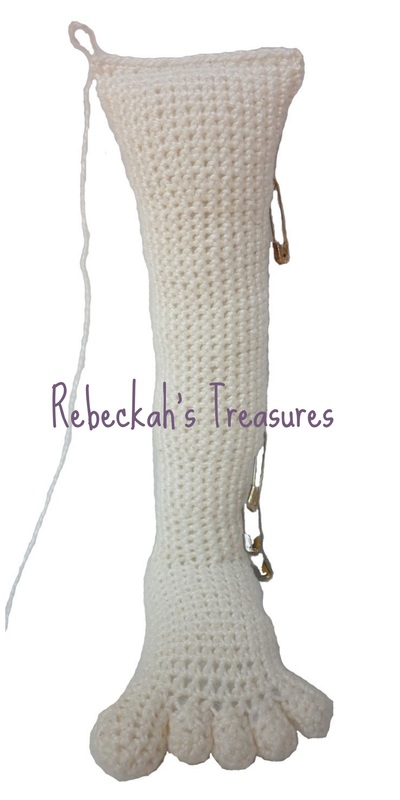
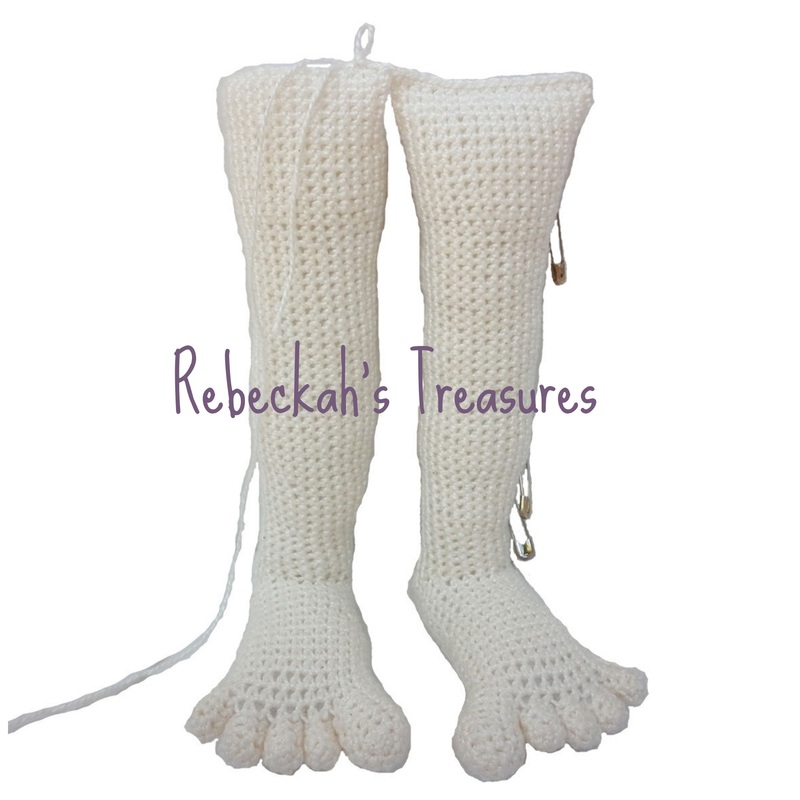
Starting Legs
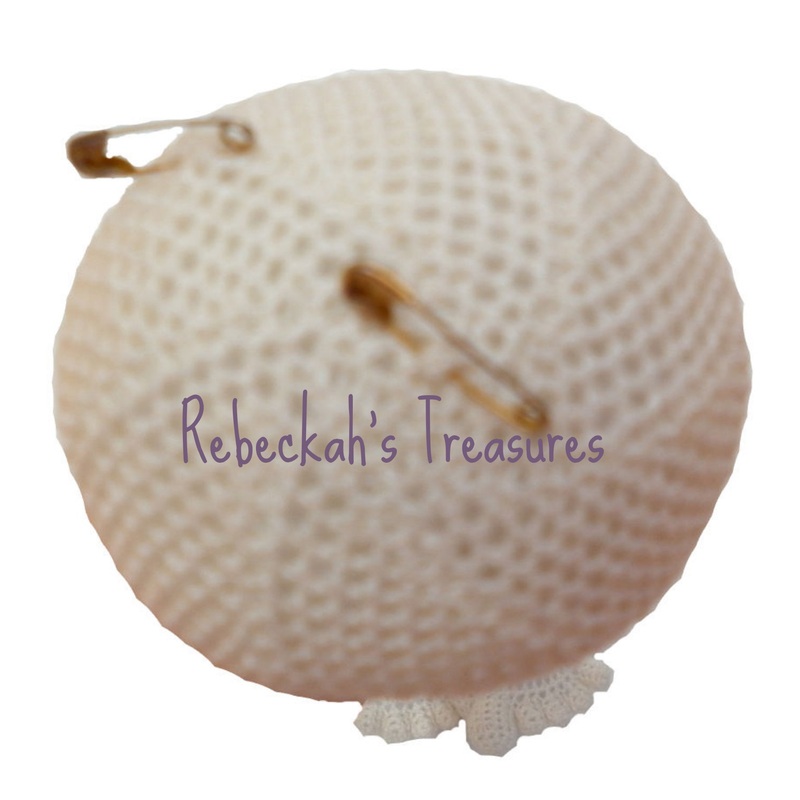
Starting Body
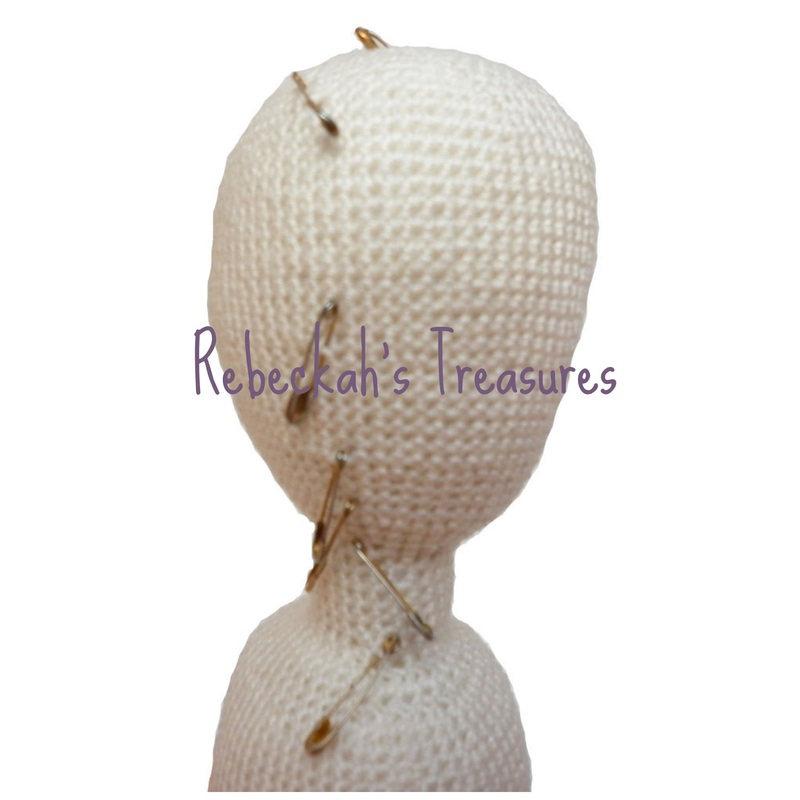
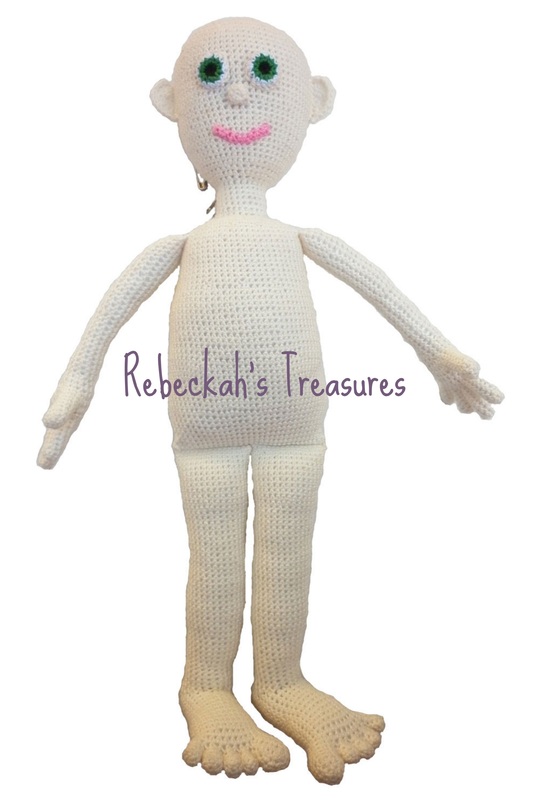
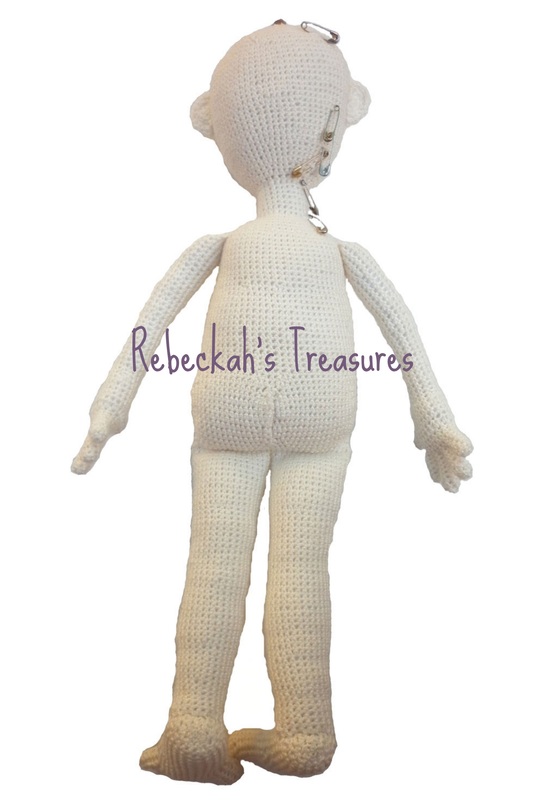
Here is where I made the first changes to the pattern. As a spur of the moment thing, I decided that she needed a proper bottom. The first doll didn't have this. I had wanted the first to have it before, now that I think of it. However, she was my first amigurumi project that I designed, and as with all firsts, there are usually things to improve upon. So, although I didn't have the skill to design the bottom the first time around, I did now, and that is what counts! You will see this improvement in the middle picture below... After I successfully crocheting a bottom, I proceeded to work up the body. The second change occurred at the neck. With my first doll, the body to the top of the head is one fluid piece. This left her head to be too wobbly, especially after the hair was added. So, for this one and the new pattern, I closed off the body before starting the neck. I, then, proceeded to crochet the neck directly where I would have done had I not closed off the body first. I closed of the neck, and repeated the same process to start the head. You will see in the following pictures that there are quite a few safety pins. Those were to help me keep track of the start of rounds and how many rounds were there. You will soon see why I left them in, even after I had finished the head. Below to the left and center you can see the doll after I finished crocheting the head. The two to the right show you the top and sides of the head, focusing on where I left the safety pins...
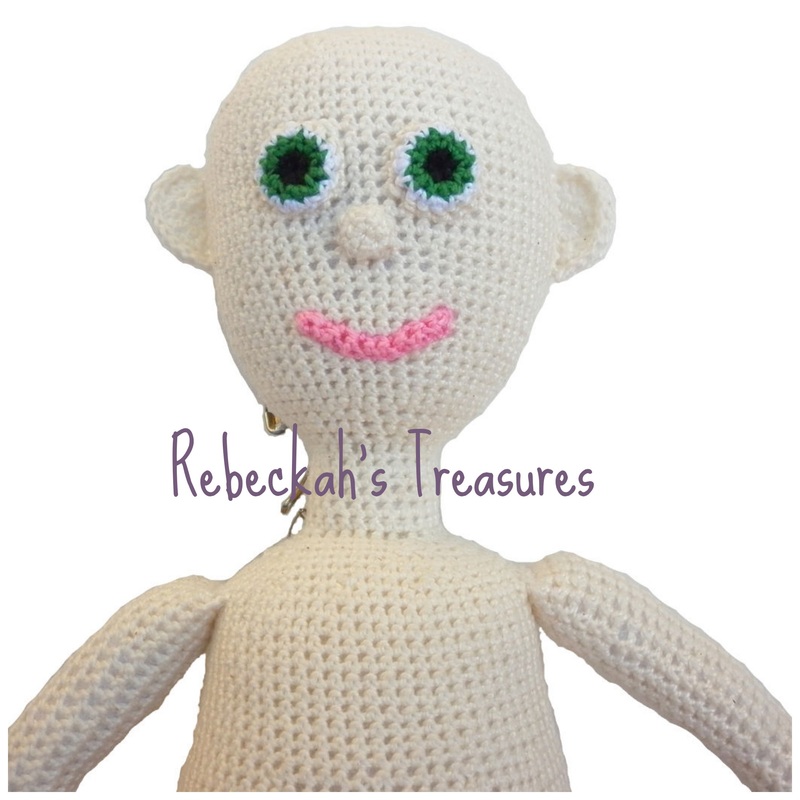
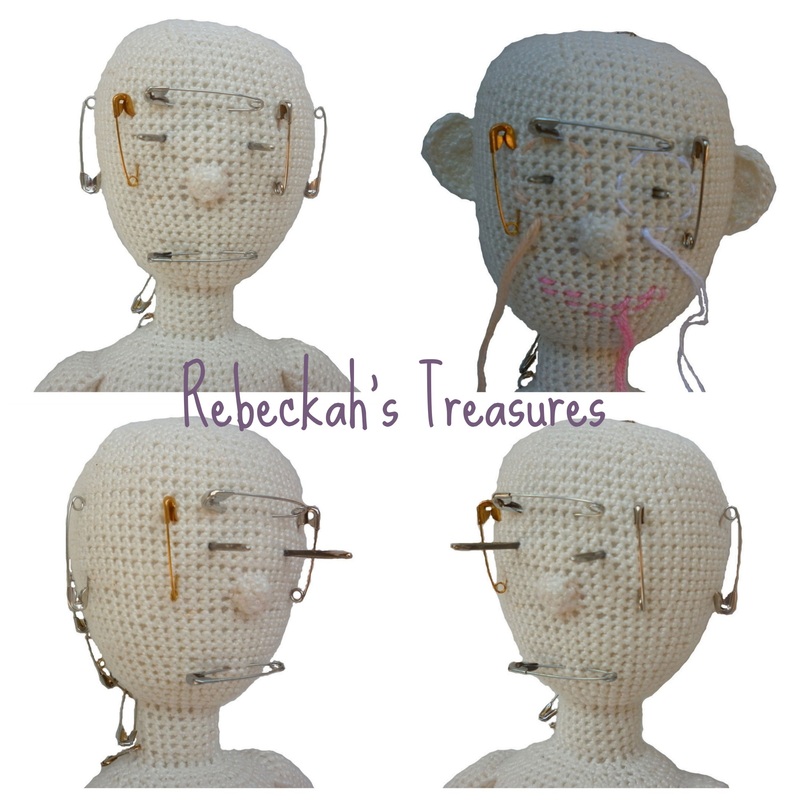
Now that the base of the doll was completed, it was time for some finishing touches. The first thing I did was sew the arms onto the shoulders of the doll. Then, I crocheted the eyes, ears, mouth and nose. The ears were the third change I made to this doll. As you will notice from the first doll, the ears are more circular. At the time, I couldn't figure out how to give them more of a human ear shape. However, this time I was able to do it. The eyes were the fourth change I made. They are essentially the same as the first ones. Though this time, I was able to make them more realistic. Complete with the three colours eyes usually have - black pupils, main eye colour, and the white of the eye. I couldn't remember how I crocheted the mouth for the first one, and I wasn't able to find any notes on it either. So, the fifth change I made was to the mouth. Now that I have all the facial components, it was time to sew them onto the face... Face MappingBefore I could start sewing each piece onto the head, I needed to map the face. You will see this process in the pictures below to the right... First, I choose the location for the nose on the center of the face, and sewed it into place. From there, I was able to see where the eyes should go, and since the rule of thumb is that the ears should always line up with the eyes, I picked a place for them. Finally, I was able to mark where the mouth should go.
All other pins were used to determine where those markers should go. In the following two pictures, you will see the doll ready for hair...
Hair MappingNow that she is ready for hair, it is time to determine where I will place each strand. With the way I will be doing the hair, I am not about to fill each hole with a strand of hair. It would end up being way too thick. So, I mapped the entire head to mark where I should place the strands as you will see in the pictures grouped below... 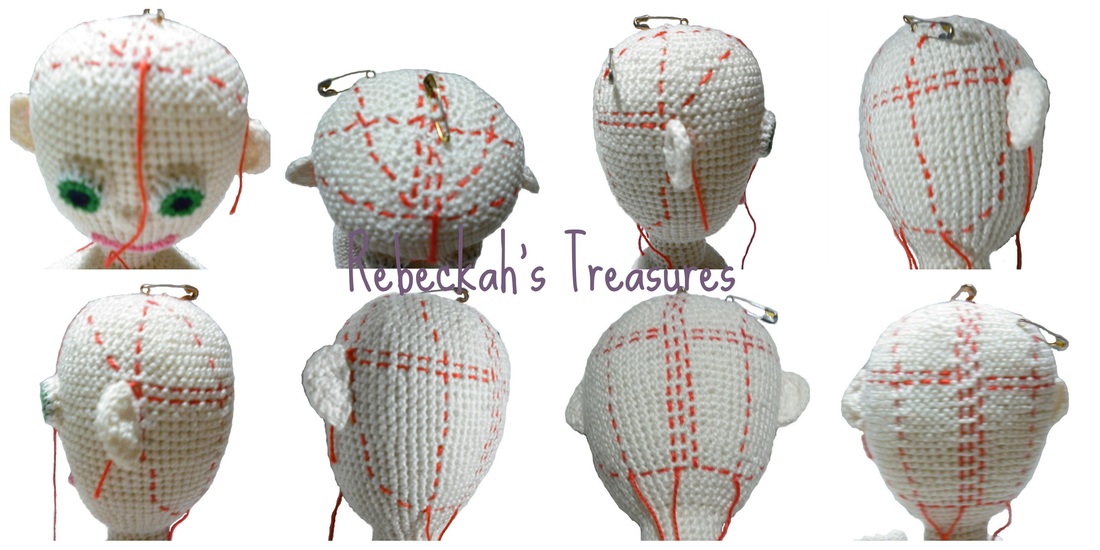 First, I determined the full perimeter of the hairline. Next, I marked the three vertical center lines of the head. Then, I marked two horizontal lines where the hair could be pulled into a half ponytail. After that, I marked another horizontal line on the crown of the head to complete the circle from the perimeter markings. Lastly, I made two more vertical lines to mark the center of each side. I am currently working on the hair. I am not entirely sure if I will add anymore strands to any place other than marked, or even if I will place a strand every place I have marked, but I know that it will be perfect once I am done. Below you can see where I left off...  I am so excited about this project, and I can hardly wait for her to be finished! UPDATE ~ Jan. 31: See this Dolly finished here.
UPDATE ~ Feb. 06: Pattern is Now Available! See "Style Me" Crochet Dolly Pattern. Once I have finished her hair, she will need some clothes. What sort of outfit would you like to see me make her? Let me know in the comments below, along with any other thoughts you may have...  
Hello Visitor and Welcome to Rebeckah's Treasures... I am a Norwegian/Canadian currently studying Midwifery in the UK. I love to crochet! At Rebeckah's Treasures, I share my crochet patterns and treasures. I hope they inspire you to crochet your own little treasures too... 
Comments
|


Hello, my name is Rebeckah.
I hope my crochet inspires you to create your very own treasures! Learn more about me... Categories
All
Archives
October 2021
© 2012-2021 Rebeckah Ferger
All rights reserved. Disclaimer: This website makes use of sponsored and/or affiliate links. Please see this page for more information.
|
- Home
-
-
- Special Offers
- New Releases
- Accessory Crochet Patterns
- Afghan Square Crochet Patterns
- Amigurumi Crochet Patterns
- Applique Crochet Patterns
- Baby Crochet Patterns
- Dolly Crochet Patterns
- Fashion Doll Crochet Patterns
- Free Downloads
- Holiday Crochet Patterns
- Tapestry Crochet Patterns
- Under the Sea Crochet Patterns
- Wedding Crochet Patterns
- Disclaimer and FAQs
-
-
- Free Crochet Patterns
- New Free Releases
- Free Accessory Crochet Patterns
- Free Afghan Square Crochet Patterns
- Free Amigurumi Crochet Patterns
- Free Applique Crochet Patterns
- Free Baby Crochet Patterns
- Free Dolly Crochet Patterns
- Free Fashion Doll Crochet Patterns
- Free Guest Crochet Patterns
- Free Holiday Crochet Patterns
- Free Tapestry Crochet Patterns
- Free Under the Sea Crochet Patterns
- Free Wedding Crochet Patterns
- Free Crochet Patterns Coming Soon
Welcome Visitor! I hope you enjoy my treasures.


 RSS Feed
