|
Disclaimer: This website makes use of sponsored and/or affiliate links. Please see this page for more information.
Are you fond of collecting seashells along the beach?
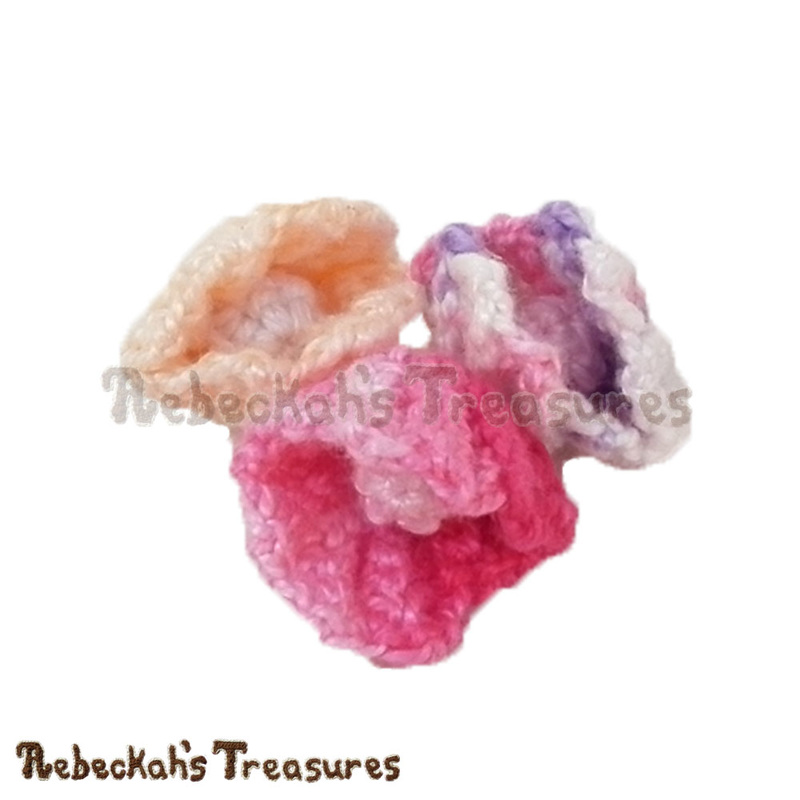
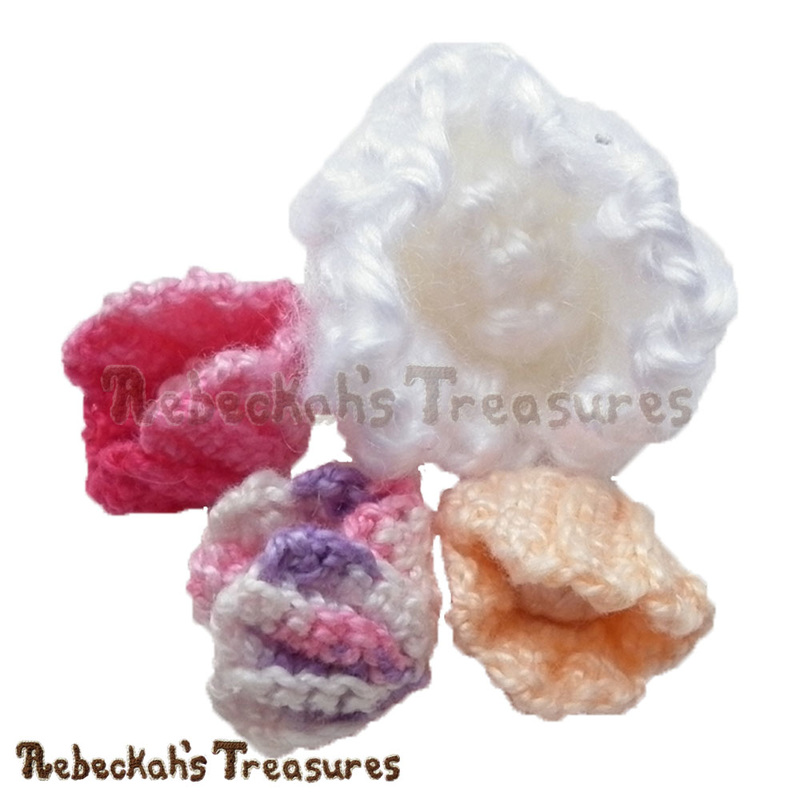
Then, you'll love crocheting this precious Treasure Pearl Shell!
This minutes-to-make pattern includes written instructions for crocheting the Treasure Pearl Shell. Use this shell as a mini decoration, a charm, a jewelry bead or add to your key rings!
This project was inspired in 2014 as part of my mermaid project. You can read the full story behind all of the sea shells here... This crochet pattern is also available as a printer friendly, 8-page eBook / PDF download, which also includes the Spiral Conch Shell (with bonus photo tutorial) and the other two variations of the pearl shells - Half Pearl Shell & Clam Pearl Shell. GRAB IT HERE for only $3.75!
This pattern is copyrighted to Rebeckah Ferger of www.rebeckahstreasures.com. It is for personal use only. No part of this pattern may be copied or distributed in any way. If you sell what you make from this pattern, please credit me as the designer. All rights reserved, 2016.
You'll Need:
Sizing:
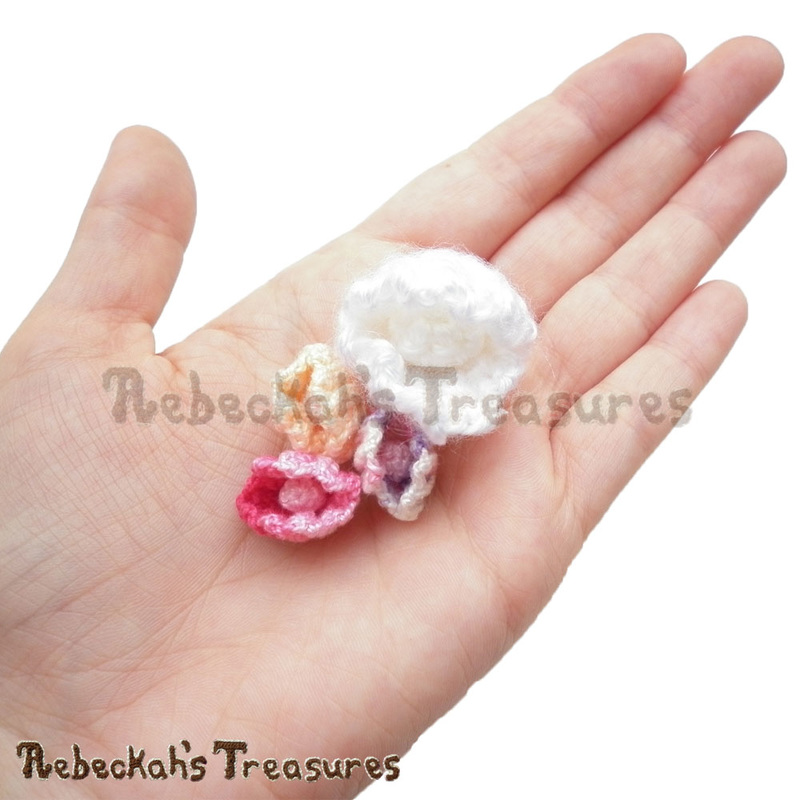
Adjust the yarn weight and hook size for bigger or smaller shells!
Gauge:
Gauge is not important for these patterns. Simply pick your favourite thread or yarn and a hook that will produce really tight stitches! For similar sized shells, here are the gauge samples...
Treasure Pearl Shell Instructions:
These treasure pearl shells, or open shells with pearls, are worked as two pieces – the pearl and the shell. Later the pearl is attached to the center of the open shell.
Working the Pearl: Make 1 per shell in any “pearly” colour. Alternatively, use a fake pearl or another big bead as the pearl instead. The pearl is worked in continuous rnds, where the Side facing you = WS. Do not turn at the end of rnds. rnd 1: sc 6 into a magic circle (6 sts). rnd 2: sc 6, sl st join to the first st of this rnd, f/o (6 sts). Tuck the ends inside the pearl to stuff. It helps to use the eye end of a tapestry or yarn needle! Don’t worry about the small hole after rnd 2. This will be taken care of later. Set aside for now... Working the Treasure Pearl Shell: Make 1 or as many as you please in any colour. The treasure pearl shells are worked in rows from side to side (shell’s left to right when WS faces you) by working one half of the shell at a time. Work ALL sts into BL unless directed to do otherwise. *EVEN rows = RS.
NOTE: You’ll end the shell with the WS facing you. Starting the FIRST Shell Half: ch 6... row 1: sc into the 2nd ch from the hook & in the next 2 chs, sl st 2, turn (5 sts). row 2: ch 1, sk the first st, sl st, sc 2, sc 2 in the last st, ch 1, turn (6 sts). *The first ch of this row and all even rows below count as a st. row 3: sc 4, sl st 2, turn (6 sts). row 4: ch 1, sk the first st, sl st 2, sc 2, sc 2 in the last st, ch 1, turn (7 sts). row 5: sc 4, sl st 3, turn (7 sts). row 6: ch 1, sk the first st, sl st 2, sc 4, ch 1, turn (7 sts). row 7: sc2tog, sc 3, sl st 2, turn (6 sts). row 8: ch 1, sk the first st, sl st, sc 2, sc2tog, ch 1, turn (6 sts). row 9: sc 3, sl st 2, sl st join to the very first ch made (also the last st of the first row) to bring both ends of the bottom of the shell tog and create a pinched effect, ch 1, do not turn (5 sts). Starting the SECOND Shell Half: continuing where you left off, ch 6... row 10-17: rep rows 1-8 again, this time the odd rows are the “even” rows when it comes time to count the first ch of a row as a st. row 18: sc 3, sl st 2, sl st join to the very first ch made after row 9 (also the last st of row 10), sl st join to the very first ch made at the start of this shell, f/o with a long tail (5 sts). Optional Step: Weave the starting tail along the edge of the pinched end of one shell half and weave the ending tail along the edge of the pinched of the other shell half. Pull tight on each to gather the rows and close the small hole. Knot both ends together. OR, omit this step and leave the little hole as part of the design. Use the ending tail to attach the last rnd of the pearl shell to the center of the shell. Secure pearl into place with several whip stitches and in doing so, the open end of the pearl is closed. Knot into place. Now, use the starting / ending tails and the whip stitch to sew along the straight sides of both shell halves – one tail for it’s respective side of the shell, thereby joining both halves together. Leave the top end of the shell halves open. Weave in all ends.
Thanks so much for visiting today!
If you have any questions, or need pattern help, comment below OR visit my one of my groups / communities on Facebook, Google+ or Ravelry. Have a marvelous day and stay tuned for more under the sea patterns! 
Hello Visitor and Welcome to Rebeckah's Treasures... I am a Norwegian/Canadian currently studying Midwifery in the UK. I love to crochet! At Rebeckah's Treasures, I share my crochet patterns and treasures. I hope they inspire you to crochet your own little treasures too... 
Comments
|
Hello, my name is Rebeckah.
I hope my crochet inspires you to create your very own treasures! Learn more about me... Categories
All
Archives
October 2021
© 2012-2021 Rebeckah Ferger
All rights reserved. Disclaimer: This website makes use of sponsored and/or affiliate links. Please see this page for more information.
|
- Home
-
-
- Special Offers
- New Releases
- Accessory Crochet Patterns
- Afghan Square Crochet Patterns
- Amigurumi Crochet Patterns
- Applique Crochet Patterns
- Baby Crochet Patterns
- Dolly Crochet Patterns
- Fashion Doll Crochet Patterns
- Free Downloads
- Holiday Crochet Patterns
- Tapestry Crochet Patterns
- Under the Sea Crochet Patterns
- Wedding Crochet Patterns
- Disclaimer and FAQs
-
-
- Free Crochet Patterns
- New Free Releases
- Free Accessory Crochet Patterns
- Free Afghan Square Crochet Patterns
- Free Amigurumi Crochet Patterns
- Free Applique Crochet Patterns
- Free Baby Crochet Patterns
- Free Dolly Crochet Patterns
- Free Fashion Doll Crochet Patterns
- Free Guest Crochet Patterns
- Free Holiday Crochet Patterns
- Free Tapestry Crochet Patterns
- Free Under the Sea Crochet Patterns
- Free Wedding Crochet Patterns
- Free Crochet Patterns Coming Soon
Welcome Visitor! I hope you enjoy my treasures.










 RSS Feed
