|
Disclaimer: This website makes use of sponsored and/or affiliate links. Please see this page for more information.
Do you scavenge beaches for precious seashells?
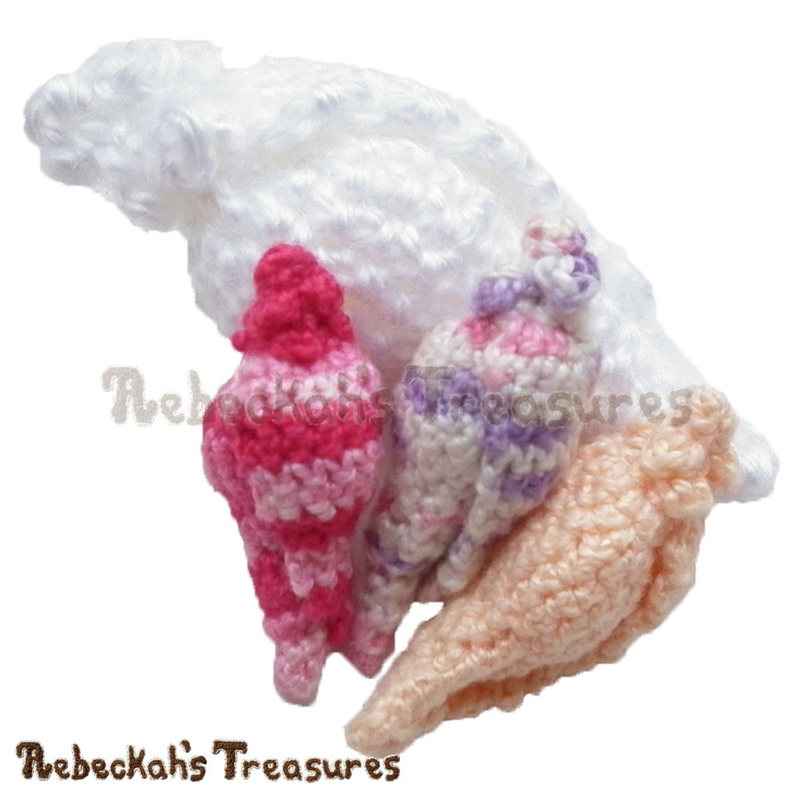
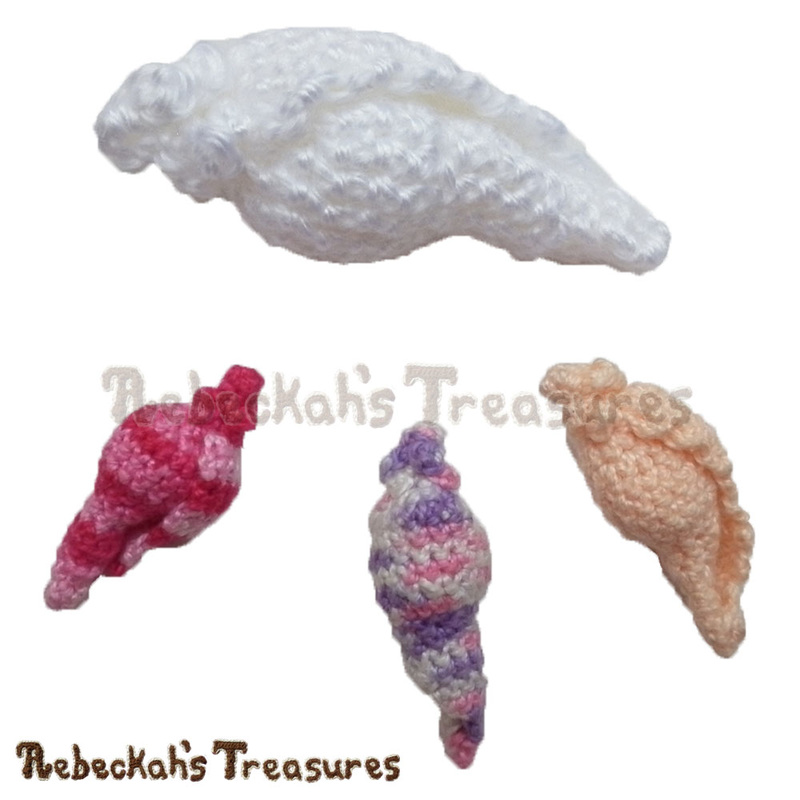
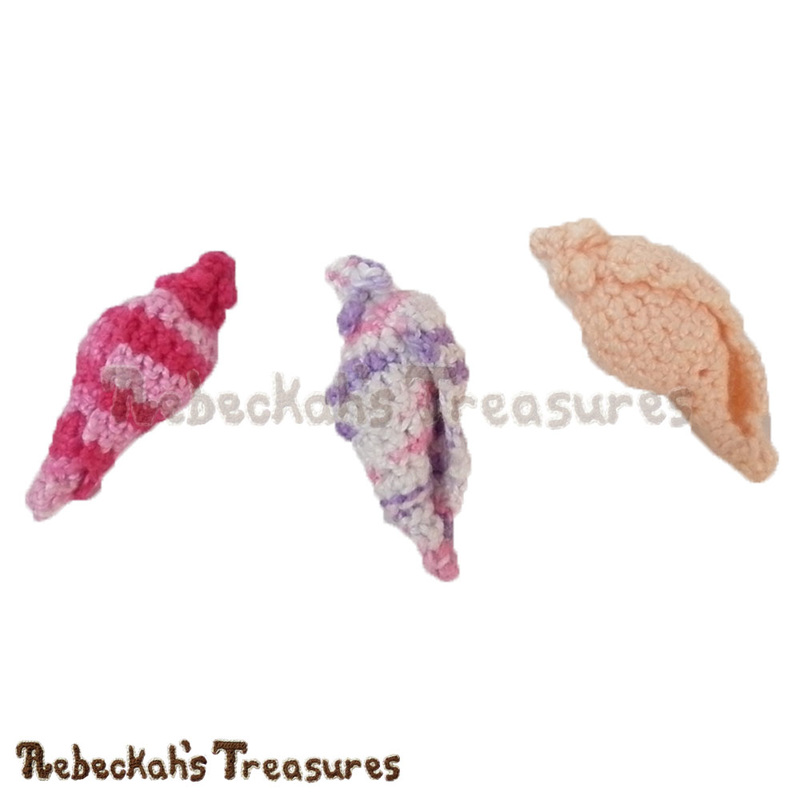
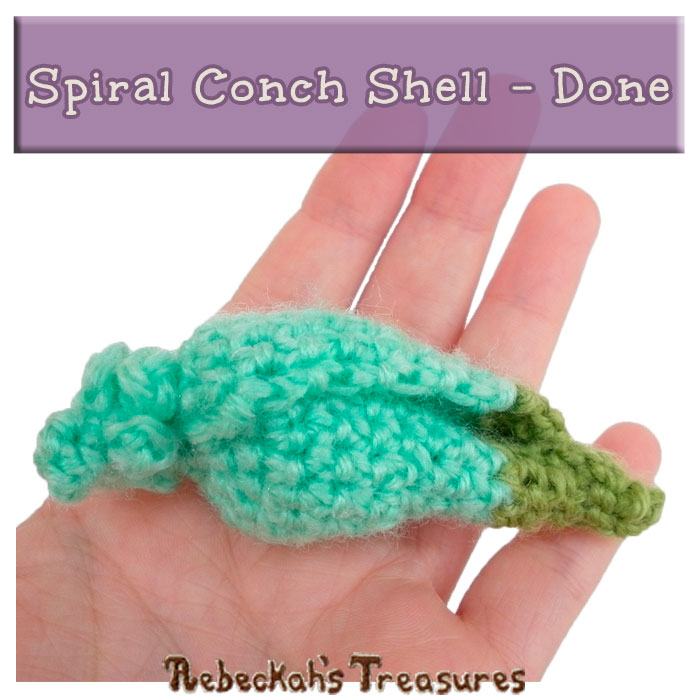
Keep memories of summer fun near you always with this gorgeous Spiral Conch Shell!
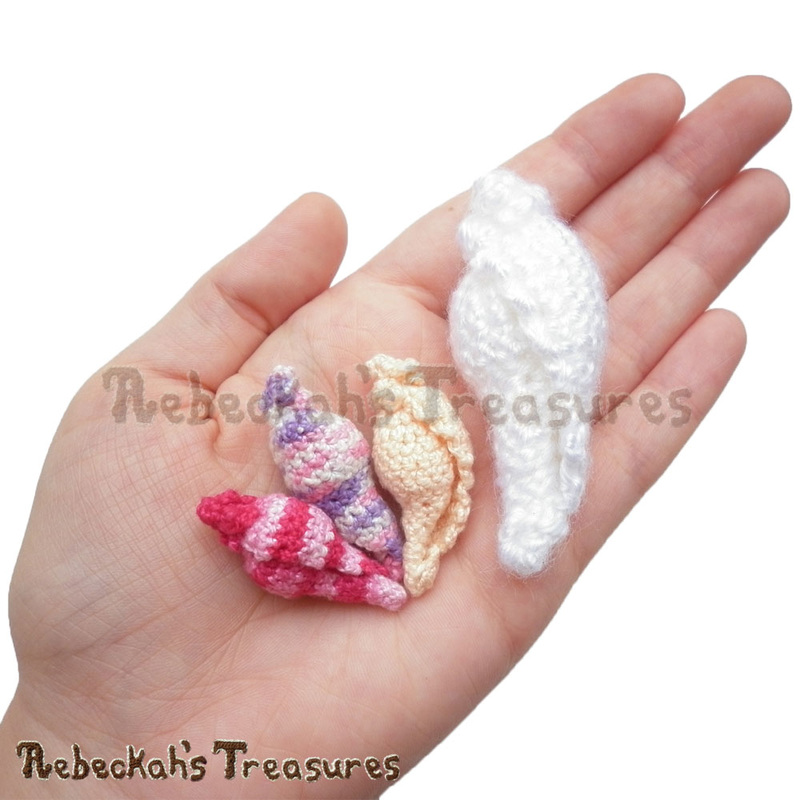
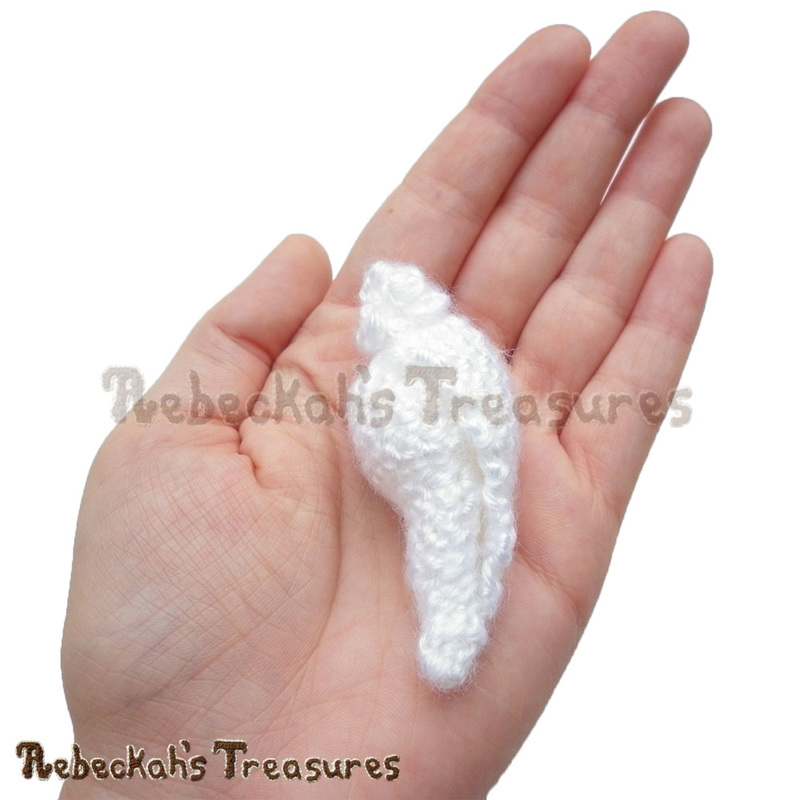
This minutes-to-make pattern includes written instructions and a photo tutorial for crocheting the spiral conch shell as pictured. Use this shell as a mini decoration, a charm, a jewelry bead or add to your key rings!
This project was inspired in 2014 as part of my mermaid project. You can read the full story behind all of the sea shells here... This crochet pattern is also available as a printer friendly, 8-page eBook / PDF download, which also includes all three variations of the pearl shells - Half Pearl Shell & Clam Pearl Shell & Treasure Pearl Shell. GRAB IT HERE for only $3.75!
This pattern is copyrighted to Rebeckah Ferger of www.rebeckahstreasures.com. It is for personal use only. No part of this pattern may be copied or distributed in any way. If you sell what you make from this pattern, please credit me as the designer. All rights reserved, 2016.
You'll Need:
Sizing:
Adjust the yarn weight and hook size for bigger or smaller shells!
Gauge:
Gauge is not important for these patterns. Simply pick your favourite thread or yarn and a hook that will produce really tight stitches! For similar sized shells, here are the gauge samples...
Pattern Notes:
You should be familiar with basic crochet stitches (chs, sl sts, sc), working in rows, rounds, front/back loops, and how to do increases and decreases. A special stitch you should be familiar with is the picot.
Decreases or sc2tog sts are best worked by using the invisible decrease technique, where you only work in one loop of a stitch. *If you are unfamiliar with this technique, see my video tutorial here... You should also be familiar with hand sewing crochet pieces by means of the whipstitch. Additional notes are included as you come to them below... Spiral Conch Shell Instructions:
Make 1 or as many as you please in any colour.
The spiral conch shell switches back and forth between working in continuous rnds and rows. It is worked from the top to the bottom in two parts – the upper and the lower. Owing to the fact the instructions switch between both rnds and rows, making the current RS / WS different each time, I will pause after each switch to let you know which is the RS or WS. You should be familiar with mirror crochet, a technique that makes it possible to have the same look in rows as you get when working in continuous rnds. This is accomplished by inserting your hook into the stitch from the back to front, rather than from the front to back like normal stitches are worked. If you are unfamiliar with this technique, see Sad Days Crochet’s video tutorial here.
Upper Half of the Shell Instructions:
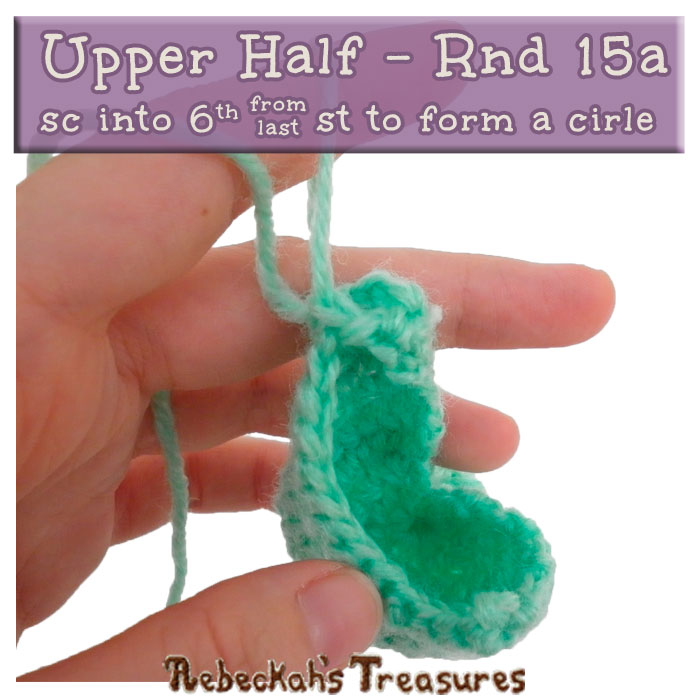
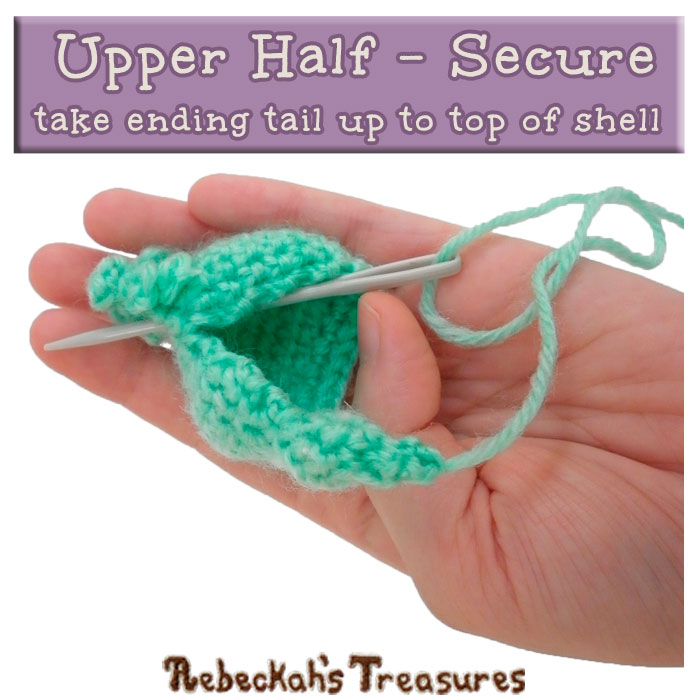
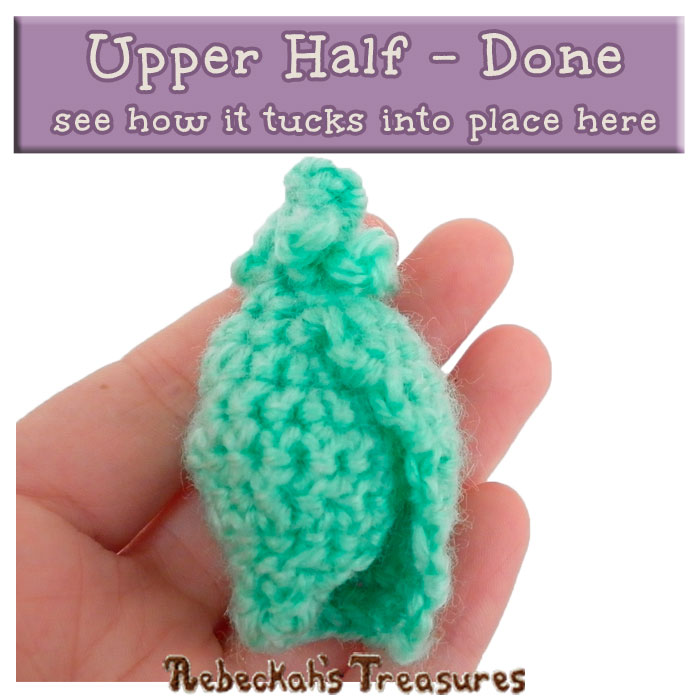
You will start the shell by working in continuous rnds, where the side facing you = WS (or the inside of the shell). Do not turn at the end of rnds, until directed to do otherwise. rnd 1: sc 3 into a magic circle (3 sts). rnd 2: [sc 1, picot] x 3 (3 picots + 3 sts). rnd 3: [sc 1, picot, sk the next picot] x 3 (3 picots + 3 sts). *The skipped picots in this rnd & the next get pushed to the back side of the work, so they show on the RS. rnd 4: [sc 2 in the next st, sk the next picot] x 3 (6 sts). Switching from rnds to rows. Work continuously until the end of row 5... From here until the next switch, the shell is worked in rows. For this section of the shell, ALL even rows will be mirror crochet. You will ch 1, turn at the end of each row. *EVEN rows = RS. NOTE: The sides of the shell rows that start & end with increases is the inner most side of the coil. row 5: [sc 2 in the next st] x 6, ch 1, turn (12 sts). row 6: mirror all sts in this row → sc 9, sc 2 in each of the last 3 sts, ch 1, turn (15 sts). row 7: sc 2 in each of the first 3 sts, sc 12 , ch 1, turn (18 sts). row 8: mirror all sts in this row → sc 15, sc 2 in each of the last 3 sts, ch 1, turn (21 sts). row 9: sc 21, ch 1, turn (21 sts). row 10: mirror all sts in this row → sc 21, ch 1, turn (21 sts). row 11: sc 21, ch 1, turn (21 sts). row 12: mirror all sts in this row → sc2tog in FL x 9, sc 2 in each of the last 3 sts, ch 1, turn (15 sts). row 13: sc 2 in each of the first 3 sts, sc 12, ch 1, turn (18 sts). row 14: mirror all sts in this row → sc 18, do not ch 1, turn (18 sts). Switching from rows to rnds... From here, you will return to working in continuous rnds for the last two rnds of the upper shell. However, this time the side facing you = RS (or the outside of the shell). Do not turn at the end of rnds, until directed to do so. rnd 15a: twist or curl the current end of the row inwards, so as to form a circle with last 6 sts made in row 14 → sc into that 6th st from the end, so the official switch to rnds is complete, sc 5 over the rem sts of circle (6 sts). *This is the ONE time when the RS is facing you that you will NOT mirror crochet. This is due to the fact that this rnd will not be visible from the outside of the shell later. Also, the rem 12 sts not part of the circle will rem unworked for now. These 12 unworked sts serve as the base for the lower half of the shell. rnd 16a: sc2tog in FL x 3, sl st join to the first st of this rnd, ch 1, f/o with a small tail (3 sts). Take the ending tail up to the top center of the shell below the picots in rnd 3. Secure into place by using the whip stitch. Tie off and weave in all ends. This process creates the upper coil and bulge of the shell. *Click to enlarge tutorial photos below...
Lower Half of the Shell Instructions:
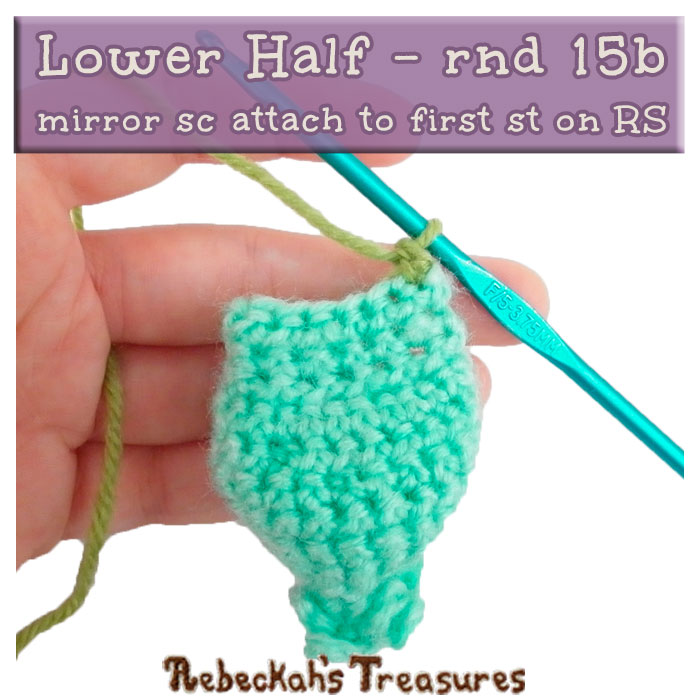
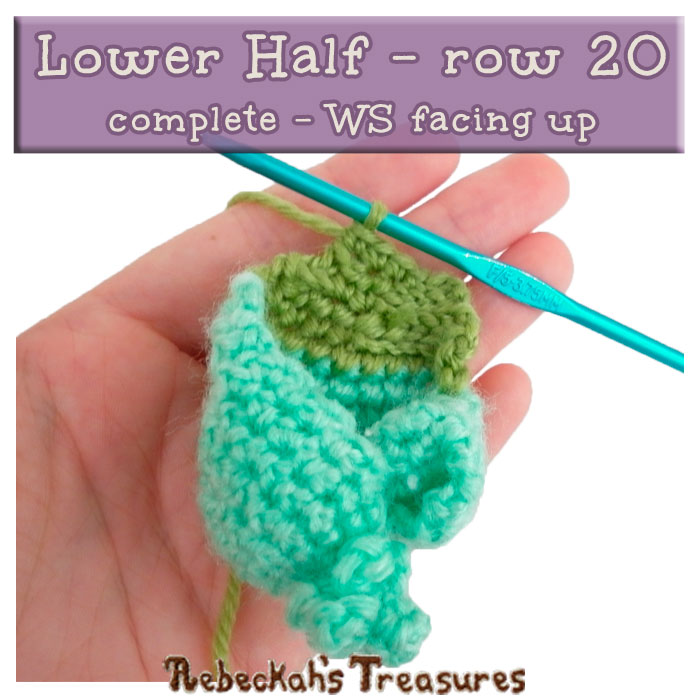
The lower half of the shell is worked in rows until the end of row 20. For this section of the shell, ALL odd rows will be mirror crochet, unless otherwise specified. You will ch 1, turn at the end of each row. *ODD rows = RS.
row 18: sk the first st, sl st 4 in BL, sc 2, sc2tog in BL, ch 1, turn (7 sts).
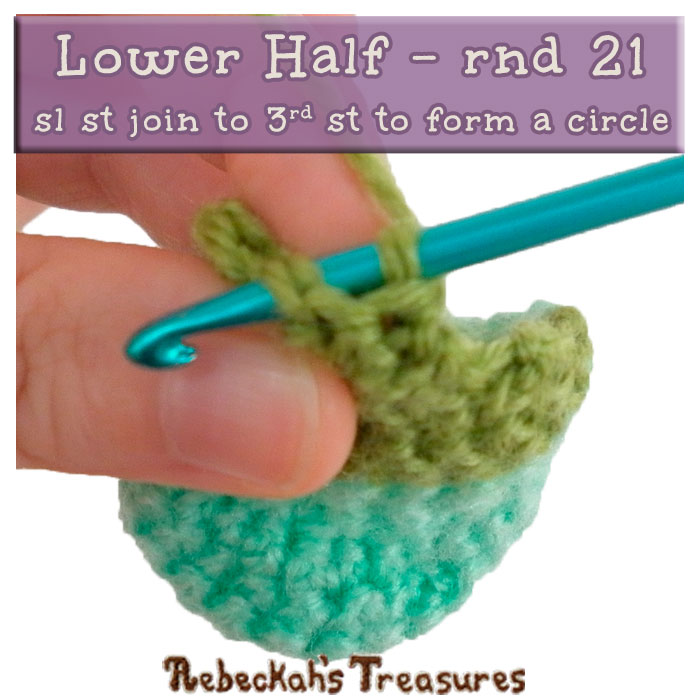
row 19: mirror these sts → sc2tog in FL, sc 1, do not mirror these sts → sl st 4 in FL, ch 1, turn (6 sts). row 20: sk the first st, sl st 2 in BL, sc 3, do not ch 1, turn (5 sts). Switching from rows to rnds... From here, one final rnd is worked to complete the lower shell. The side facing you = WS (or the inside of the shell). With that said, it will hardly seem like it because there are so few stitches. rnd 21: sl st join to the 3rd st in row 20 to form a circle (thereby skipping over the first 2 sts), sl st 2 over the rem sts in the circle, ch 1, f/o with a long tail (3 sts). *The first 2 sts from row 20 are left unworked here.
Finishing Touches:
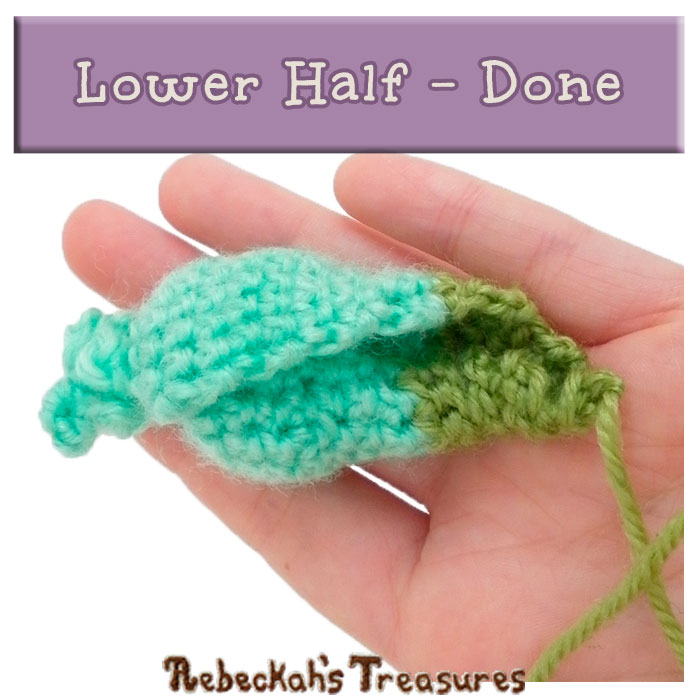
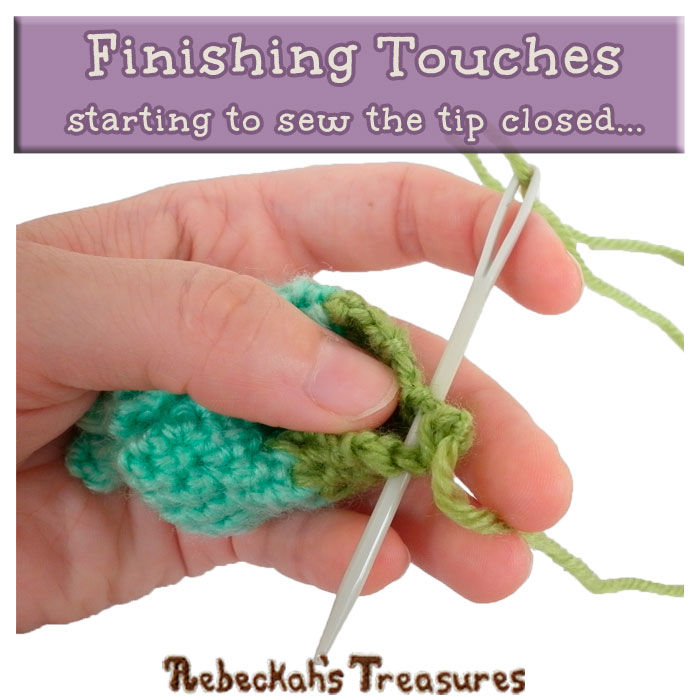
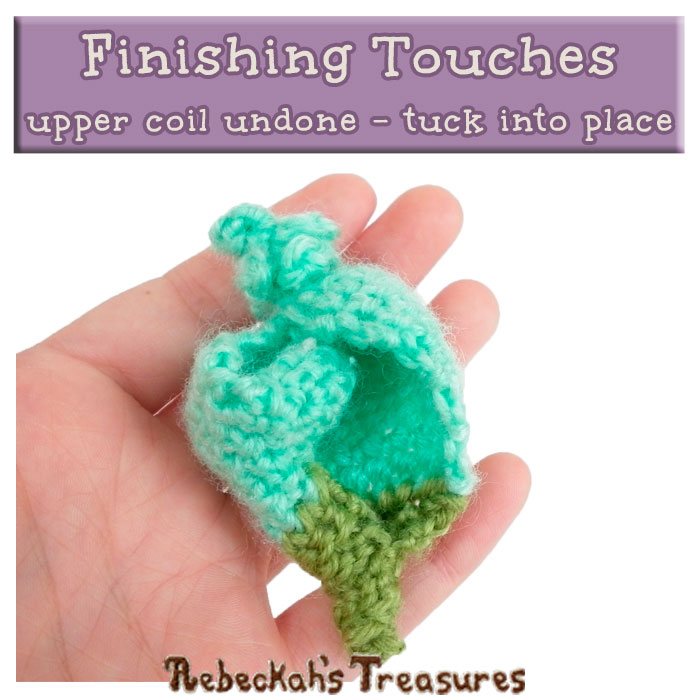
Use the ending tail to sew closed the bottom tip of the shell. Do this by sewing the 2 unworked sts from row 20 to the edge posts on rows 19 & 20 of the opposite side. Finish off by sewing the edge post of row 20 on the unworked st side to the edge post on row 18 of the other side. Tie off and weave in all ends. As you crocheted and worked on the lower half of the shell, the upper coil most likely came undone. What you need to do now is tuck it back into place. Then, pressing the bottom tip of the shell in your fingers, twist inwards and stretch downwards slightly to complete the shell’s look.
Thanks so much for visiting today!
If you have any questions, or need pattern help, comment below OR visit my one of my groups / communities on Facebook, Google+ or Ravelry. See more under the sea patterns, and have a fantastic day! 
Hello Visitor and Welcome to Rebeckah's Treasures... I am a Norwegian/Canadian currently studying Midwifery in the UK. I love to crochet! At Rebeckah's Treasures, I share my crochet patterns and treasures. I hope they inspire you to crochet your own little treasures too... 
Comments
|
Hello, my name is Rebeckah.
I hope my crochet inspires you to create your very own treasures! Learn more about me... Categories
All
Archives
October 2021
© 2012-2021 Rebeckah Ferger
All rights reserved. Disclaimer: This website makes use of sponsored and/or affiliate links. Please see this page for more information.
|
- Home
-
-
- Special Offers
- New Releases
- Accessory Crochet Patterns
- Afghan Square Crochet Patterns
- Amigurumi Crochet Patterns
- Applique Crochet Patterns
- Baby Crochet Patterns
- Dolly Crochet Patterns
- Fashion Doll Crochet Patterns
- Free Downloads
- Holiday Crochet Patterns
- Tapestry Crochet Patterns
- Under the Sea Crochet Patterns
- Wedding Crochet Patterns
- Disclaimer and FAQs
-
-
- Free Crochet Patterns
- New Free Releases
- Free Accessory Crochet Patterns
- Free Afghan Square Crochet Patterns
- Free Amigurumi Crochet Patterns
- Free Applique Crochet Patterns
- Free Baby Crochet Patterns
- Free Dolly Crochet Patterns
- Free Fashion Doll Crochet Patterns
- Free Guest Crochet Patterns
- Free Holiday Crochet Patterns
- Free Tapestry Crochet Patterns
- Free Under the Sea Crochet Patterns
- Free Wedding Crochet Patterns
- Free Crochet Patterns Coming Soon
Welcome Visitor! I hope you enjoy my treasures.








 RSS Feed
