|
Disclaimer: This website makes use of sponsored and/or affiliate links. Please see this page for more information.
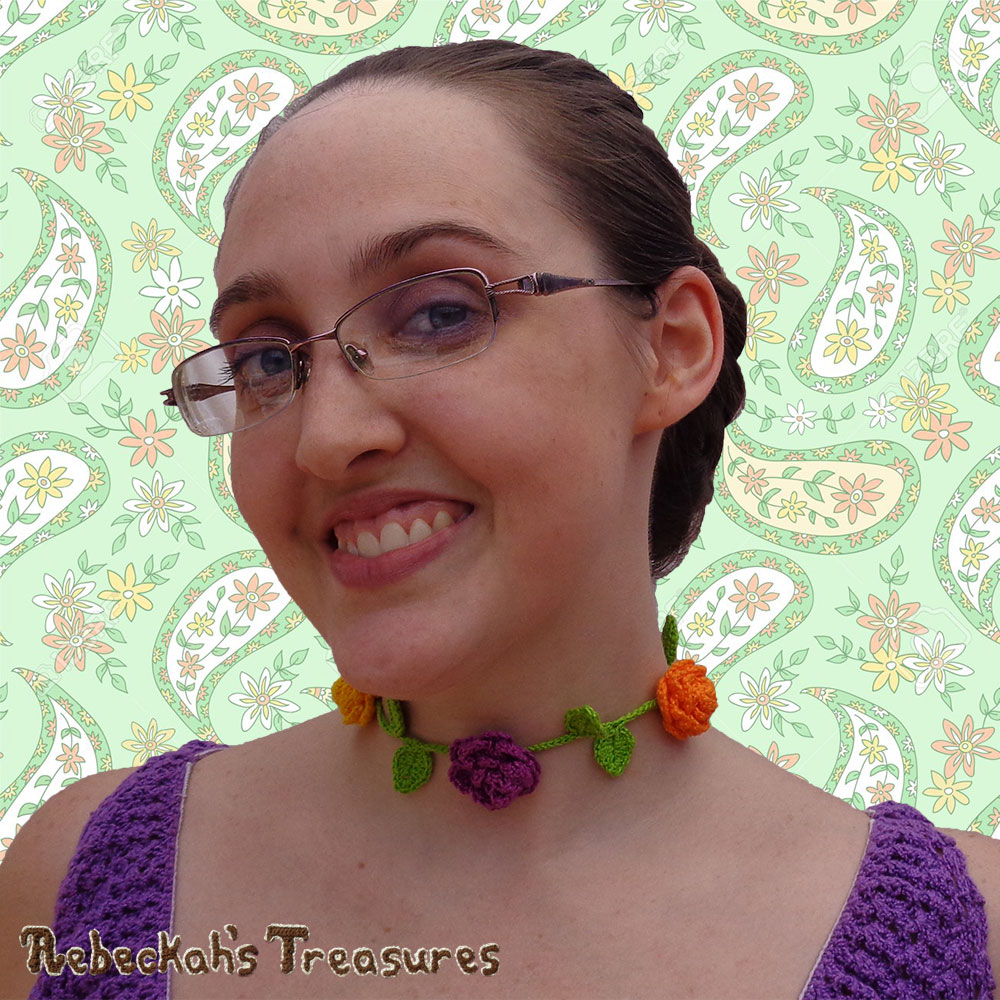
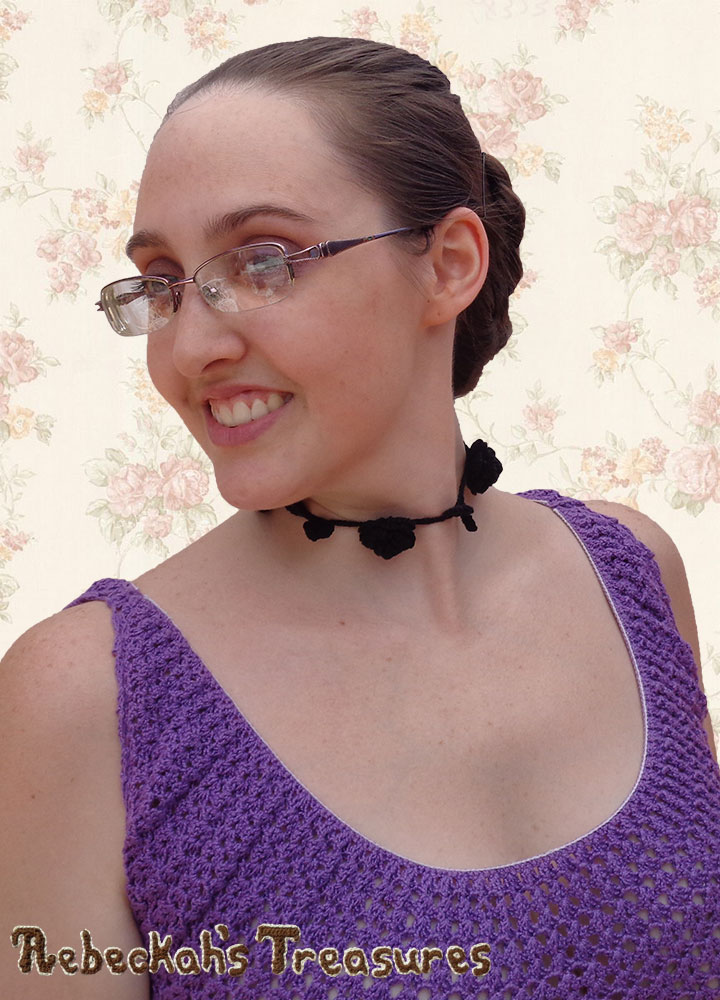
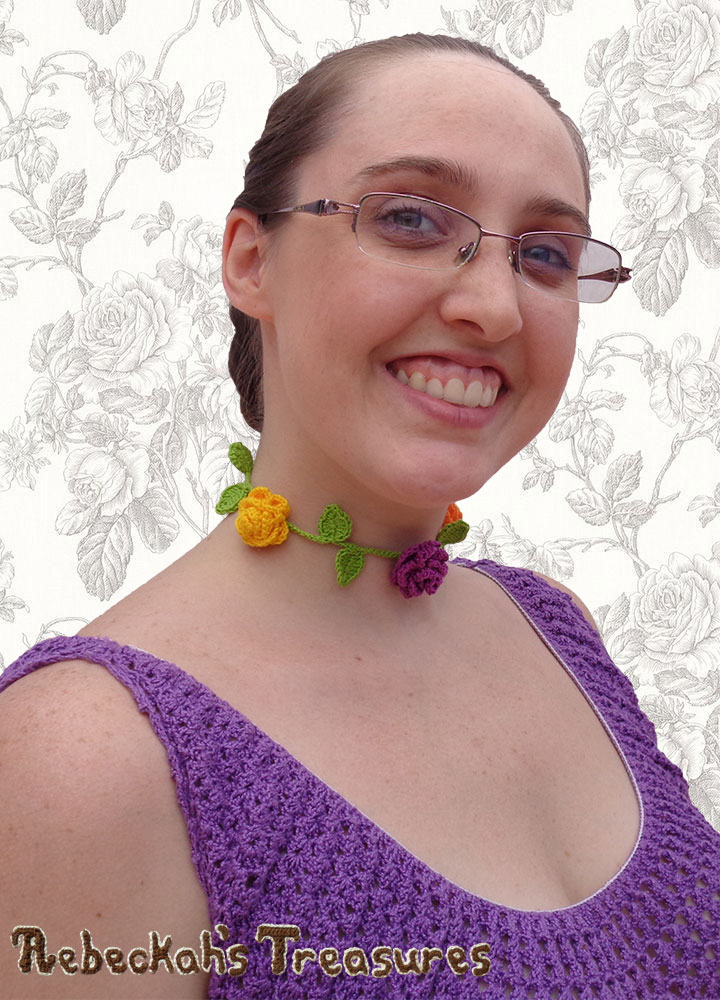
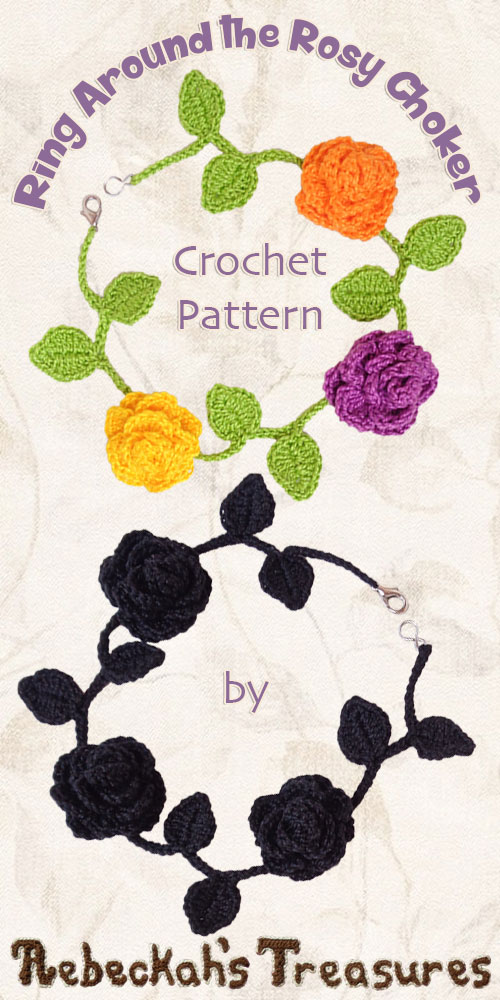
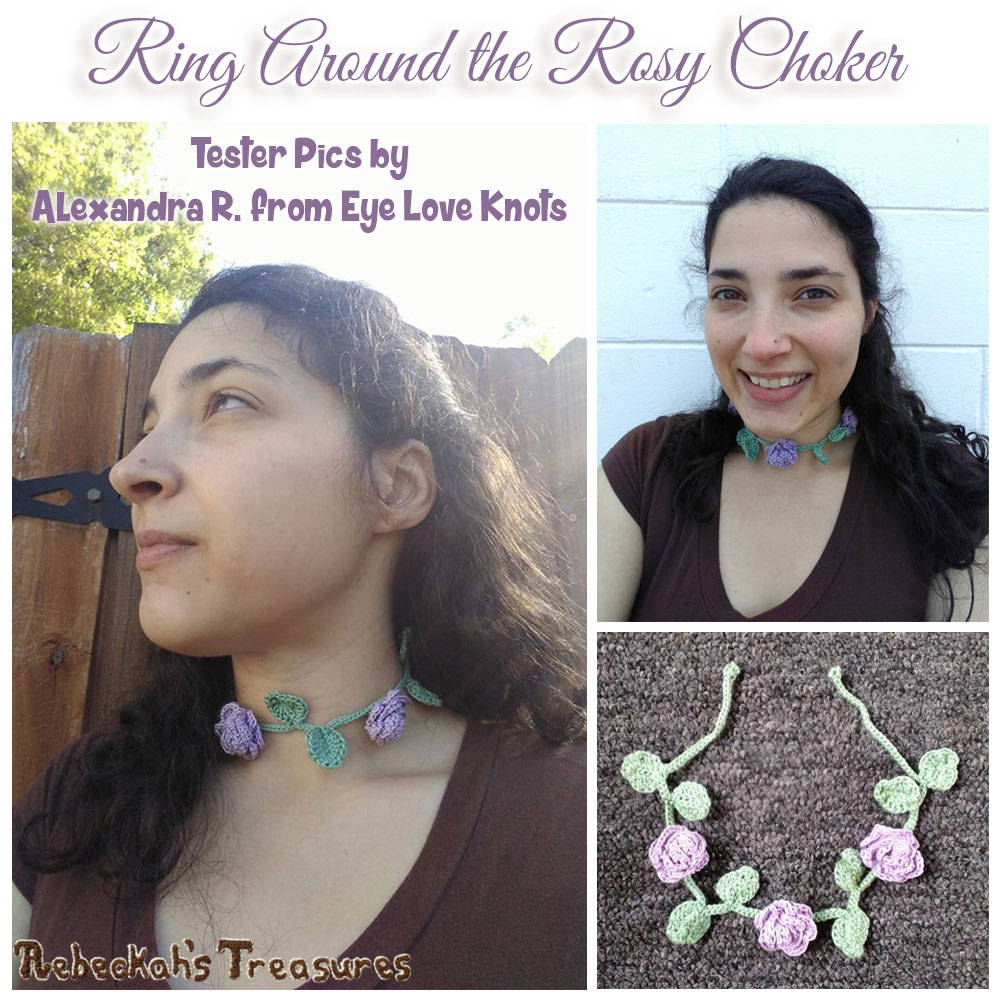
If you're looking for a touch of vintage chic or springtime blossoms to add to your outfit or gift to a loved one, look no further. This Ring Around the Rosy Choker crochet pattern will add that special flare!
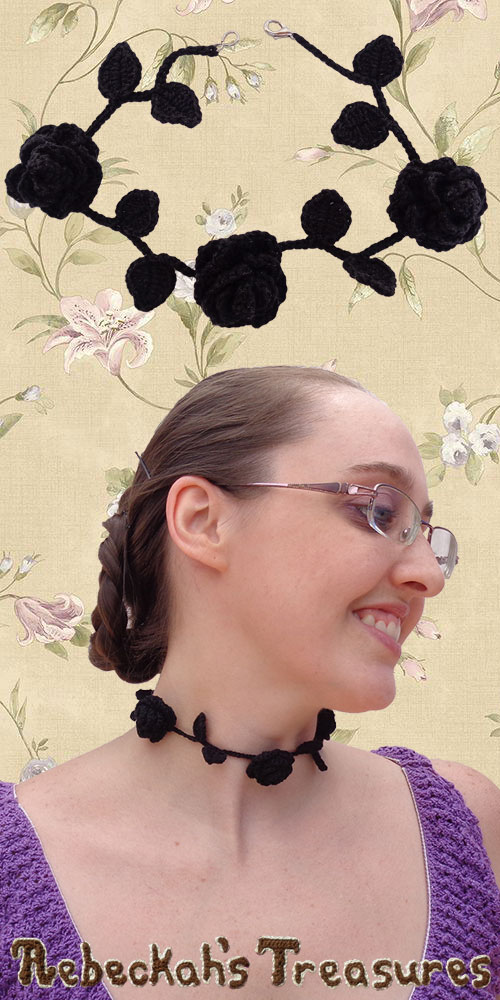
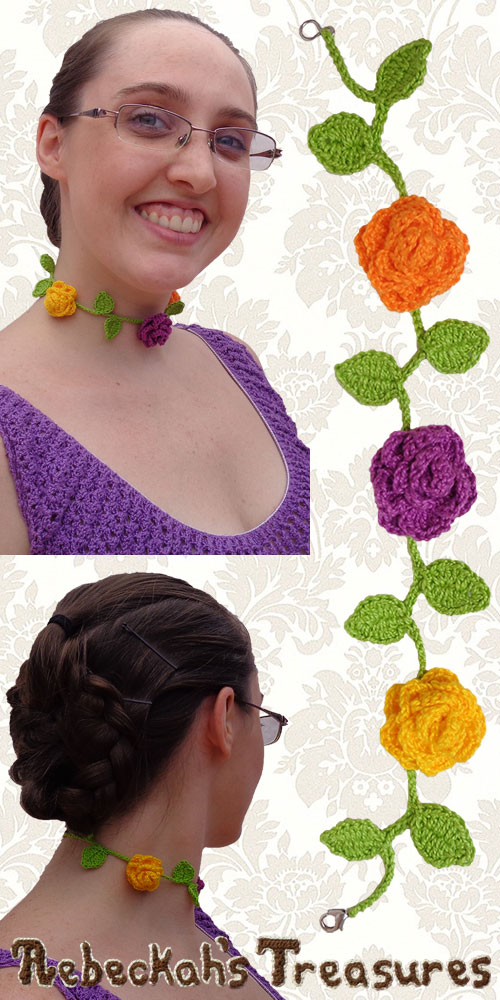
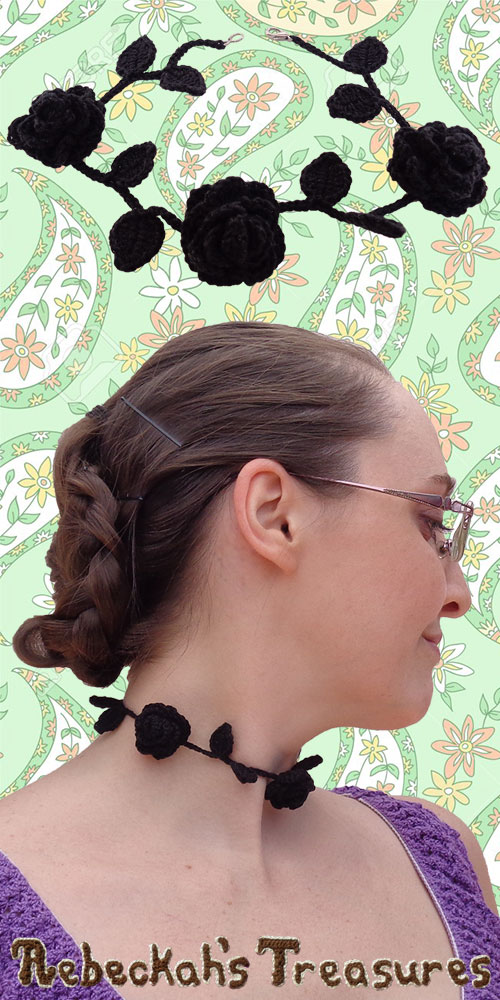
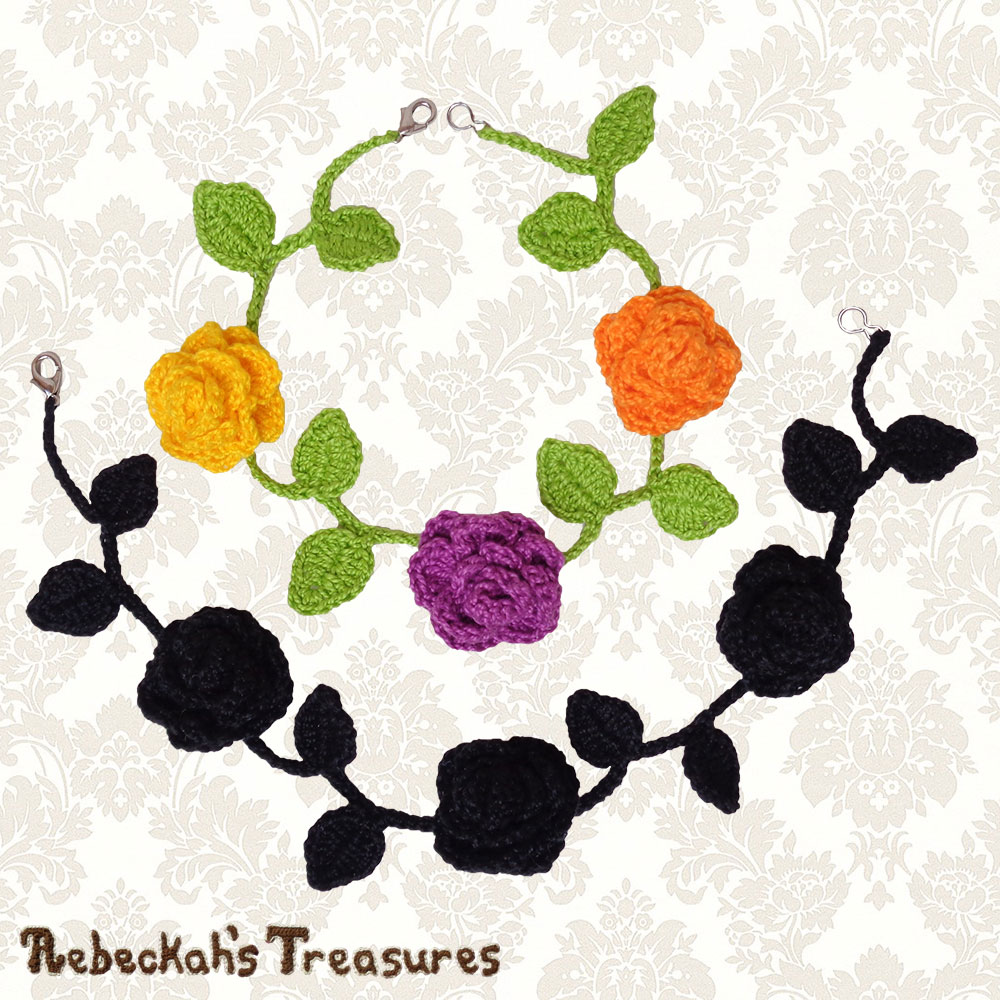
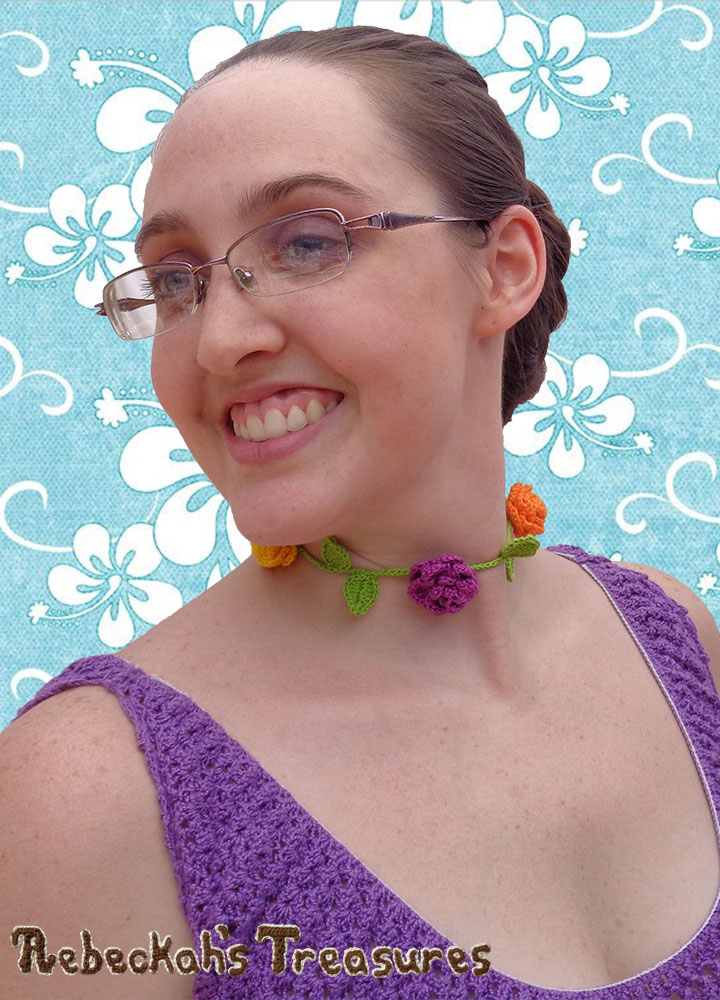
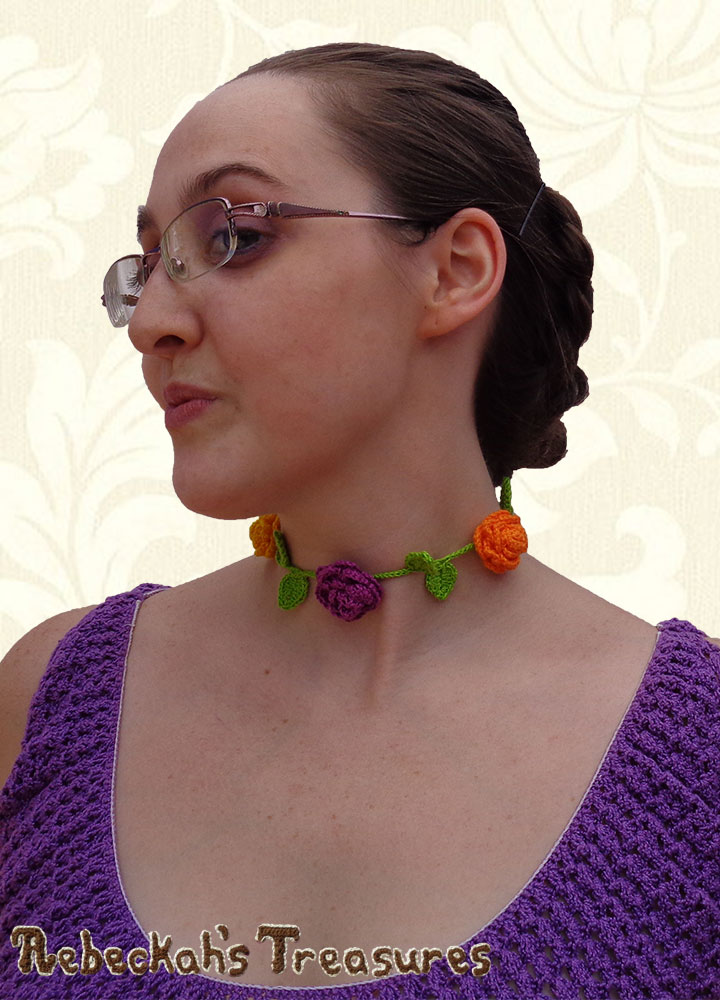
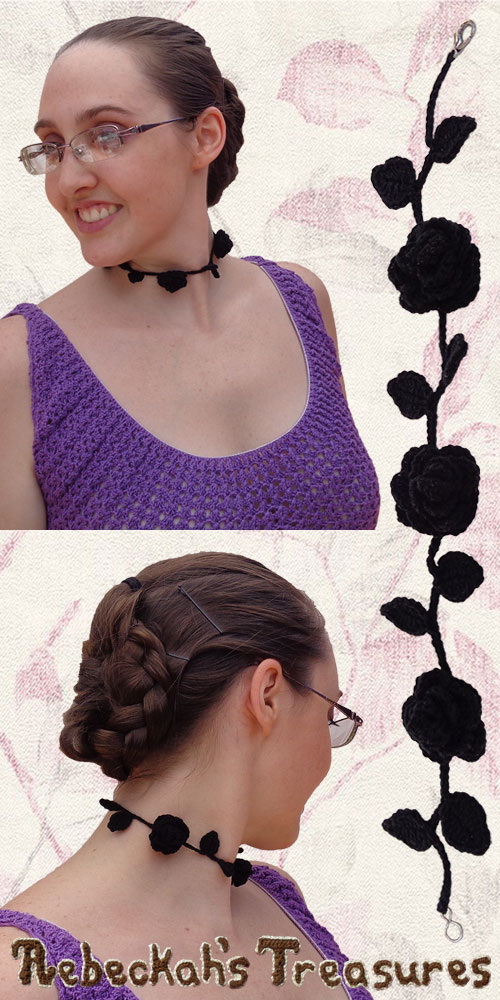
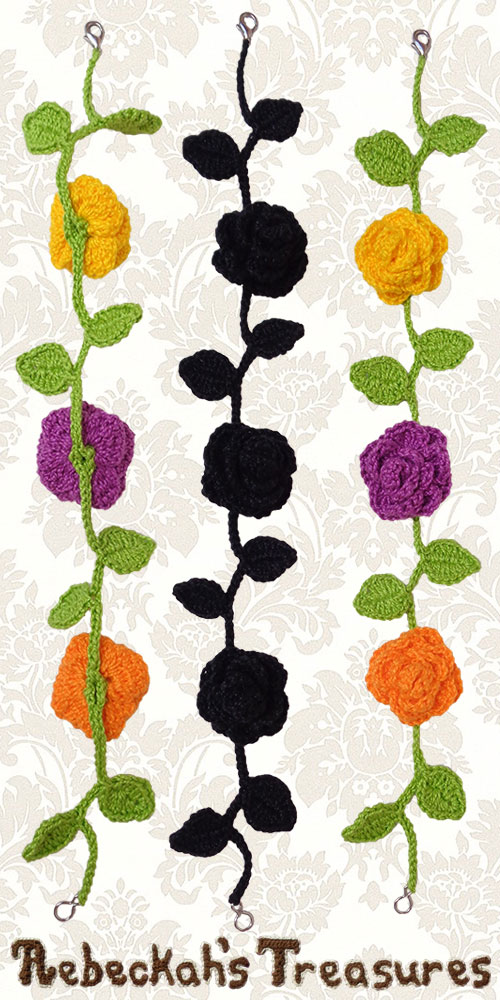
Three looks are possible... Crochet this choker all in one colour for classic vintage look. Or, crochet the necklace chain in green and the rosebuds either in the same or unique colours for a springtime feel!
After crocheting four gorgeous rosy bookmarks for my friend, I got to thinking how chic the Ring Around the Roses would look as a choker necklace. So, I grabbed my black thread, crocheted several roses, then started to work on a leafy chain.
Once, I finished my black rosy choker, I thought it would be rather pretty as a colourful choker too, and I wanted to make a video tutorial anyway. So, made three roses in unique colours and made the video. Now, all I needed to do was write up the pattern had have hubs take photos of me wearing them. I wasn't planning to wear my glasses, but hubs said my glasses add a special sass that he really loves. How can I possibly disagree with that? Glasses stayed on! :D I hope you will enjoy crocheting this choker for you and your loved ones too...
Written instructions include how to crochet the rosebuds and the necklace leafy chain pictured to create a lovely choker with a necklace clasp.
This "Ring Around the Rosy Choker" crochet pattern (written instructions) is available exclusively as a printer friendly, 5-page PDF download. GRAB IT HERE for only $3.75. Thank you! The video tutorial is available for free below in two parts, or to view directly on my YouTube Channel here (rosebud) and here (turning it into a choker). Queue it, LOVE it, and Add your Ring Around the Rosy Choker projects to Ravelry here!
This crochet pattern and it's complimentary photos and videos are copyrighted to Rebeckah Ferger of www.rebeckahstreasures.com. They are for personal use only. No part of this pattern may be copied or distributed in any way. If you sell what you make from this pattern, please credit me as the designer.
All rights reserved, 2017. Supplies:
Sizing:
Rosebuds are 1” (2.5cm) in diameter.
Original choker is designed to fit a standard woman’s 13” (33cm) neck circumference. When laid out flat, no stretching, the necklace is approximately 11” (28cm) including the clasp in length. Extra notes enlarge the choker to fit a larger neck circumference of roughly 15” (38cm), or shrink it to fit someone with an 11” (28cm) neck. Note: These choker sizes are an approximate. Your necklace sizing may differ depending on your chosen thread, hook size and tension. Adjust these factors to get desired size. Gauge:
Every 10 chains with slip stitches = 1” (2.5cm).
Pattern Notes:
You should be familiar with basic crochet stitches (chs - chains, sl sts - slip stitches, sc - single crochet, hdc - half double crochet, dc - double crochet, tr - treble crochet; all in US terminology), working in rows, rounds, back loops, how to do increases and how to sc attach to crochet pieces to start a new section.
When the number comes after the stitch, crochet across the stitches. However, when the number comes first, this is indicative of an increase, so work them into the same stitch or space as directed. This rosy choker starts with 3 roses. From there, you’ll work the stem-leaves directly onto the roses, creating the length whilst adding the necklace claps too. Purchase the PDF pattern here, or follow the video tutorials...
*Click on the settings icon to adjust the quality of the videos.
**Clicking on the timelinks, will open these video in a new window on YouTube at your chosen time.
The Rosebud is worked in continuous rounds from the center-outwards in a counterclockwise direction (right-handers), where upon completion of each petal, the initial foundation chain cord is coiled in a counterclockwise direction behind the same petal to create a chain loop or space behind it.
Rosebud Tip 1: You may like to try working this rose in a thicker yarn weight to see the stitches better if you are having troubles seeing it in thread. Rosebud Tip 2: If you’ve worked one rosebud and found you needed a longer cord, simply chain more accordingly for the next. Or, begin with a longer chain, and see this tip by Underground Crafter for undoing extra chains! (Scroll down to where you see "Easy fix for when you end Row 1 with too many chains") Do not turn unless directed to do so. Each ch-2 counts as one stitch. *Side facing you = RS.
The choker portion is made to resemble a stem with four pairs of two leaves.
It starts off by attaching right onto one side of the first rosebud. Then, you will create the length of the necklace and attach to the one side of the remaining rosebuds. From here, you will attach the first clasp half and work in the reverse direction over the chains and the other sides of the same rosebuds, add the second clasp half and end right where you started. ONLY turn when directed to do so. Only work into the BLO of ALL chains (the one that looks like it is on top when the “V” of the chains are facing you). *Side facing you = RS (technically the bottom of the work, so you may need to twist the leaves the right side up when placing it on to wear according to your preference).
Thanks Alexandra R. (Eye Love Knots) for testing the Rosy Choker crochet pattern for me, and thanks to Theresa P. for your help tech editing this pattern too!
Thanks so much for visiting today!
If you have any questions, or need pattern help, comment below, send me an inquiry through my website form, OR visit my one of my groups / communities on Facebook, Google+ or Ravelry. Have a wonderful day! 
Hello Visitor and Welcome to Rebeckah's Treasures... I am a Norwegian/Canadian currently studying Midwifery in the UK. I love to crochet! At Rebeckah's Treasures, I share my crochet patterns and treasures. I hope they inspire you to crochet your own little treasures too... 
Comments
|
Hello, my name is Rebeckah.
I hope my crochet inspires you to create your very own treasures! Learn more about me... Categories
All
Archives
October 2021
© 2012-2021 Rebeckah Ferger
All rights reserved. Disclaimer: This website makes use of sponsored and/or affiliate links. Please see this page for more information.
|
- Home
-
-
- Special Offers
- New Releases
- Accessory Crochet Patterns
- Afghan Square Crochet Patterns
- Amigurumi Crochet Patterns
- Applique Crochet Patterns
- Baby Crochet Patterns
- Dolly Crochet Patterns
- Fashion Doll Crochet Patterns
- Free Downloads
- Holiday Crochet Patterns
- Tapestry Crochet Patterns
- Under the Sea Crochet Patterns
- Wedding Crochet Patterns
- Disclaimer and FAQs
-
-
- Free Crochet Patterns
- New Free Releases
- Free Accessory Crochet Patterns
- Free Afghan Square Crochet Patterns
- Free Amigurumi Crochet Patterns
- Free Applique Crochet Patterns
- Free Baby Crochet Patterns
- Free Dolly Crochet Patterns
- Free Fashion Doll Crochet Patterns
- Free Guest Crochet Patterns
- Free Holiday Crochet Patterns
- Free Tapestry Crochet Patterns
- Free Under the Sea Crochet Patterns
- Free Wedding Crochet Patterns
- Free Crochet Patterns Coming Soon
Welcome Visitor! I hope you enjoy my treasures.












 RSS Feed
