|
Disclaimer: This website makes use of sponsored and/or affiliate links. Please see this page for more information.
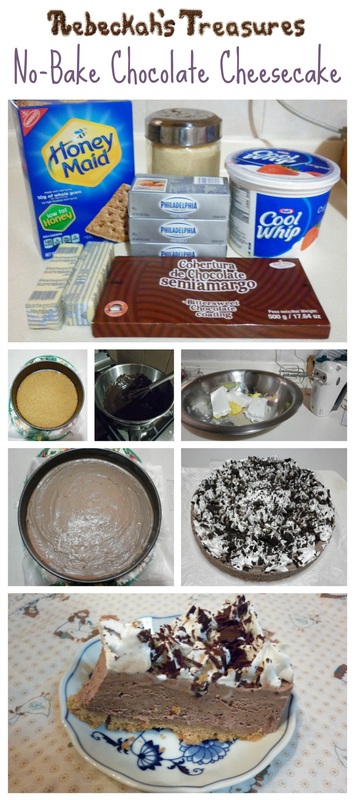
Ingredients & Tools Needed: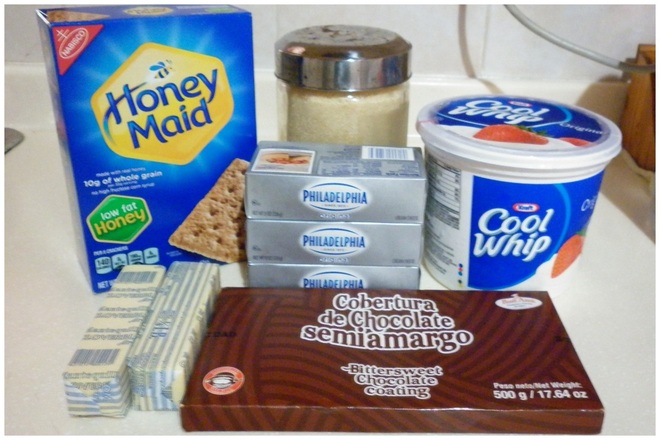 There are a total of 6 ingredients needed for this cheesecake. For the Crust:
For the Cake:
Tools Needed:
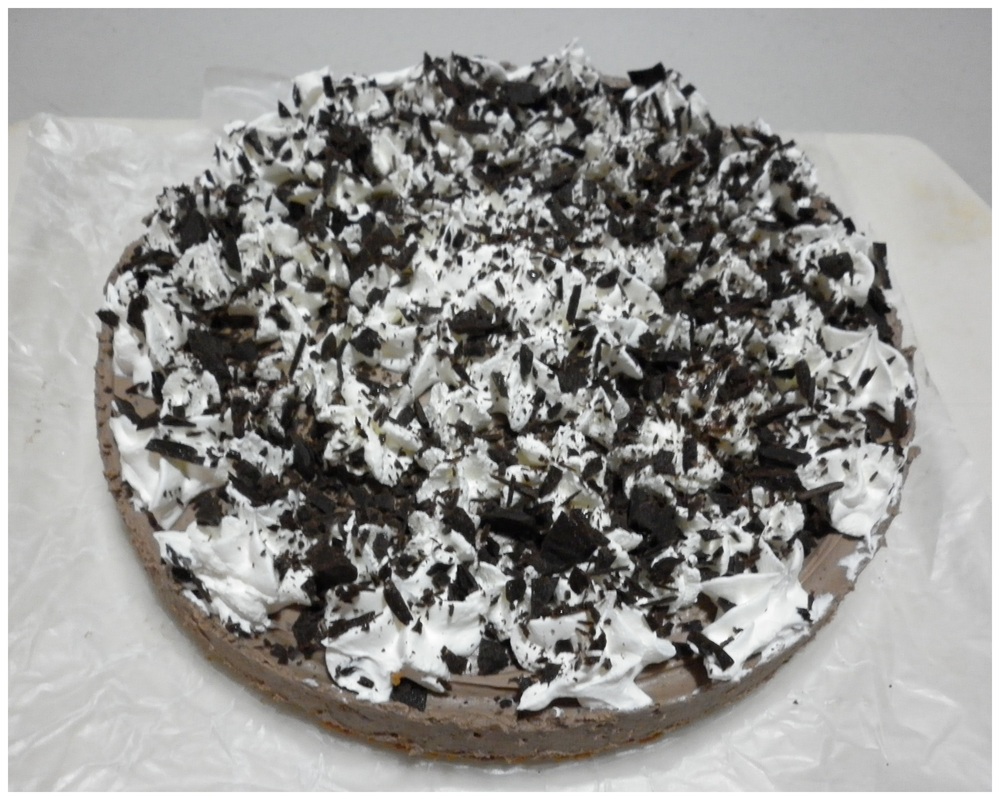
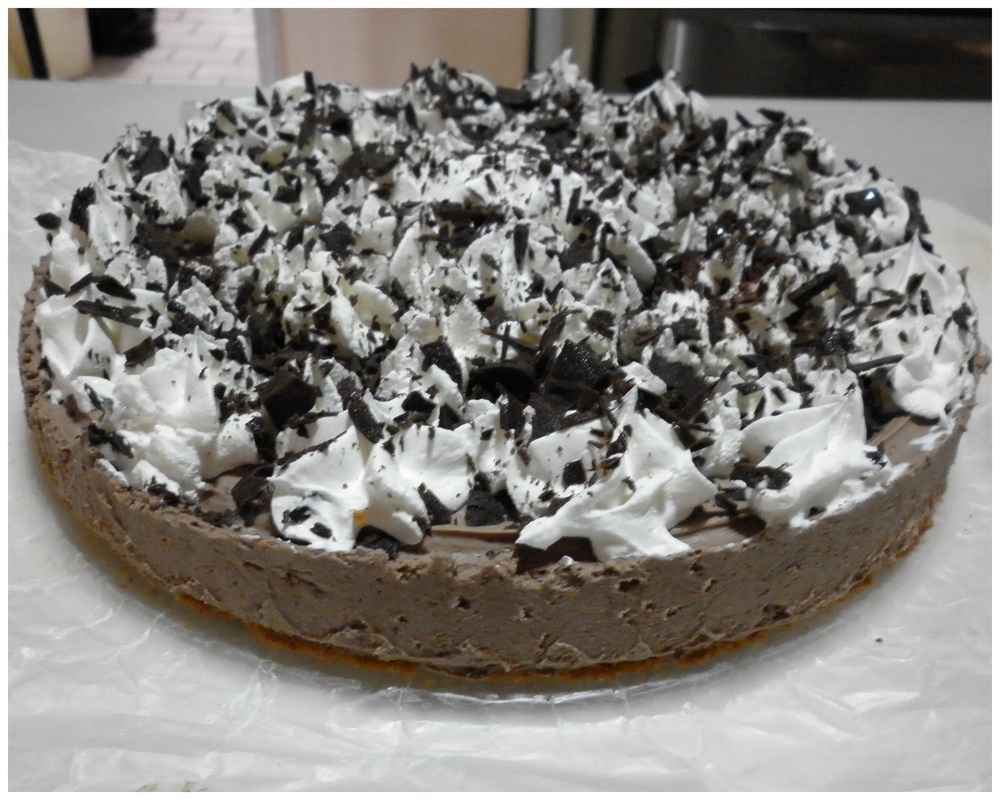
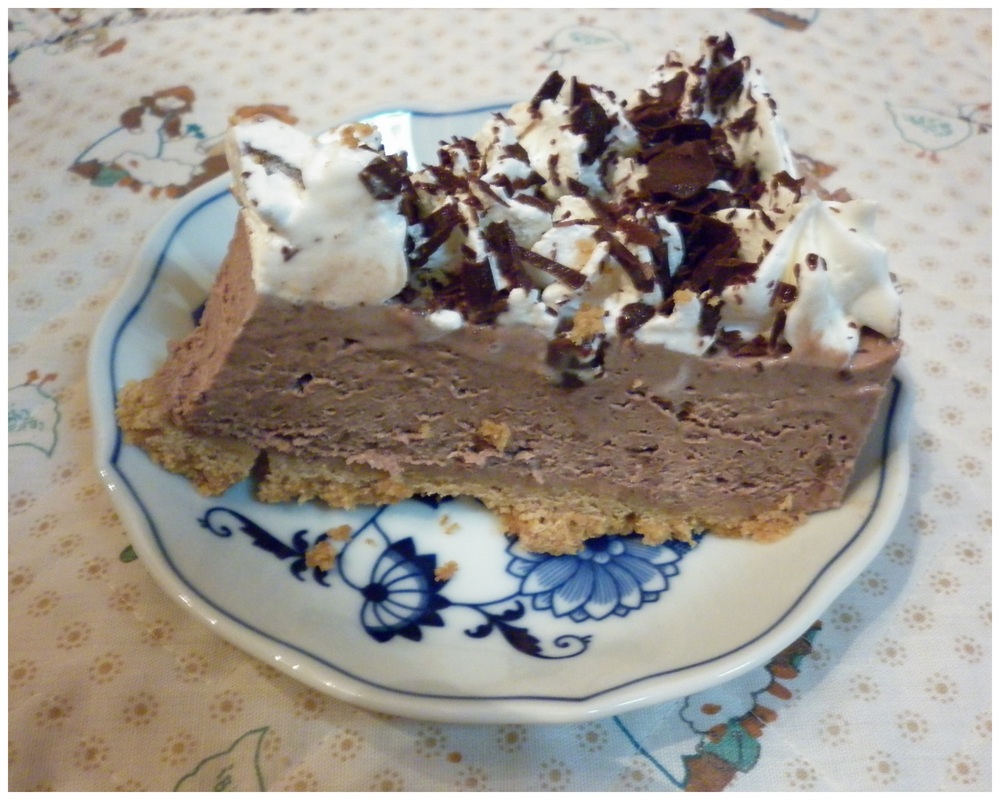
Step 1: Prepare the Pan & Double Boiler Take a piece of wax paper and place it on top of the bottom piece of the spring-form pan. Close the pan, and squeeze out any trapped air under the wax paper. If you are using an electric oven, preheat your oven to 350ºF (170ºC). If you are using a gas-based oven, there is no need to preheat your oven just yet. You'll also want to get your double boiler ready for melting the chocolate in Step 3. So heat up the water for it now. If your water heats up before your ready for Step 3, just turn it off. Step 2: Prepare the Crust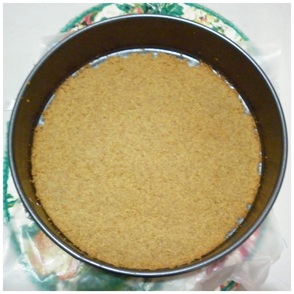 Crust Baked Crust Baked The first thing you need to do is prepare your crust. Place your graham crackers into a food processor and process until there are no large pieces. If you use the 14.4 oz box of graham crackers, half of the box = 1 1/2 cup of crumbs. Place all crust ingredients into a small bowl. Pause crumbs for a second to quickly take the butter wrapper and rub the excess butter all over the spring-form pan. Continue with crust... With your hands, scoop up the crumbs and squish them into the butter by rubbing them both in your hands. Let your love flow through your hands and into the crust as you work (it sounds like a silly thing to say, but believe me when I tell you how much better it will taste if you do this). Repeat this process until completely combined. Next, press crumbs evenly into the spring-form pan. If you haven't already, now's the time to turn on your oven to 350ºF (170ºC). Place your crust into the oven and set the timer for 10 minutes. As it bakes, you will work on the chocolate, but Crust will be ready to come out of the oven once the edges start to turn golden brown. Set aside to cool... Step 3: Melt the Chocolate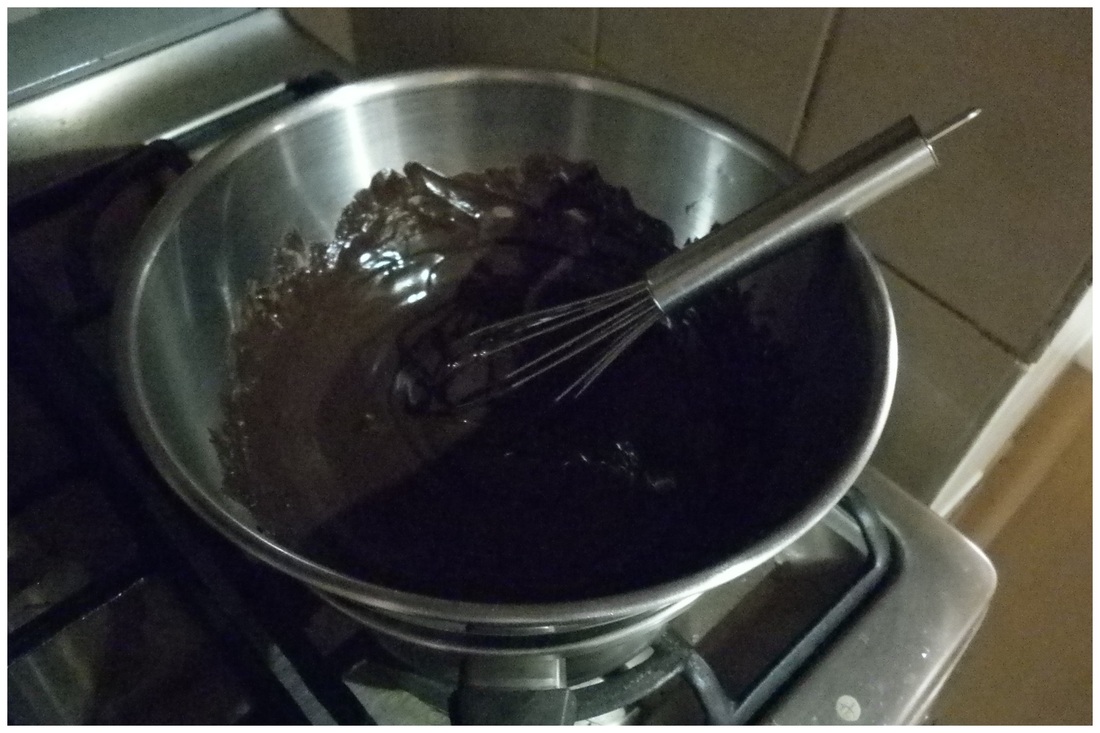 Chocolate Melted - My kitchen is rather dark so apologies for the poor lighting. Chocolate Melted - My kitchen is rather dark so apologies for the poor lighting. As you are waiting for the crust to finish baking, it's time to melt that yummy chocolate... Pour your chocolate chips or chopped pieces of chocolate into the top section of your double boiler (or you might be using a regular small bowl like me), and add a spoon of the butter to it. Melt chocolate over low heat on top of double boiler (or small sauce pan of boiling water). Stir frequently until smooth and melted. Remove from heat and set aside to cool. Your crust should be ready by now if the timer hasn't gone off already. Step 4: Beat Ingredients Together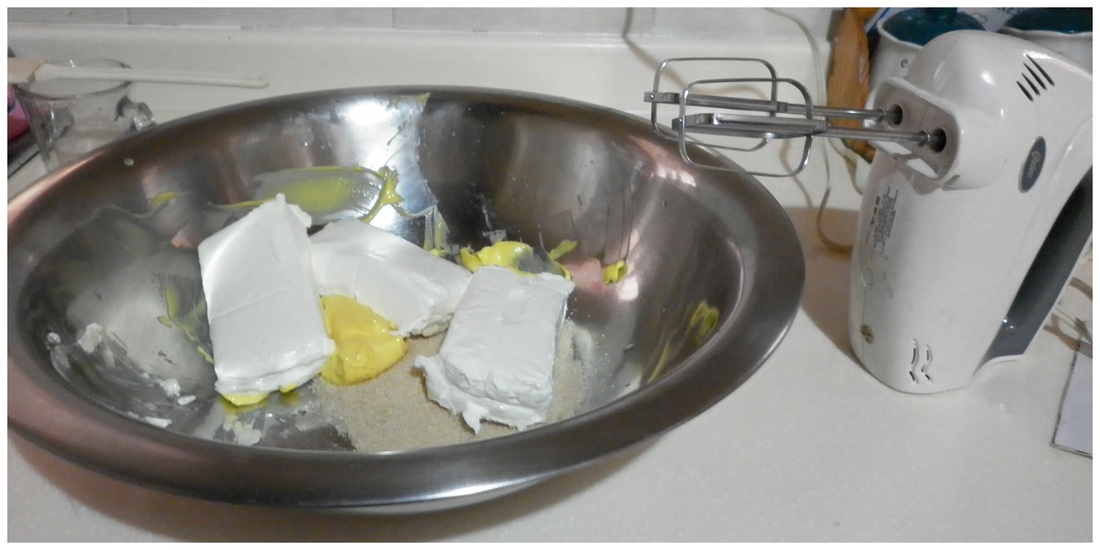 Place cream cheese, second stick of butter and sugar into a large bowl. Beat with hand mixer on medium until smooth. Once chocolate has cooled (which is usually really fast), add to cream cheese mixture. Blend on low speed until blended. Step 5: Fold in the Whipped CreamBy the time I got to this step, I was so involved in making my birthday cake, I forgot to take a picture of this step. So, I will just tell you right away, this is probably the longest step. Plus, it will look strange or like you've done something wrong as you work on it, but I promise you it is completely normal. Scoop thawed whipped cream on top of cream cheese mixture. Fold in cream until blended. It will look grainy as you get into folding them, but that is completely normal. Just keep folding the cream into the cheese until it is smooth and blended. Step 6: Pour Mixture into Pan & Chill Cake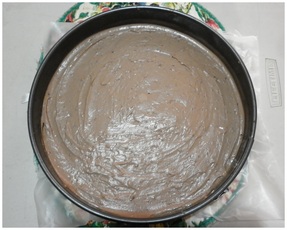 Cake ready for chilling Cake ready for chilling Now that your cake is fully blended, pour into your spring-form pan, and spread top until smoothed and flat. Set in the fridge to chill for at least 24 hours, but for maximum results, make this cake 2 days in advance. It only takes a few hours to be completely chilled, but it takes a few days for the mixture and flavours to fully combine. After cake has chilled for a few hours, you make add any decorations as you see fit. I pipped the last of my whipped cream onto the cake and sprinkled chocolate shavings on top of that for my birthday cake as you will see in the pictures below... I meant to take a picture of my full piece of cake, but I only remembered to do that after I had taken a bite of it. I was way too excited for my birthday cake. Cheese cake is a real treat! :D You'll see I have a normal sized piece of cake in the picture below. I will warn you right now, that piece was way to big for me. This is a really rich cake, so small sliver sizes to last many days is better than trying to eat such a big piece at once. To serve your cheesecake, run your knife under hot water before you slice, and repeat after every few slices. Doing this keeps the cake from sticking to the knife. If it starts to stick, remove excess cheesecake from the knife and run under hot water again. If you've enjoyed this recipe, please be sure to rate it, share it and comment below! 
Hello Visitor and Welcome to Rebeckah's Treasures... I am a Norwegian/Canadian currently studying Midwifery in the UK. I love to crochet! At Rebeckah's Treasures, I share my crochet patterns and treasures. I hope they inspire you to crochet your own little treasures too... 
Comments
|
Hello, my name is Rebeckah.
I hope my crochet inspires you to create your very own treasures! Learn more about me... Categories
All
Archives
October 2021
© 2012-2021 Rebeckah Ferger
All rights reserved. Disclaimer: This website makes use of sponsored and/or affiliate links. Please see this page for more information.
|
- Home
-
-
- Special Offers
- New Releases
- Accessory Crochet Patterns
- Afghan Square Crochet Patterns
- Amigurumi Crochet Patterns
- Applique Crochet Patterns
- Baby Crochet Patterns
- Dolly Crochet Patterns
- Fashion Doll Crochet Patterns
- Free Downloads
- Holiday Crochet Patterns
- Tapestry Crochet Patterns
- Under the Sea Crochet Patterns
- Wedding Crochet Patterns
- Disclaimer and FAQs
-
-
- Free Crochet Patterns
- New Free Releases
- Free Accessory Crochet Patterns
- Free Afghan Square Crochet Patterns
- Free Amigurumi Crochet Patterns
- Free Applique Crochet Patterns
- Free Baby Crochet Patterns
- Free Dolly Crochet Patterns
- Free Fashion Doll Crochet Patterns
- Free Guest Crochet Patterns
- Free Holiday Crochet Patterns
- Free Tapestry Crochet Patterns
- Free Under the Sea Crochet Patterns
- Free Wedding Crochet Patterns
- Free Crochet Patterns Coming Soon
Welcome Visitor! I hope you enjoy my treasures.











 RSS Feed
