|
Disclaimer: This website makes use of sponsored and/or affiliate links. Please see this page for more information.
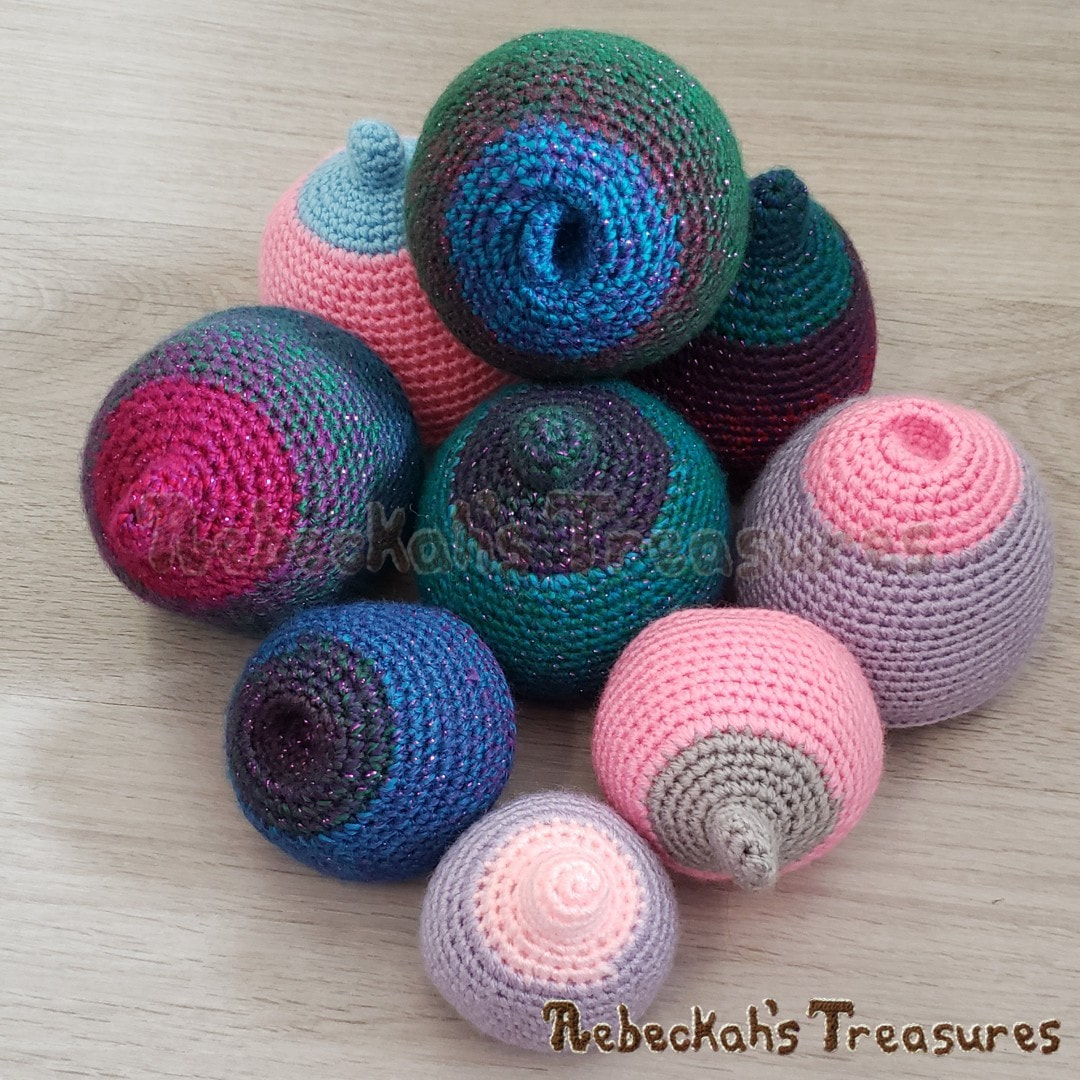
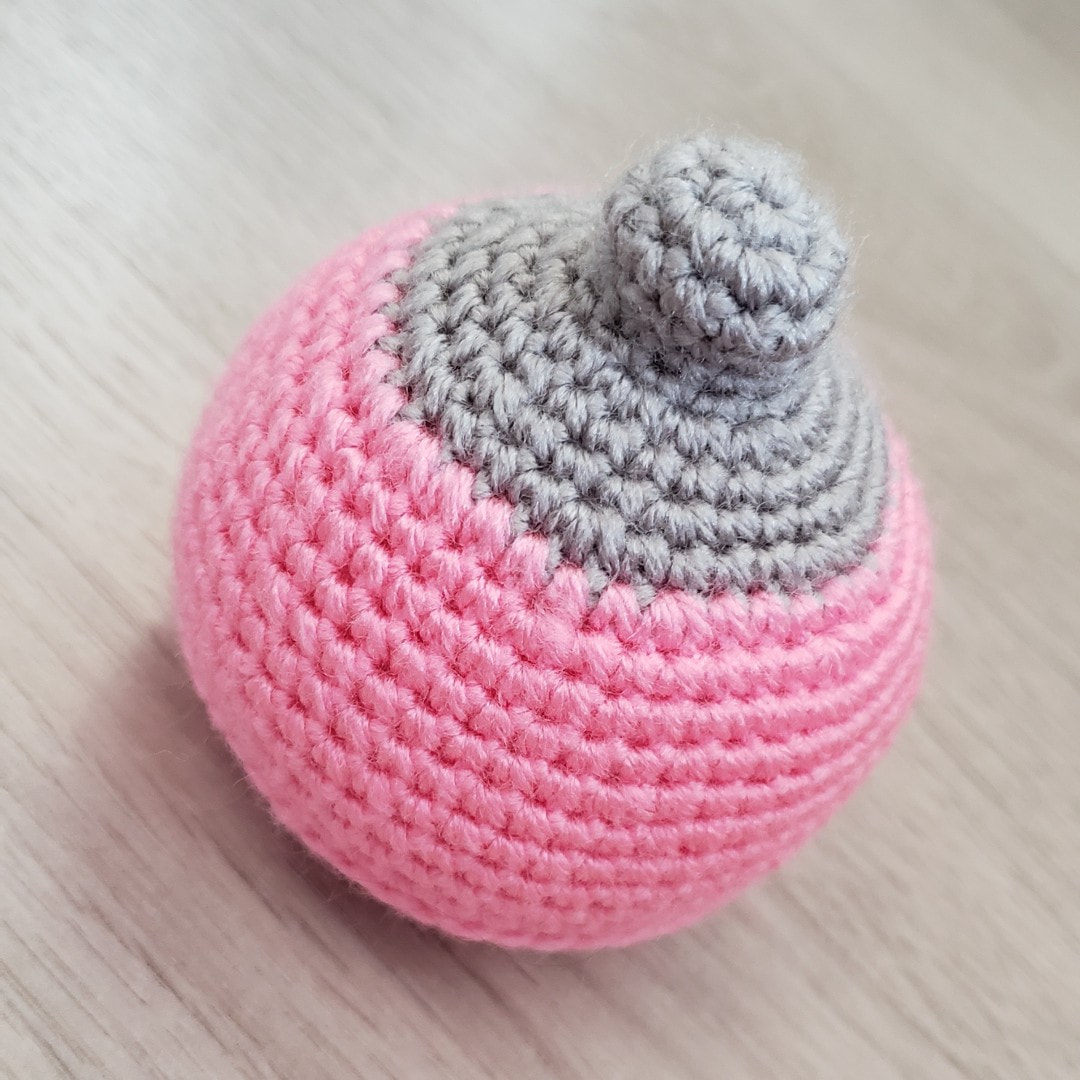
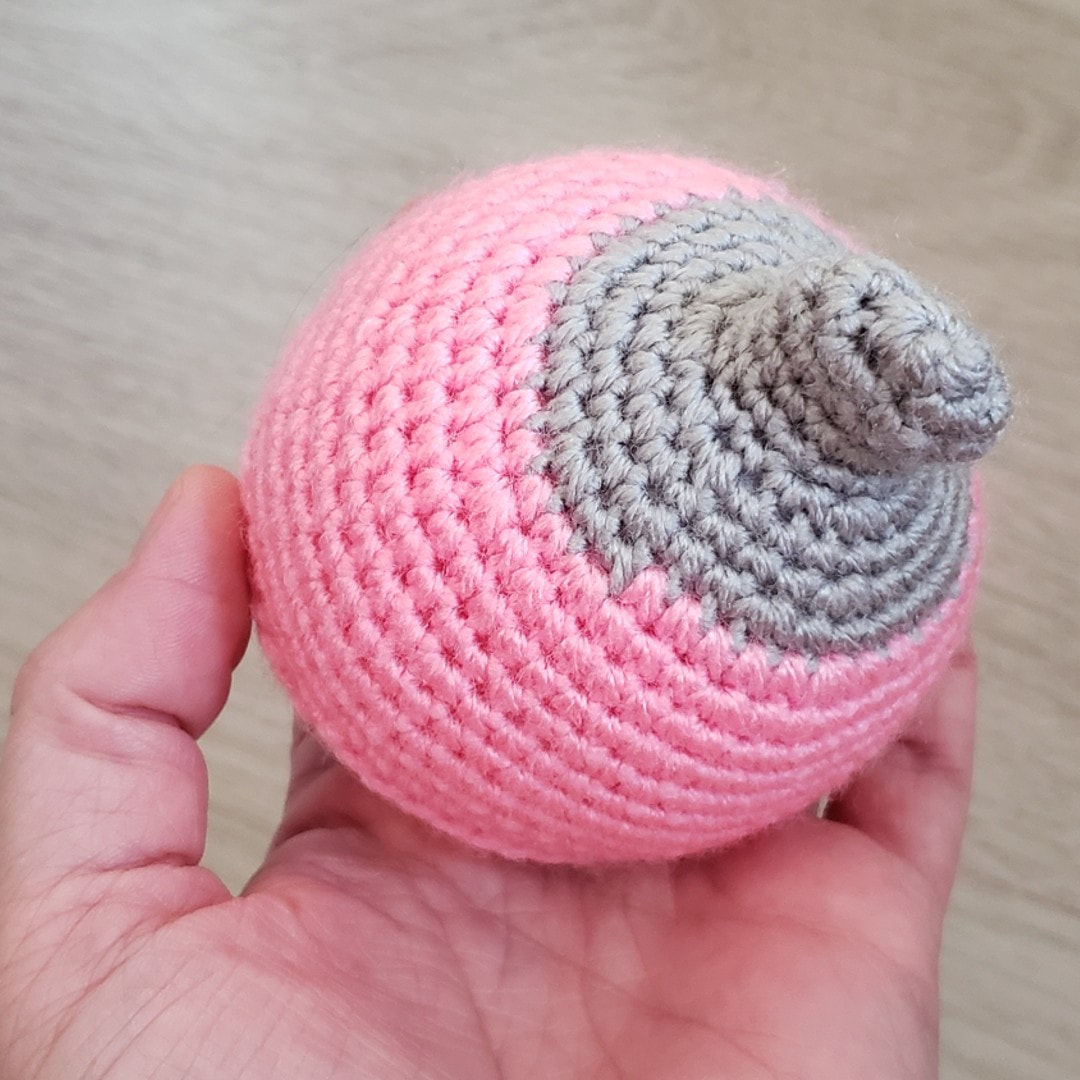
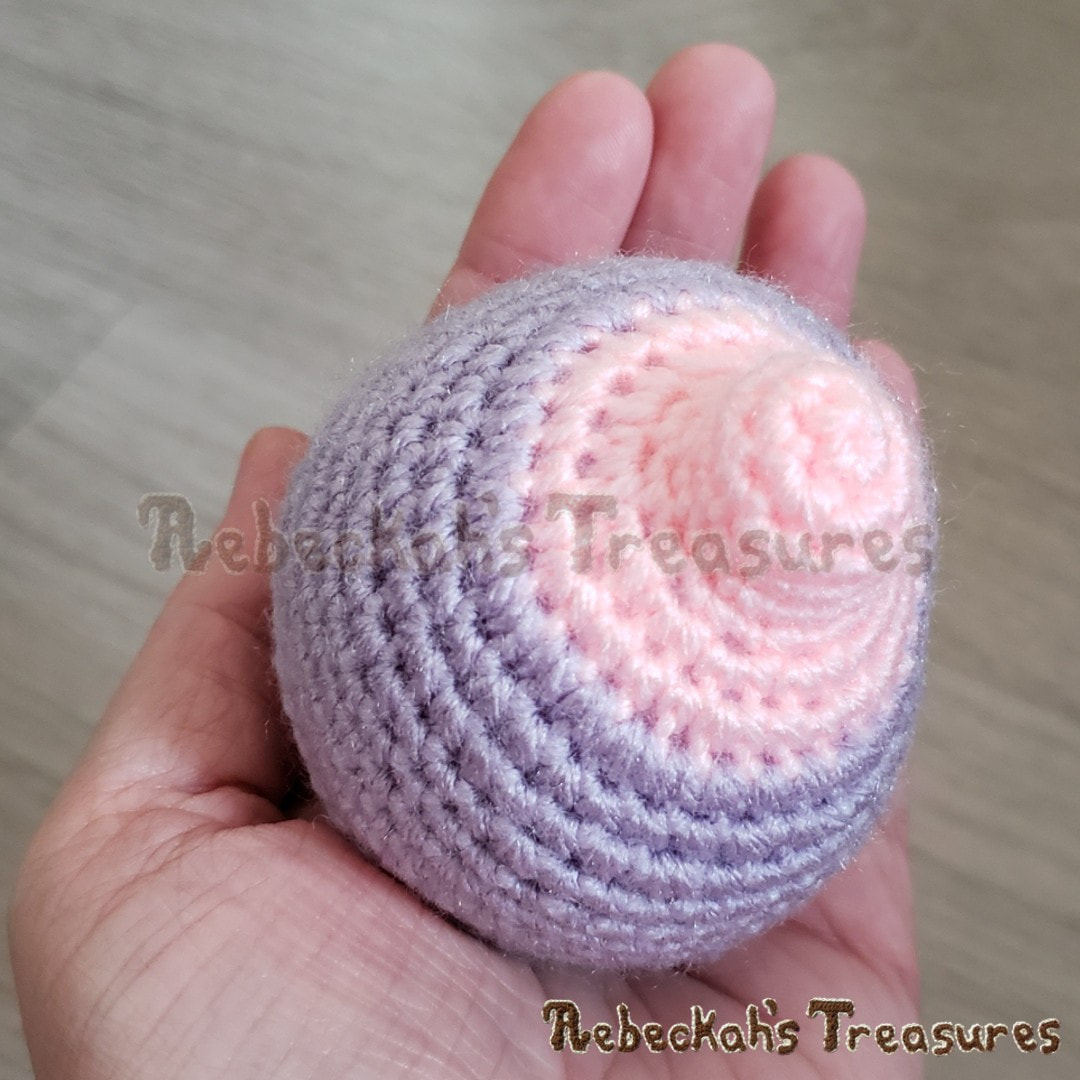
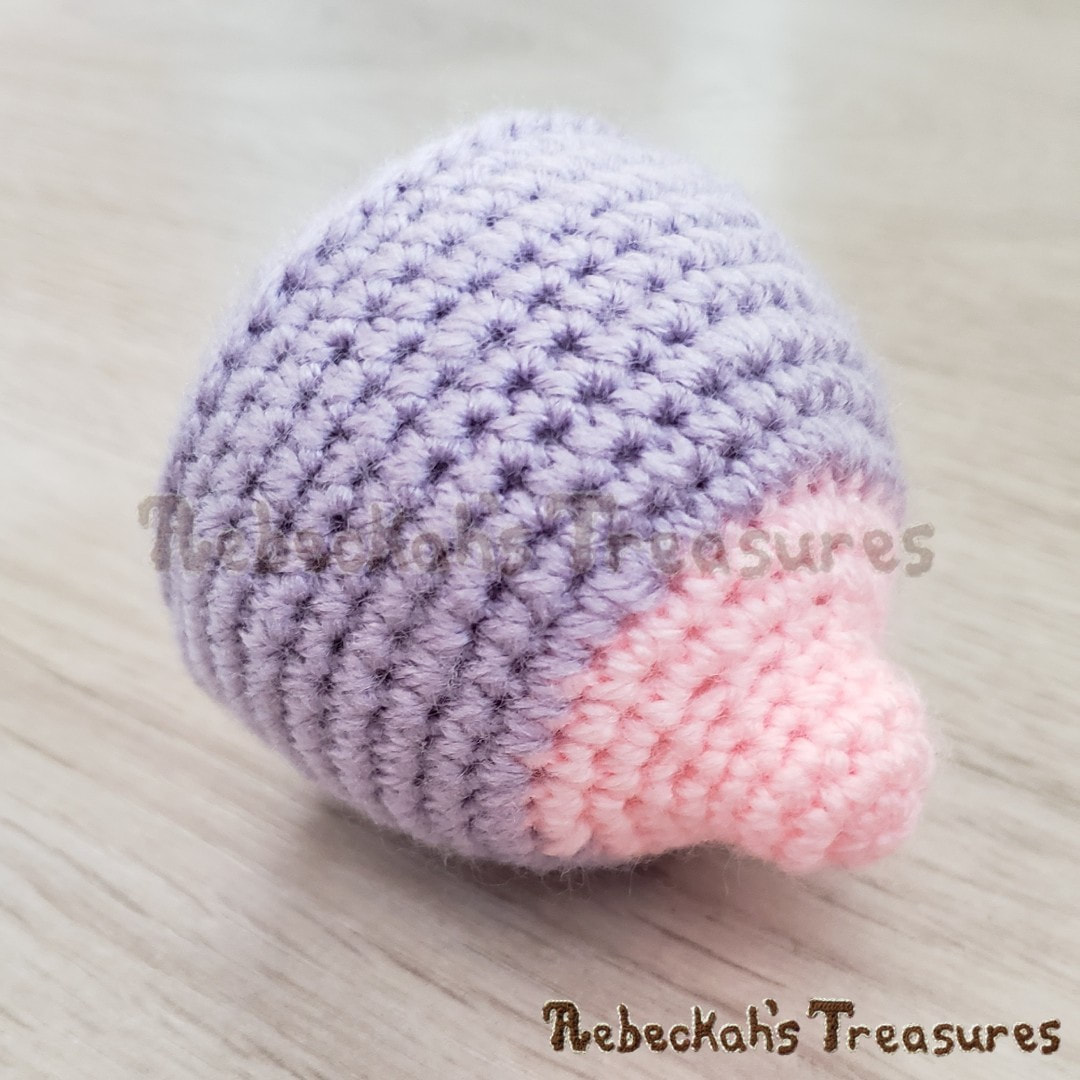
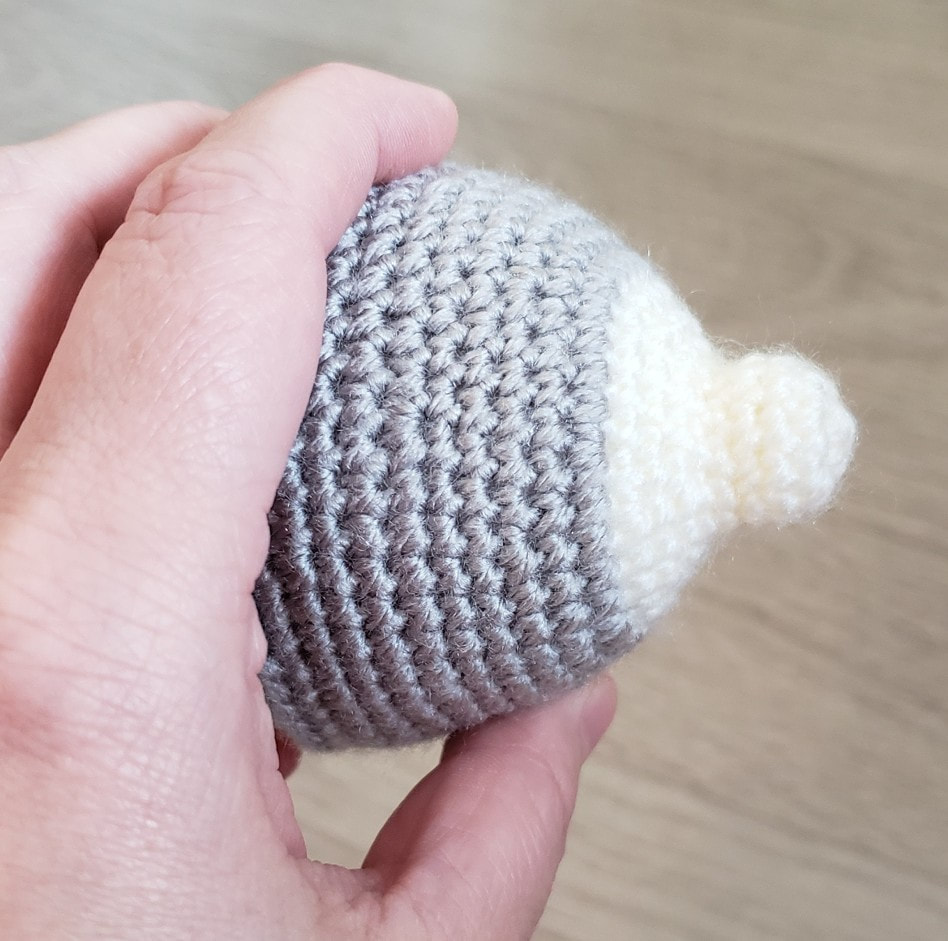
Looking for quick and easy crochet project to gift your midwife and doula friends? Try this midwifery boob pattern!
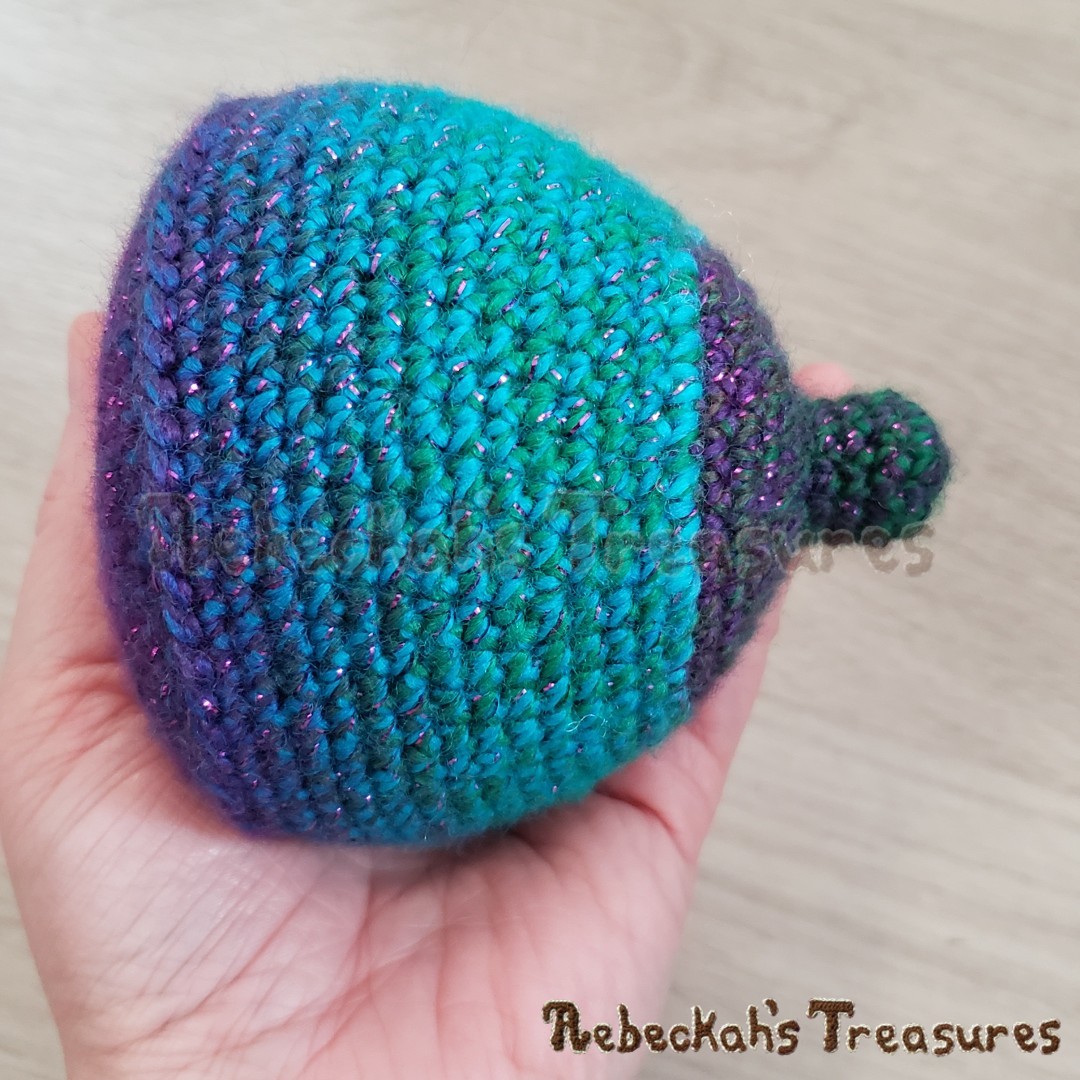
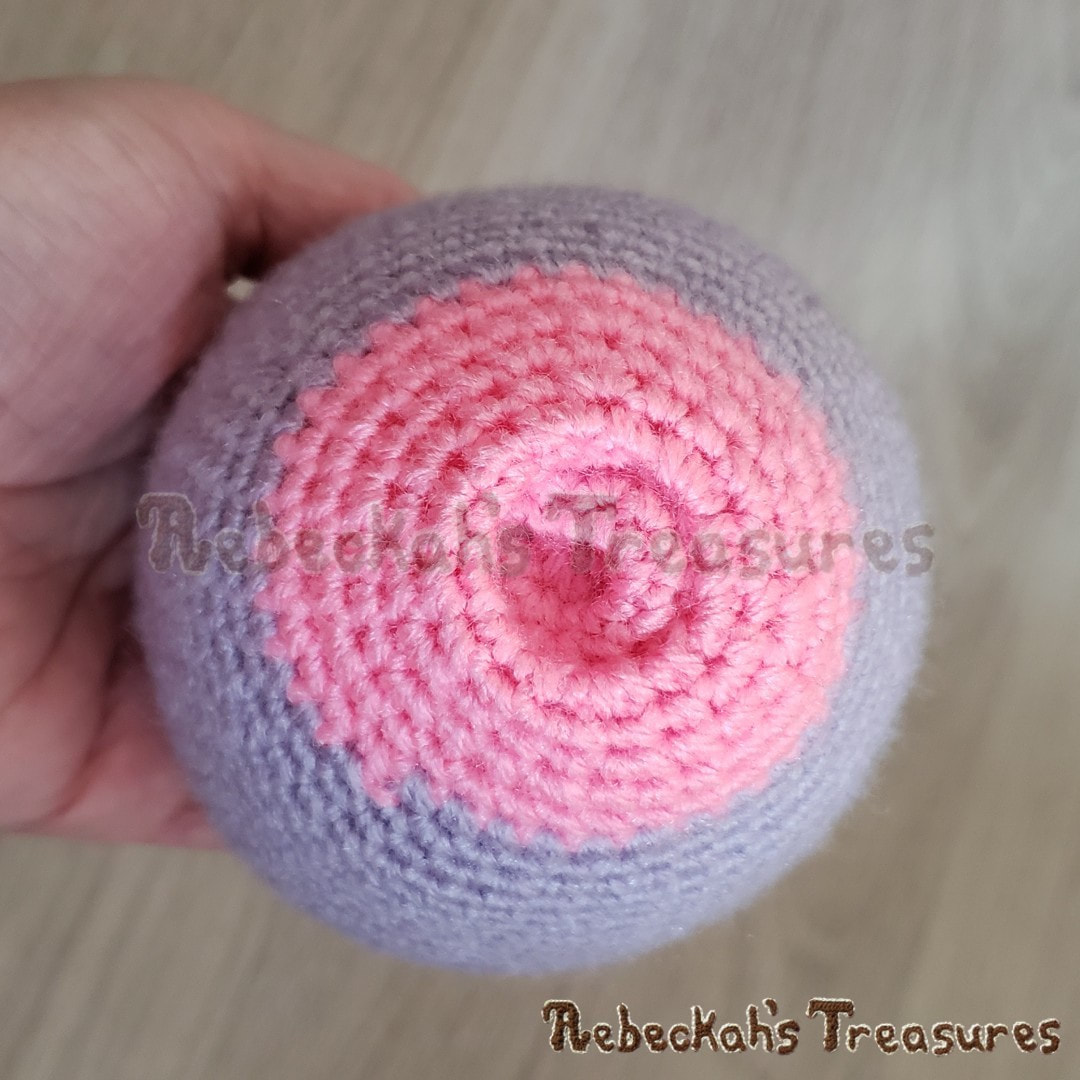
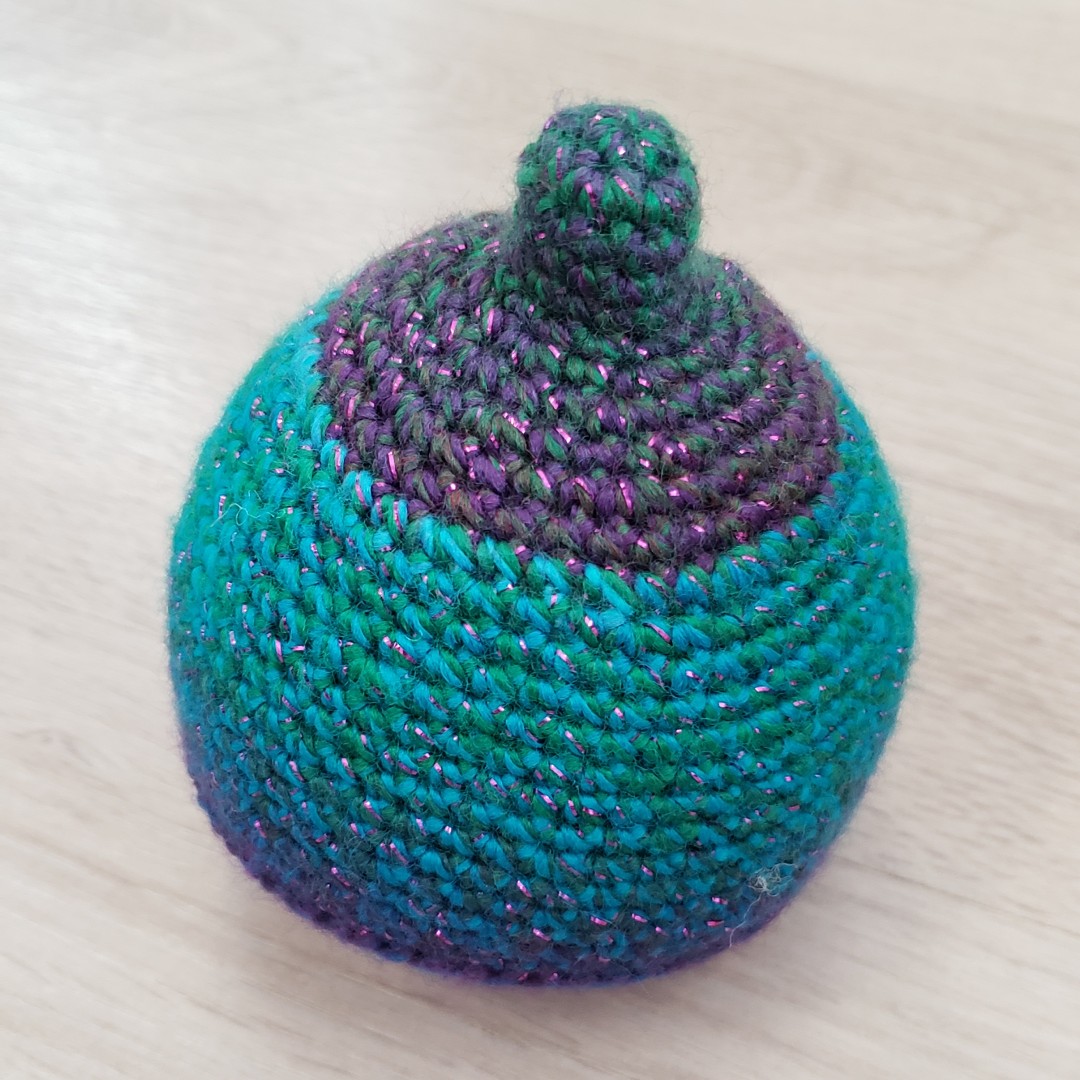
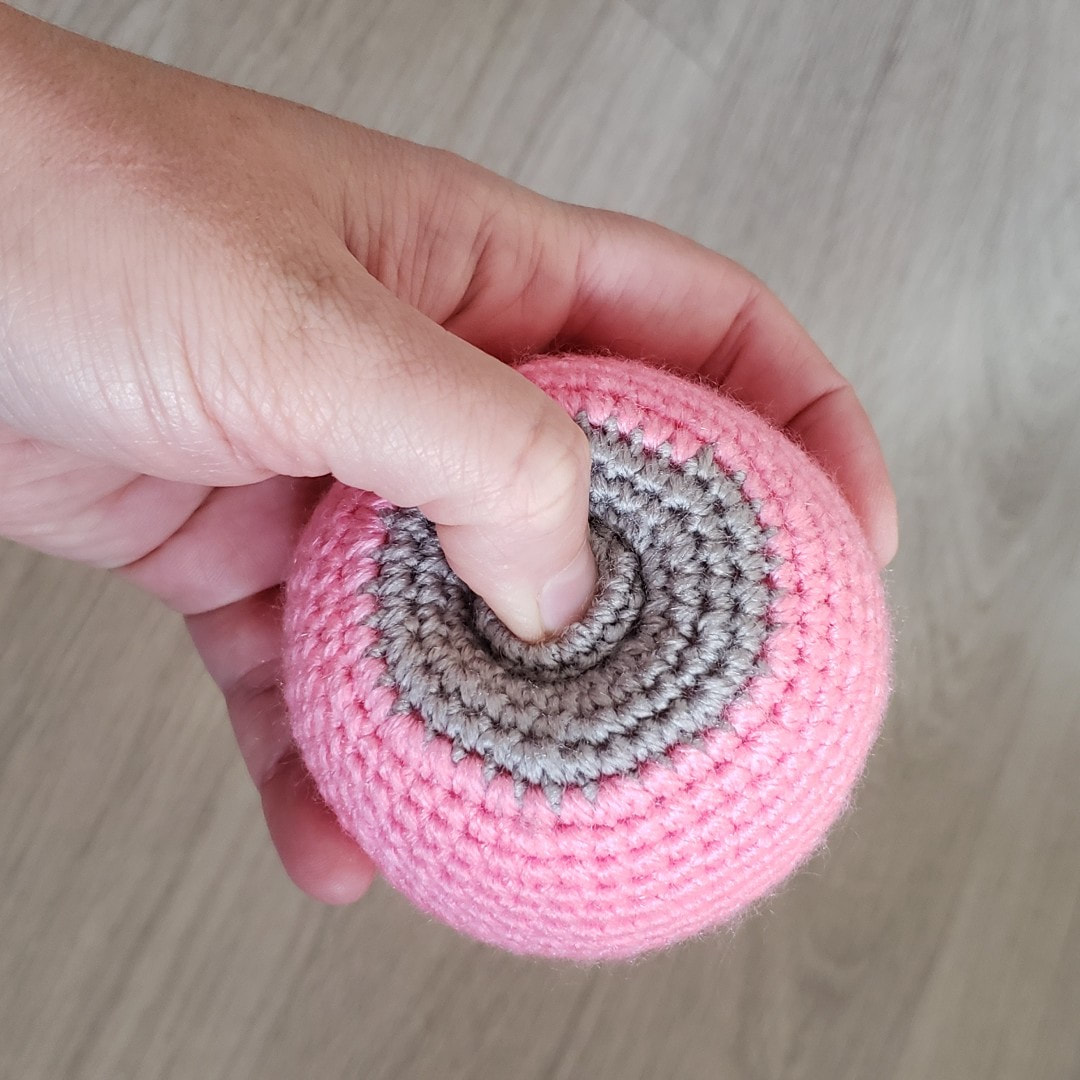
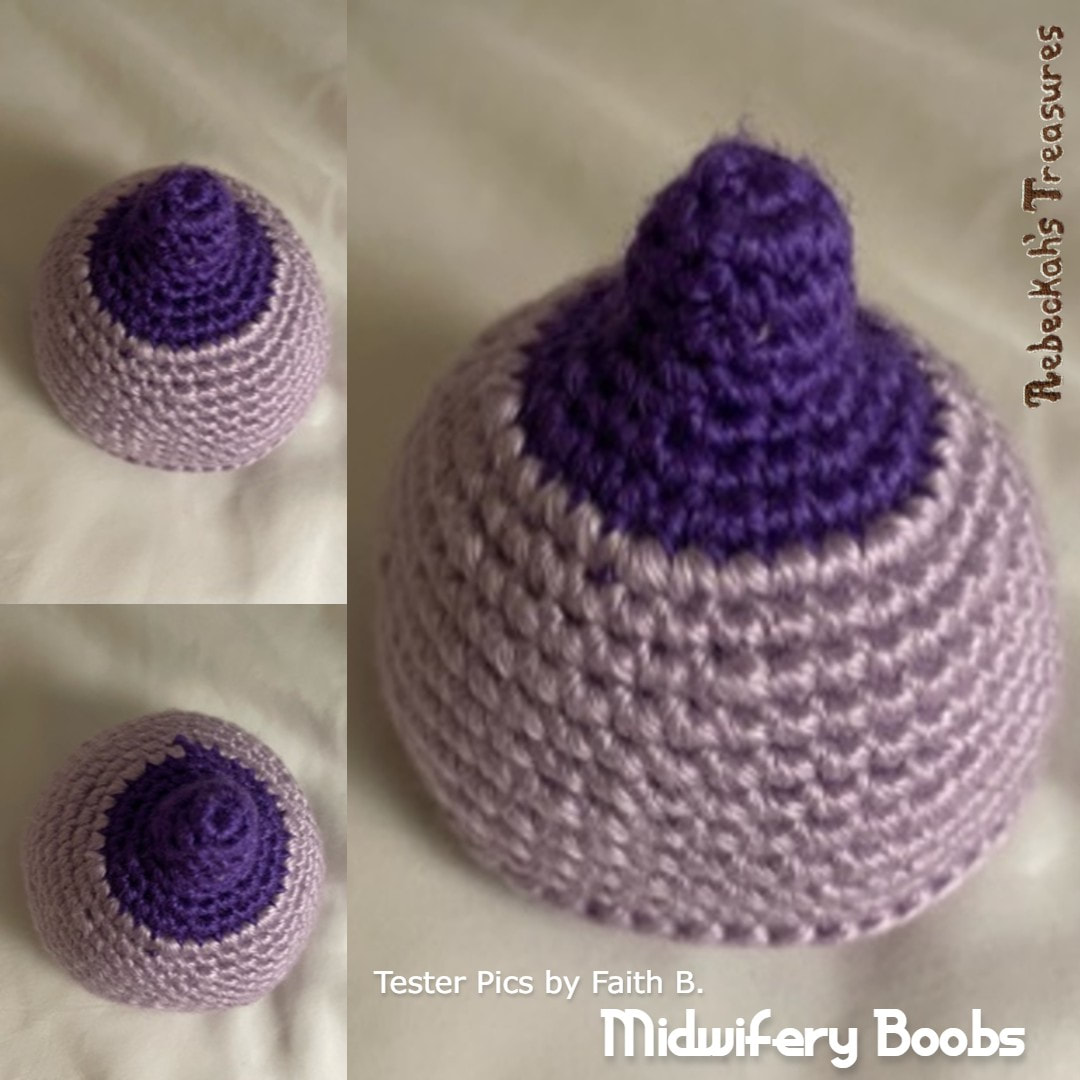
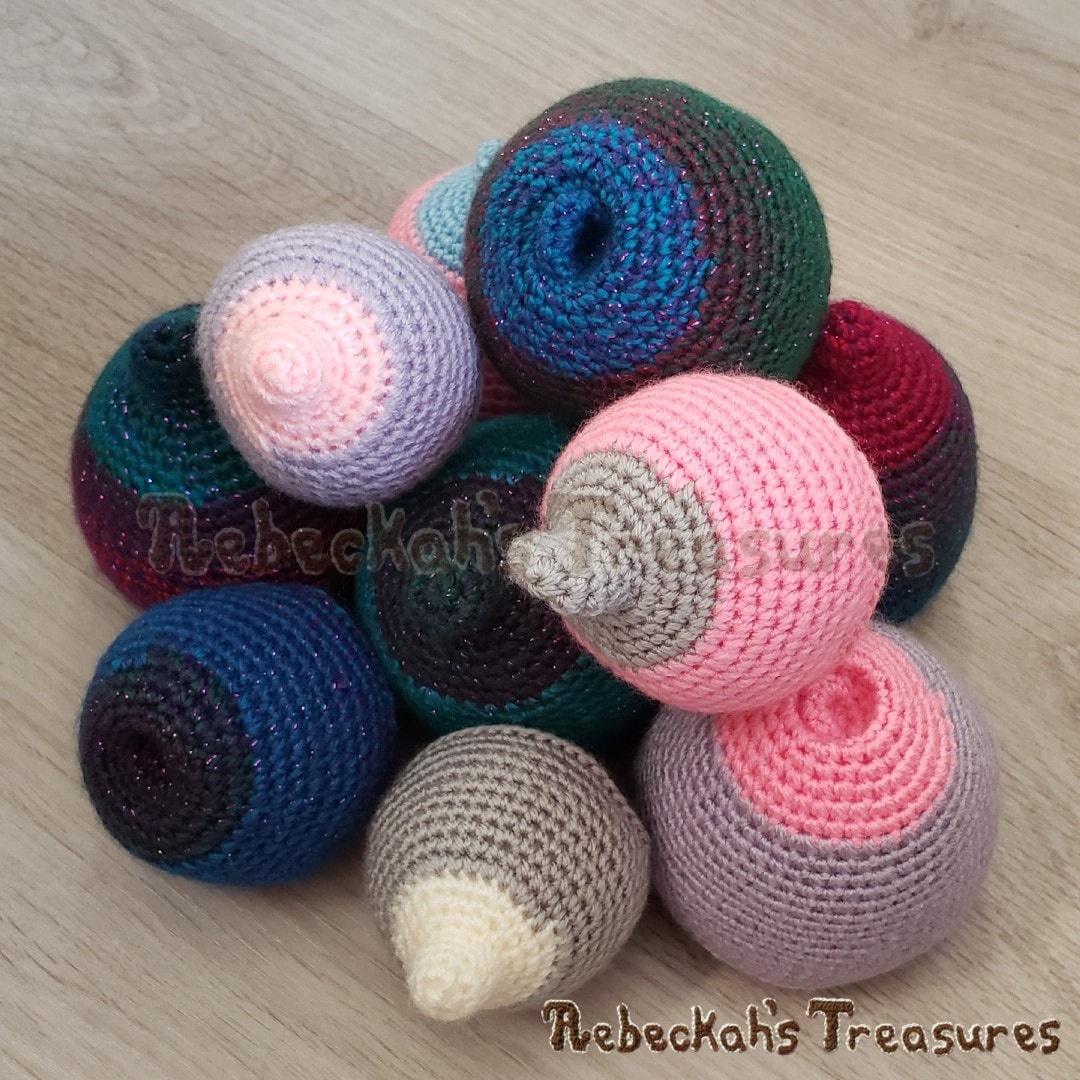
This pattern includes written directions to crochet boobs of different shapes and sizes for midwives and doulas to teach mothers about breastfeeding. The nipples can invert and demonstrate how they become pinched with a shallow latch. This project was inspired when I was crocheting boobs for my fellow student midwives and I discovered that I could easily invert the nipples by omitting to fill them with stuffing. I have made many boobs over the last year and have found having different sizes so useful for my practical placements!
This crochet pattern is also available as a printer friendly, 6-page PDF download. GRAB IT HERE for only $1.75 and show your support for Rebeckah's Treasures. Thank you!
Queue it, LOVE it, and Add your boob projects to Ravelry here!
This crochet pattern and photos are copyrighted to Rebeckah Ferger of www.rebeckahstreasures.com. They are for personal use only. No part of this pattern may be copied or distributed in any way. If you sell what you make from this pattern, please credit me as the designer. All rights reserved, 2021.
You’ll Need:
Abbreviations: ~US Terminology~ [...] - work stitches between the brackets however many times called for CA - colour A CB - colour B dec - decrease(s) / decreasing FL(O) - front loop(s only) f/o - fasten off inc - increase(s) / increasing lp(s) - loop(s) prev - previous rem - remain / remaining rep - repeat rnd(s) - round(s) RS - right side sc - single crochet sc2tog - single crochet 2 stitches together sl st - slip stitch st(s) - stitch(es) tog - together yo - yarn over Special Abbreviations: *BPsc = insert hook into the same st (last worked of the prev rnd) from back to front, then return to the back by inserting hook into the subsequent st (first st of prev rnd) from front to back – the hook is now wrapped around the post of the st → work a normal sc here. Rep the process of inserting hook into the same & subsequent sts to wrap around the post & work a sc. COLOUR Changing = With CURRENT colour → insert hook into the next st, yo, pull thru st (2 lps on hook), cut a long tail. With NEW colour → fold yarn end with a long tail to create a lp, draw this thru 2 lps on hook – sc change complete → continue to work rem sts around the tails to secure them into place. *Pull tightly on both tails after a few sts are completed to adjust the last sc of prev colour. Approximate Sizing Using DK Yarn:
Gauge: Gauge is not important for this pattern. You just need to use a hook size that produces tight stitches with your chosen yarn. Pattern Notes: You should be familiar with basic crochet stitches, working in rounds, magic circles, front loops, back posts and how to do increases. Special techniques used are the invisible decrease and colour changes. Decreases or tog sts are best worked by using the invisible decrease technique, where you only work in the front or back loops of a stitch. If you are unfamiliar with this technique, see my video tutorial here... When the number comes after the stitch, crochet across the stitches. However, when the number comes first, this is indicative of an increase, so work them into the same stitch or space as directed. Use a stitch marker at the beginning of inc rnds to keep track of rnd and rnd reps. High contrast colours are recommended – easier to explain hand-expressing techniques with a defined areola. Stuff your boob more than you think you’ll need because the fiberfill will condense over time. When a long ending tail is suggested, simply fasten off where the wrapped yarn reaches the side of your palm. *You can make it a bit longer if you like. Additional notes are included below as needed... Crochet Pattern Instructions
Make as many as you like!
This breast is worked in continuous rnds starting with the nipple and areola. On the last st of the areola, a seamless colour change occurs to transition into working the breast. Once you are happy with the breast size, you’ll work in BP to create a ‘flatter’ back/bottom, stuffing the boob before crocheting it closed. This pattern is written in such a way that you can choose how many inc rnds you crochet and how many rep rnds you do after inc rnds. Both factors play a role in the overall shape and finished size of your boob.
Do not turn at the end of rnds. *Side facing you = RS.
Nipple to Breast INC Instructions:
Starting with the Nipple in CA… Starting Rnd: Sc 6 into a magic circle (6 sts). INC Rnd 1: 2 sc into each st around (12 sts). REP Rnd 1: Sc 12 – rep this rnd for a total of 3 rnds for small boob OR 4 rnds for large boob (12 sts). Starting the Areola still using CA… INC Rnd 2: [Sc 1, 2 sc into the next st] x 6 around (18 sts). INC Rnd 3: Sc 1, [2 sc into the next st, sc 2] x 5 around, 2 sc into the next st, sc 1 in last st (24 sts). INC Rnd 4: [Sc 3, 2 sc into the next st] x 6 around (30 sts). End areola on INC Rnd 3 or 4 for a SMALL boob – change to CB on the last st of the rnd to start the Breast… TIP: Once you switch to CB for the breast portion of the small boob, continuing with the pattern rnds below – work 9 to 10 rnds more for a small boob before continuing to the BP and DEC rnds. INC Rnd 5: Sc 2, [2 sc into the next st, sc 4] x 5 around, 2 sc into the next st, sc 2 (36 sts). REP Rnd 5: Sc 36 – 1 rnd (36 sts). End areola on REP Rnd 5 for a LARGE boob – change to CB on the last st of the rnd to start the Breast… TIP: Once you switch to CB for the breast portion of the large boob, continuing with the pattern rnds below – work 14 to 16 rnds more for a large boob before continuing to the BP and DEC rnds. INC Rnd 6: [Sc 5, 2 sc into the next st] x 6 around (42 sts). REP Rnd 6: Sc 42 – 1-3 rnds (42 sts). INC Rnd 7: Sc 3, [2 sc into the next st, sc 6] x 5 around, 2 sc into the next st, sc 3 (48 sts). *Recommended possible last INC Rnd for smaller boob. From the following rnds – onwards, jump to the corresponding BP Rnd to start closing the breast once you are happy with the size of your boob. NOTE: Once stuffed, the boob will be slightly larger… REP Rnd 7: Sc 48 – 1-5 rnds (48 sts). *Jump to BP Rnd 1 if stopping breast size here. INC Rnd 8: [Sc 7, 2 sc into the next st] x 6 around (54 sts). *Recommended final INC Rnd for a small boob. REP Rnd 8: Sc 54 – 1-5 rnds (54 sts). *Jump to BP Rnd 2 if stopping breast size here. INC Rnd 9: Sc 4, [2 sc into the next st, sc 8] x 5 around, 2 sc into the next st, sc 4 (60 sts). *Possible last INC Rnd for large boob. REP Rnd 9: Sc 60 – 1-5 rnds (60 sts). *Jump to BP Rnd 3 if stopping breast size here. INC Rnd 10: [Sc 9, 2 sc into the next st] x 6 around (66 sts). REP Rnd 10: Sc 66 – 1-5 rnds (66 sts). *Jump to BP Rnd 4 if stopping breast size here. INC Rnd 11: Sc 5, [2 sc into the next st, sc 10] x 5 around, 2 sc into the next st, sc 5 (72 sts). REP Rnd 11: Sc 72 – 1-5 rnds (72 sts). *Jump to BP Rnd 5 if stopping breast size here. BP Rnds Instructions: Still working continuously – jump to the appropriate BP Rnd based on your ending point above. After completing this rnd, jump to the DEC Rnds below… BP Rnd 1: BPsc 48 (48 sts). *Jump to DEC Rnd 5. BP Rnd 2: BPsc 54 (54 sts). *Jump to DEC Rnd 4. BP Rnd 3: BPsc 60 (60 sts). *Jump to DEC Rnd 3. BP Rnd 4: BPsc 66 (66 sts). *Jump to DEC Rnd 2. BP Rnd 5: BPsc 72 (72 sts). *Jump to DEC Rnd 1. DEC Rnds Instructions: Still working continuously – jump to the appropriate DEC Rnd based on your ending point above and work your way through the subsequent DEC Rnds… DEC Rnd 1: Sc 5, [sc2tog in FL, sc 10] x 5, sc2tog in FL, sc 5 (66 sts). DEC Rnd 2: [Sc 9, sc2tog in FL] x 6 (60 sts). DEC Rnd 3: Sc 4, [sc2tog in FL, sc 8] x 5, sc2tog in FL, sc 4 (54 sts). DEC Rnd 4: [Sc 7, sc2tog in FL] x 6 (48 sts). DEC Rnd 5: Sc 3, [sc2tog in FL, sc 6] x 5, sc2tog in FL, sc 3 (42 sts). DEC Rnd 6: [Sc 5, sc2tog in FL] x 6 (36 sts). DEC Rnd 7: Sc 2, [sc2tog in FL, sc 4] x 5, sc2tog in FL, sc 2 (30 sts). DEC Rnd 8: [Sc 3, sc2tog in FL] x 6 (24 sts). Start stuffing your boob – DO NOT stuff the nipple if you want to be able to invert or pinch it properly… DEC Rnd 9: Sc 1, [sc2tog in FL, sc 2] x 5, sc2tog in FL, sc 1 (18 sts). DEC Rnd 10: [Sc 1, sc2tog in FL] x 6 (12 sts). Finish stuff the boob until you are satisfied with density of the breast… DEC Rnd 11: [sc2tog in FL] x 6, sl st join, f/o with a long tail (6 sts). Use the ending tail to sew the opening closed. Weave in all ends.
Comments and shares are greatly appreciated!
If you've enjoyed this free crochet pattern, please spread the Love and share the Joy with your besties and crochet buddies. Tell me what you think! Leave me a comment below, give this pattern a rating and/or favourite this pattern by hearting it on Ravelry... Tell me what you think about this pattern...
Share pictures of your crochet boobies! TAG @beckastreasures via IG or Twitter; ADD your project to Ravelry; or JOIN one of my Crocheting Treasures groups!
Thanks Faith B. for testing the midwifery boobs crochet pattern for me!
Thanks so much for visiting today!
If you have any questions, or need pattern help, comment below, send me an inquiry through my website form, OR visit my one of my groups / communities on Facebook or Ravelry. Have a wonderful day! 
Hello Visitor and Welcome to Rebeckah's Treasures... I am a Norwegian/Canadian currently studying Midwifery in the UK. I love to crochet! At Rebeckah's Treasures, I share my crochet patterns and treasures. I hope they inspire you to crochet your own little treasures too... 
Comments
|
Hello, my name is Rebeckah.
I hope my crochet inspires you to create your very own treasures! Learn more about me... Categories
All
Archives
October 2021
© 2012-2021 Rebeckah Ferger
All rights reserved. Disclaimer: This website makes use of sponsored and/or affiliate links. Please see this page for more information.
|
- Home
-
-
- Special Offers
- New Releases
- Accessory Crochet Patterns
- Afghan Square Crochet Patterns
- Amigurumi Crochet Patterns
- Applique Crochet Patterns
- Baby Crochet Patterns
- Dolly Crochet Patterns
- Fashion Doll Crochet Patterns
- Free Downloads
- Holiday Crochet Patterns
- Tapestry Crochet Patterns
- Under the Sea Crochet Patterns
- Wedding Crochet Patterns
- Disclaimer and FAQs
-
-
- Free Crochet Patterns
- New Free Releases
- Free Accessory Crochet Patterns
- Free Afghan Square Crochet Patterns
- Free Amigurumi Crochet Patterns
- Free Applique Crochet Patterns
- Free Baby Crochet Patterns
- Free Dolly Crochet Patterns
- Free Fashion Doll Crochet Patterns
- Free Guest Crochet Patterns
- Free Holiday Crochet Patterns
- Free Tapestry Crochet Patterns
- Free Under the Sea Crochet Patterns
- Free Wedding Crochet Patterns
- Free Crochet Patterns Coming Soon
Welcome Visitor! I hope you enjoy my treasures.









 RSS Feed
