|
Disclaimer: This website makes use of sponsored and/or affiliate links. Please see this page for more information.
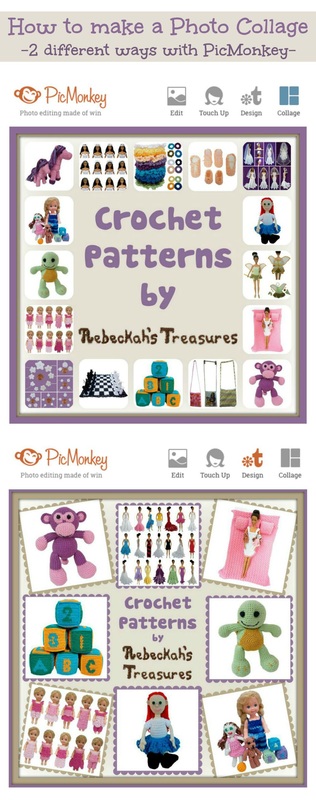
Photo collages are a fun, creative way of displaying your projects and favourite pictures, but how exactly does one make a collage?
Learn how to make collages two different ways with PicMonkey below... 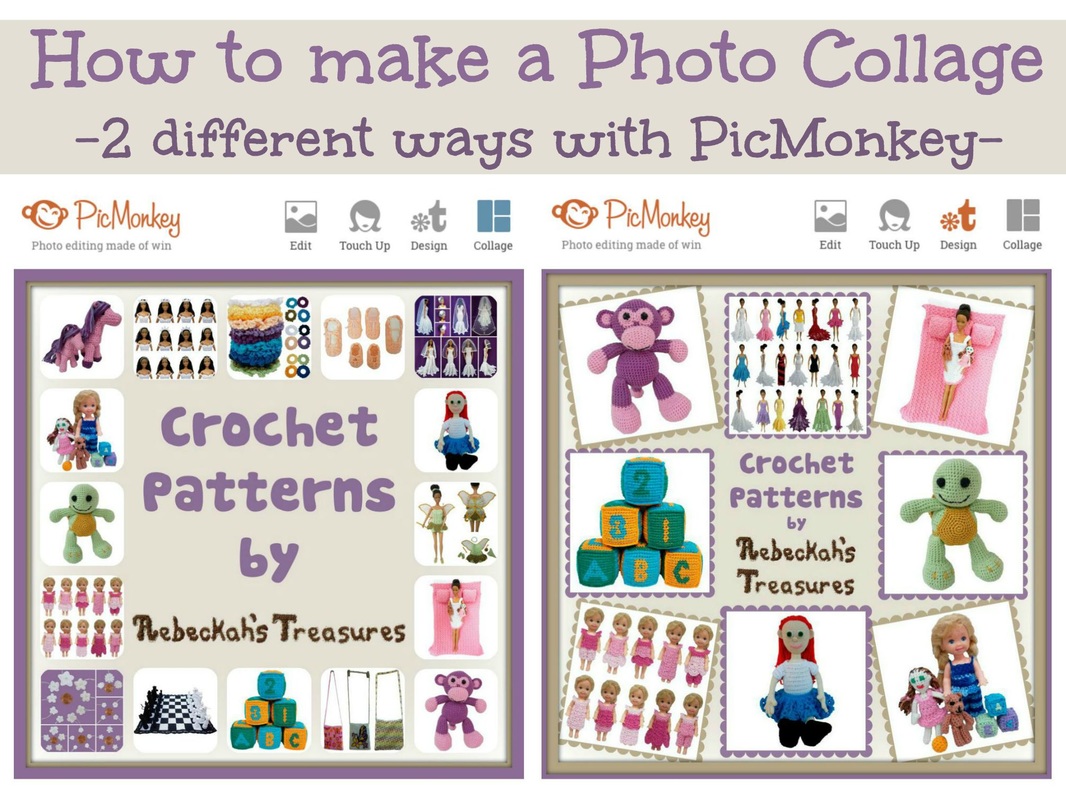
There are two different ways you can make a photo collage on PicMonkey. You can either use the collage tool or the design tool. The collage tool method is probably the easiest method, but the design tool method allows for more customization.
Generally speaking, the fastest and easiest way to make a collage, is to use the Collage tool. This method works in a drag and drop fashion, where you select a layout and simply drag & drop photos into place. If you want a no-fuss collage, chose the collage option. The design tool method of making a collage works by using overlays that you can rotate on angles, move around and easily adjust the size of each photo. If you would like to have this type of flexibility with your collage, chose the design option. Each method has its own pros and cons. Though, your perspective will determine which is a pro and which is a con. At a quick glance here's what you can do with each option: Collage Method
Design Method
*Note: Most of what you can do with the design method (minus anything that relates to individual image overlays) can be applied to the collage method if you save your collage and open it in the editor as an overlay. Method 1 - Collage Tool
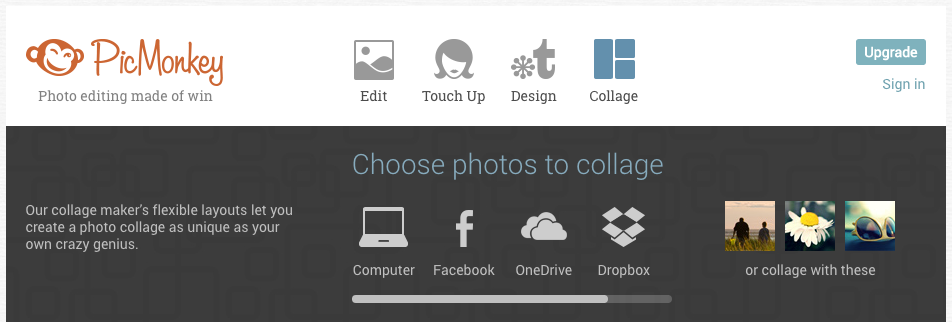
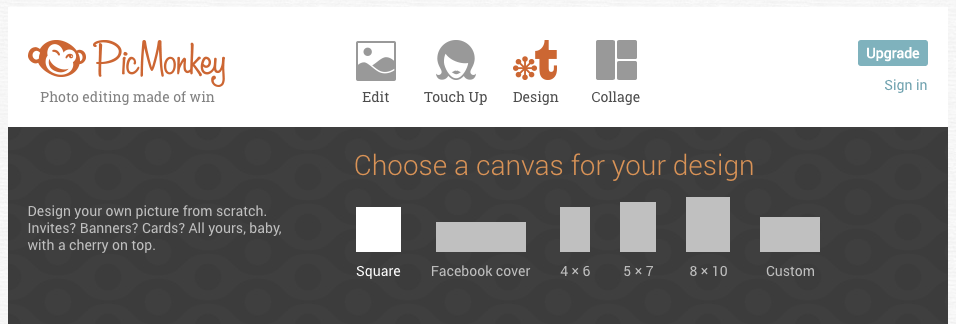
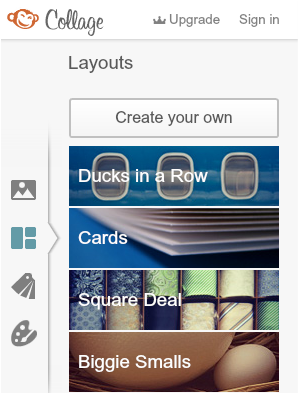
Step 1: Go to www.picmonkey.com and click on the Collage Icon to upload directly from your computer OR hover over the Collage Icon to see other upload options. Choose the option that best suits your needs.
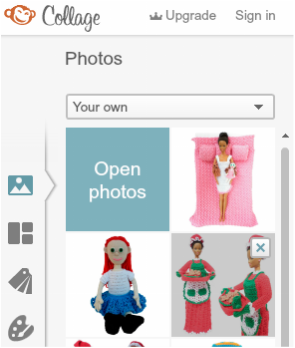
If you forgot to select a photo, you can easily add another when you are on the Photo Icon. Simply click on the blue box that says Open photos and upload them. OR Click on the Open button above the collage.

If you want to remove a photo from the list, hover over the image. An "X" button will appear in the top right corner. Click on it and it will remove the photo from the list.
Now that you have your layout to your liking, it's time to arrange photos onto the collage.
Step 3: Place as many or few photos as you like onto your collage in any arrangement you prefer. Just drag and drop your photos onto the white spaces where you'd like them to go. If you placed a picture in the wrong spot, just click on it and drag it to where you'd like it to go. Alternatively, you can just hover over the photo and click on the "X" button in the top right corner to remove it from the collage.


Customize the Collage Layout
Customizing the layout to be one that is not in the options, or not available for free is easy enough to do. Here's how...
Add a New Section: Simply drag a photo (either you one you want to use, or a random one just to get the layout) to one of the layout border sides to add a new section. Then, use your curser to adjust the size and dimensions of each section that was effected by the addition. Remove a Current Section: Hover over the top right corner of a section and click on the "X" button to remove a section. Then, use your curser to adjust the size and dimensions of each section that was effected by the removal. Here's an example: Let's change the 5 x 5 Square Deal layout to have a large center section. Start by removing two of the center vertical sections between the scrunchies and the blocks... 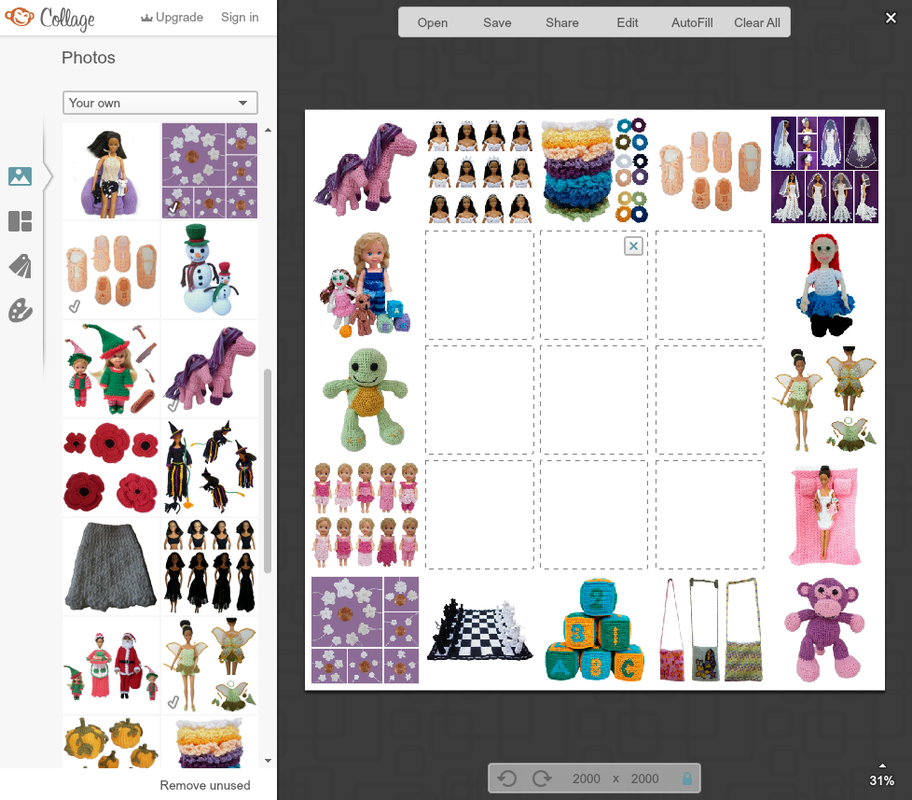
When you remove or add a new section onto the collage space, the other sections will adjust to divide the space evenly among them.
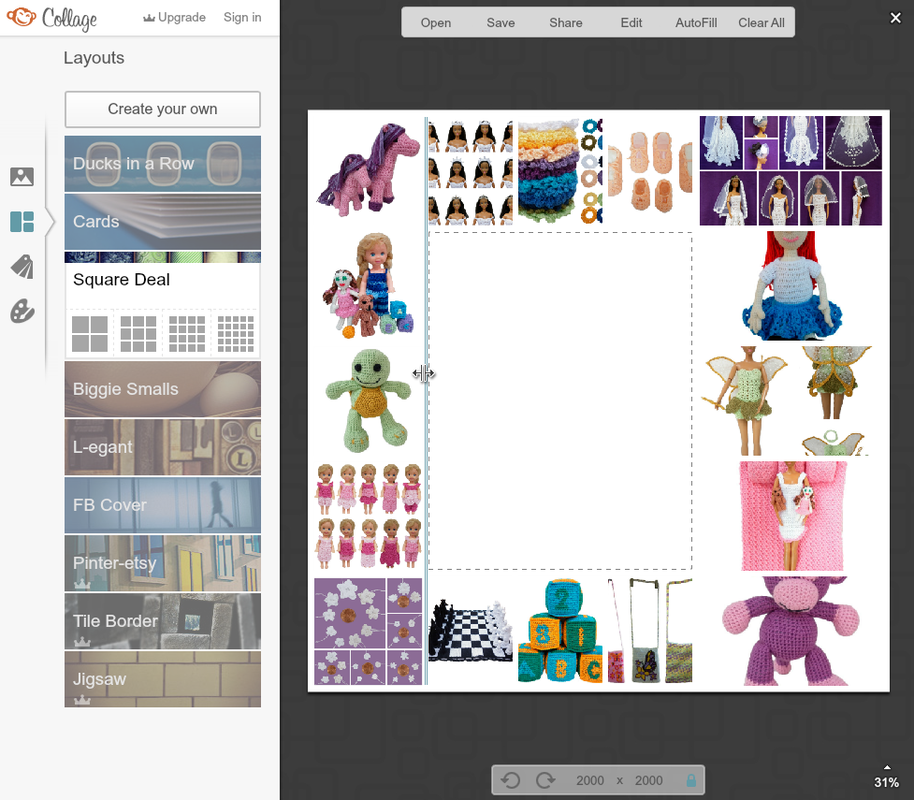
To fix this, click on the line between the sections and move it up or down or side to side to adjust the height or width. In the case of this example: Move the line below the scrunchies section up to make it square again. 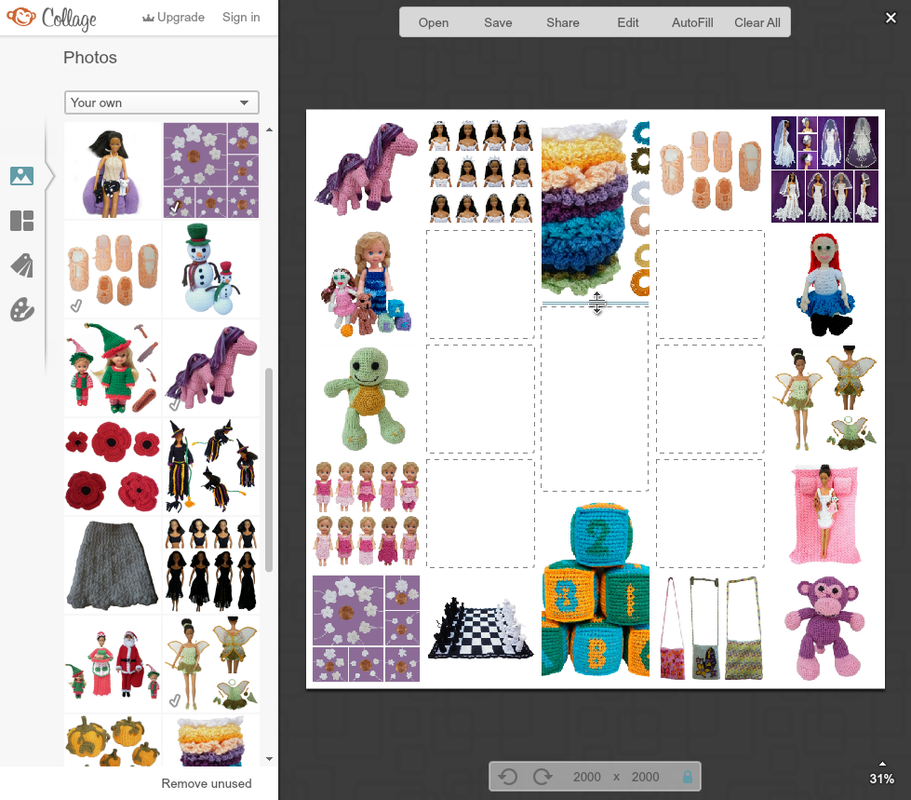
See here I am adjusting the scrunchy photo so that it is square again...
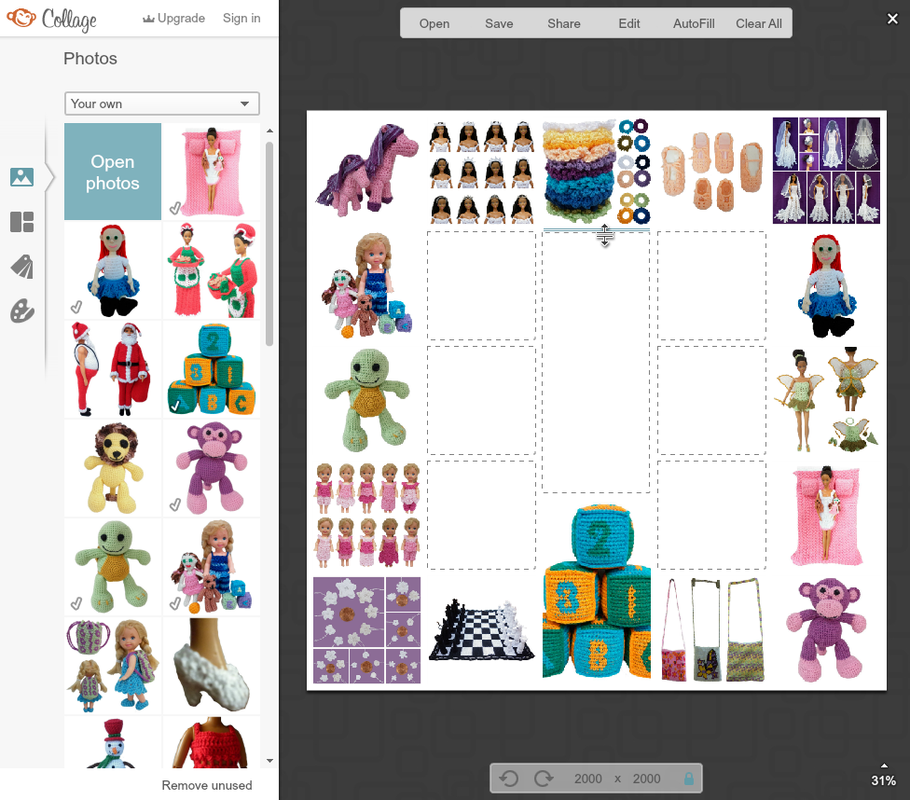
Then, repeat this with the line above the blocks. This time, you'll move the line down.
Now if you do the same for the three blank spaces to either side of the new center section, you will end up with three long blank spaces and no way to combine them. That's not what we want for this example, so you are going to make a minor adjustment to where the tiaras, slippers, chess and bags should go... Drag and drop the appropriate photo to either side of the top and bottom center pictures. 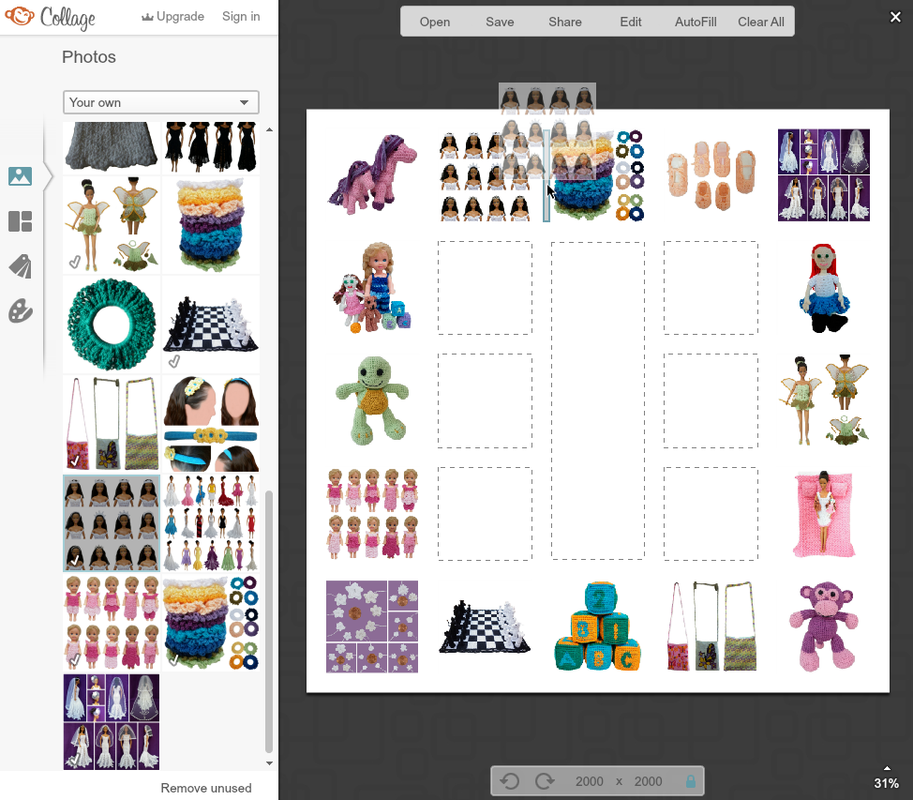
Notice how the three pictures in the top center square and the three in the bottom center square are competing for the space...
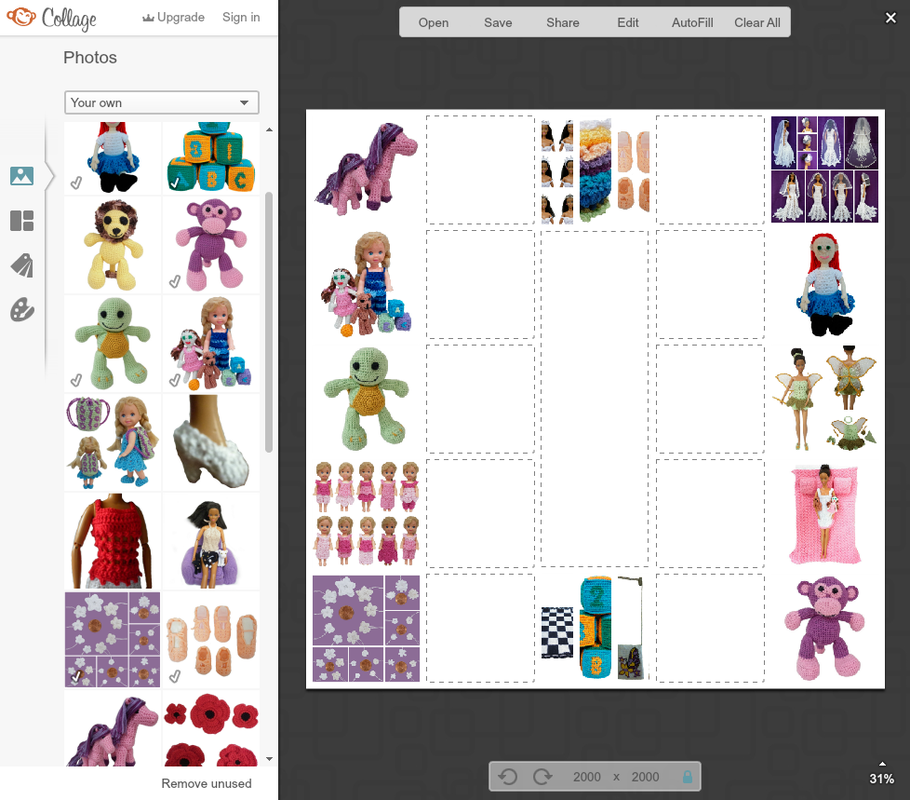
Now we can remove each of the five blank spaces to either side of the center section.
Remember how I said before that the collage will adjust each section evenly to make up for the additions or reductions? See how removing the two vertical columns spreads evenly on the remaining three... 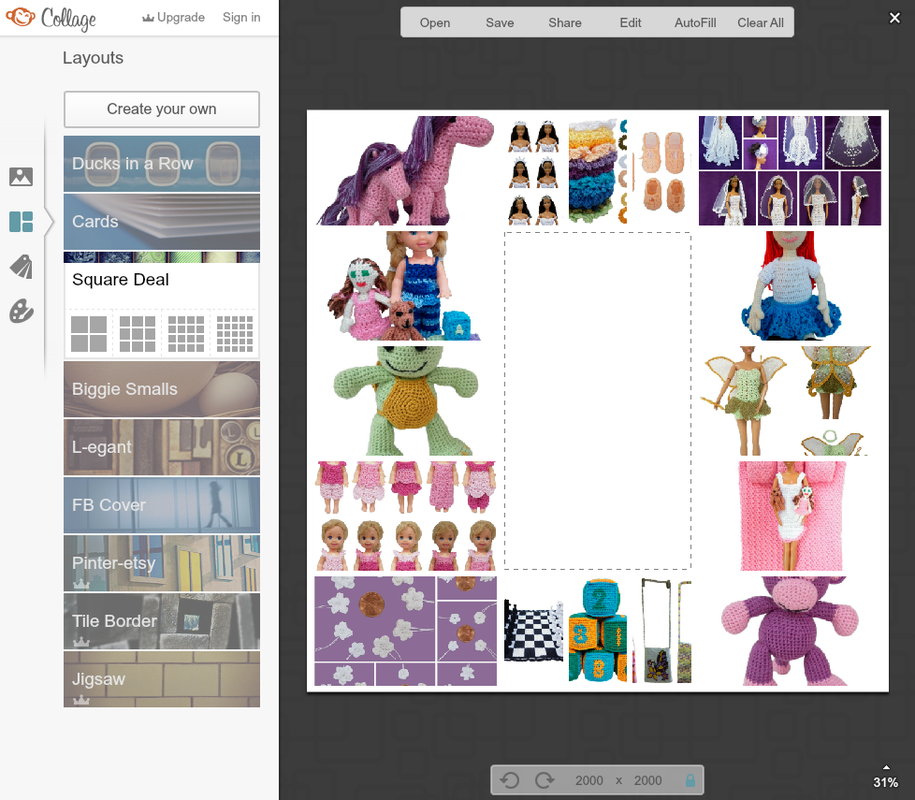
All that's left to do is adjust the lines between the 3 columns to make the pictures square again.
Simply adjust the lines by dragging them into position. You will have to eyeball it to get it square.
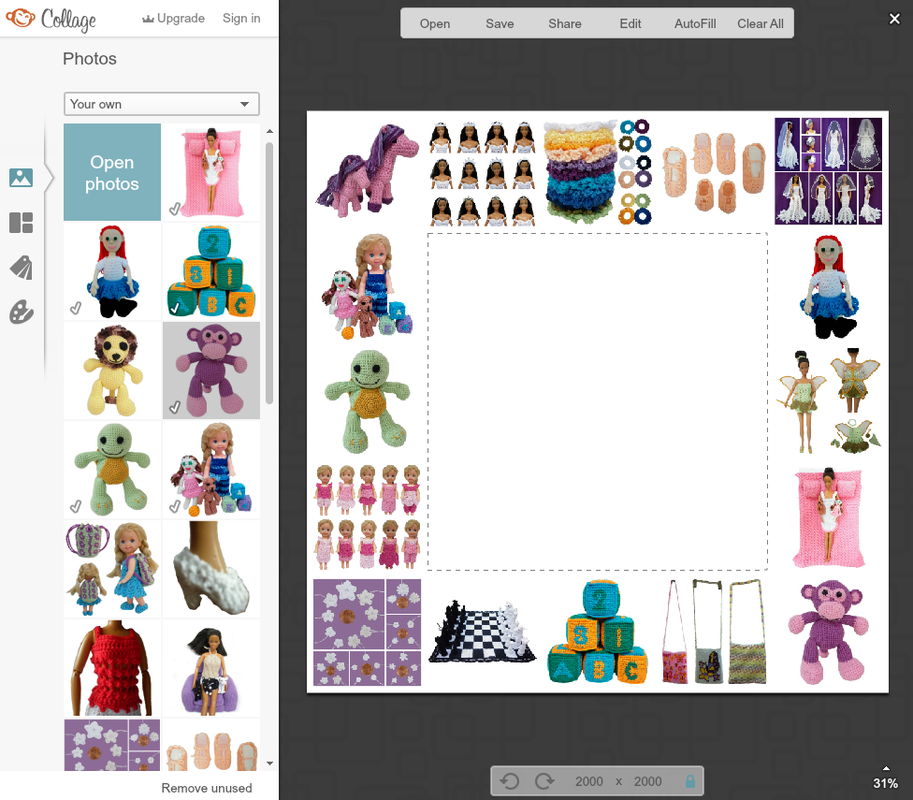
All done!
Now you can either choose to leave the center section blank to add text or whatever in the Editor of PicMonkey, you can add a Swatch from the swatch section, or you can add a spotlight picture.
Step 4: Add any finishing touches and final adjustments.
Step 5: Save Your Collage.
Now that you have a collage that you really love, you need to save it. Even if you want to open it in the Editor to add text or other special touches, SAVE it. I cannot emphasize this enough. You don't know what is going to happen with the internet connection, or maybe you make lots of changes you don't like. Either way, it will save you time to have an unedited and SAVED copy of your collage. Click on Save. From there you can name your collage and save it to your device. 
If you are happy with your collage and you want to share it right away, just click on Share and heed the share directions that follow...

Not quite finished with your collage, but you've done everything you can in the collage tool? Click on Edit to add text, overlays, frames and all sorts of fun to your collage.

If you want your collage to have a special background (whether it is one you have saved or are planning to make), I recommend saving your collage as a PNG with a transparent background. This way you can add your collage as an overlay in the editor after you have your background ready. Then, you will have more control over any other finishing touches you like add to it.
Take a look at Step 6 of Method 2 to see the editor options... Method 2 - Design Tool
Step 1: Go to www.picmonkey.com and click on the Design Icon to automatically select the square canvas size OR hover over the Design Icon to see options for standard canvas sizes. Select the one that you prefer. You can always adjust the size later if you need to do so.
Step 2: The first thing I recommend you do when using the design tool to make your collage, is to make the image transparent.
In any editor mode, a transparent canvas will look like white and gray boxes, so that you know it is clear and not a solid colour. These boxes act as a grid, which will help you with sizing and spacing your images. If saved in this form, the finished image will be translucent. You can always change the background colour later, so uncheck the Transparent canvas box and click the Apply button to make the change. 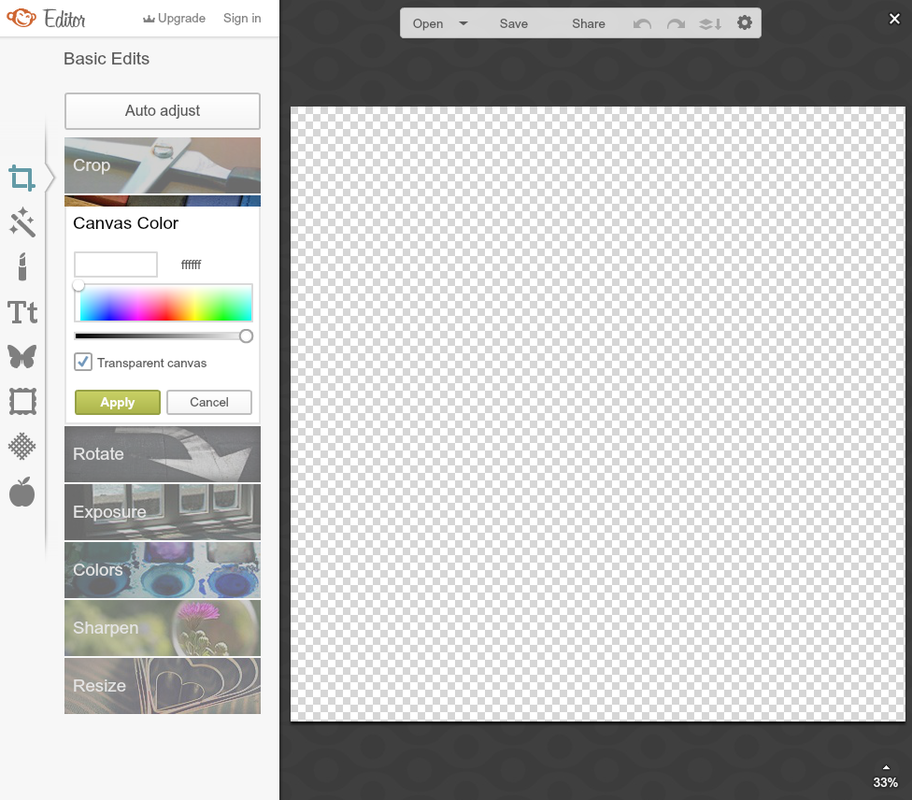
Step 3: The next thing I recommend is to make sure the image size is to your liking.
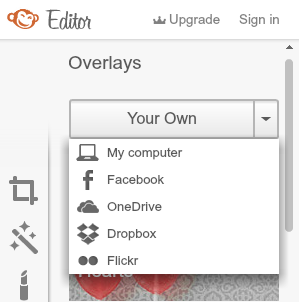
Step 4: Upload the photos you want to use onto your canvas.
Step 5: Arrange and size your photos to your liking.
Clicking on any overlay or photo will bring up an option menu (you can move around so it is not in your way). You won't really need it unless you want to delete a photo completely, or if you will be adding another overlay to your collage later. Make your photo overlay larger or smaller by dragging any corner or side until it is the size you want it to be. The proportions will stay the same no matter which corner or side you pull from. Rotate your photo by clicking the top-center circle above the image (visible whenever you click on the photo) and move your mouse to adjust it to your liking. When you are happy, simply release. If you want to make the image straight again, right-click the image and click on Straighten. 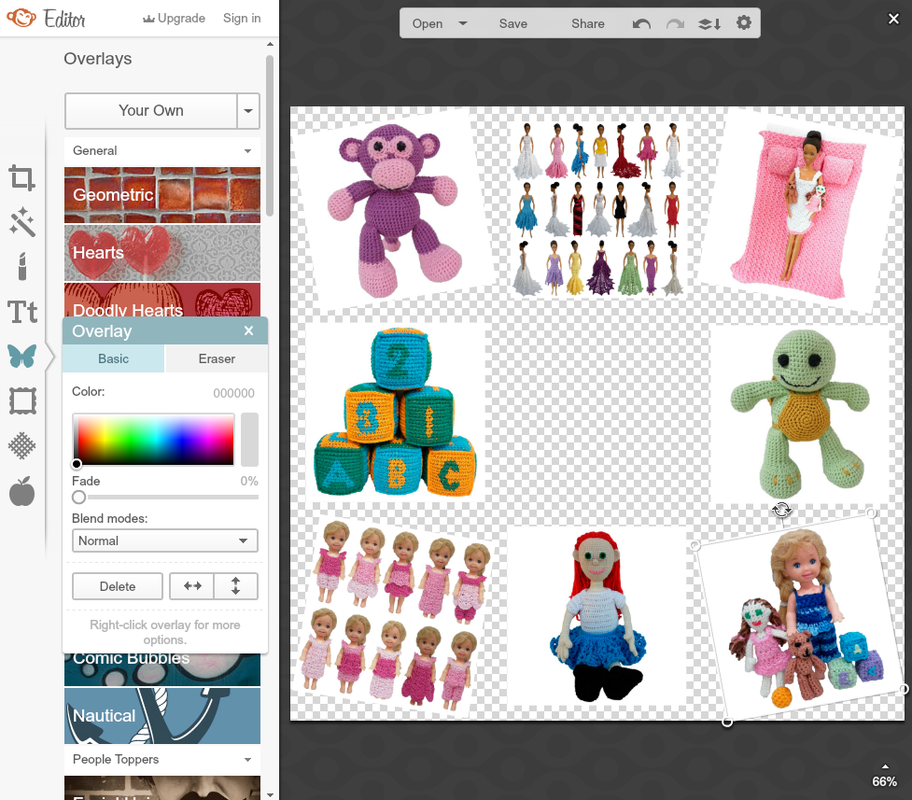
Once you are happy with your photo arrangement, you may like to save your image as a PNG just in case whatever crazy thing you can think of happens.
Saving it like this means that if anything goes wrong, or if you need to put your collage on hold, you can overlay this one photo right onto your canvas, rather than starting from scratch again. Click on the Save button above your canvas. It will take you to where you can name your picture and download it. Once you've saved, it will take you back to where you were. 
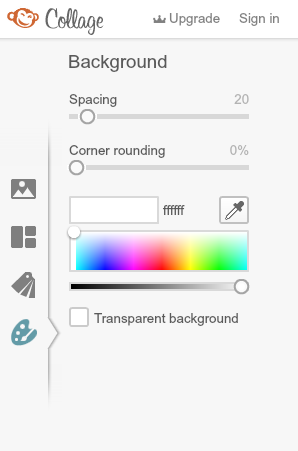
Step 6: Add any other details and finishing touches to your collage. Start by changing your canvas colour in the basic edits section of the editor.
A fun idea is to add shape or label overlays underneath each photo. If all your images are the same size. You can duplicate the shape overlay by right-clicking it and selecting duplicate. Here's what each of the icons in the editor does: 
This icon is for Basic Edits. Crop, rotate and resize your photo. Change the background canvas colour, and make other basic edits with this tool.

This icon is for Effects. Add all sorts of special effects to your background canvas with this tool. Effects will only be applied to the background canvas. This is a fun tool!

This icon is for Touch Ups. It is only applied to the background canvas.
You won't need anything here for your collage. 
This icon is for Text. Say something about your photo collage with this tool. Use one of the many options PicMonkey has to offer, or use one of your own.

This icon is for Overlays. You are already familiar with adding your own overlays from this tutorial, but there are all sorts of fun things you can add to make it pop!

This icon is Frames.
Add a boarder / edging to your collage / image with this tool. 
This icon is for Textures. This is really another fun tool for adding some flair to your canvas background. Textures will only be applied to the background canvas.

This icon is for Themes.
A combo of all the above split into themes.
Step 7: Save and/or share your finished collage.
 

Hello Visitor and Welcome to Rebeckah's Treasures... I am a Norwegian/Canadian currently studying Midwifery in the UK. I love to crochet! At Rebeckah's Treasures, I share my crochet patterns and treasures. I hope they inspire you to crochet your own little treasures too... 
Comments
|


Hello, my name is Rebeckah.
I hope my crochet inspires you to create your very own treasures! Learn more about me... Categories
All
Archives
October 2021
© 2012-2021 Rebeckah Ferger
All rights reserved. Disclaimer: This website makes use of sponsored and/or affiliate links. Please see this page for more information.
|
- Home
-
-
- Special Offers
- New Releases
- Accessory Crochet Patterns
- Afghan Square Crochet Patterns
- Amigurumi Crochet Patterns
- Applique Crochet Patterns
- Baby Crochet Patterns
- Dolly Crochet Patterns
- Fashion Doll Crochet Patterns
- Free Downloads
- Holiday Crochet Patterns
- Tapestry Crochet Patterns
- Under the Sea Crochet Patterns
- Wedding Crochet Patterns
- Disclaimer and FAQs
-
-
- Free Crochet Patterns
- New Free Releases
- Free Accessory Crochet Patterns
- Free Afghan Square Crochet Patterns
- Free Amigurumi Crochet Patterns
- Free Applique Crochet Patterns
- Free Baby Crochet Patterns
- Free Dolly Crochet Patterns
- Free Fashion Doll Crochet Patterns
- Free Guest Crochet Patterns
- Free Holiday Crochet Patterns
- Free Tapestry Crochet Patterns
- Free Under the Sea Crochet Patterns
- Free Wedding Crochet Patterns
- Free Crochet Patterns Coming Soon
Welcome Visitor! I hope you enjoy my treasures.


 RSS Feed
