|
Disclaimer: This website makes use of sponsored and/or affiliate links. Please see this page for more information.
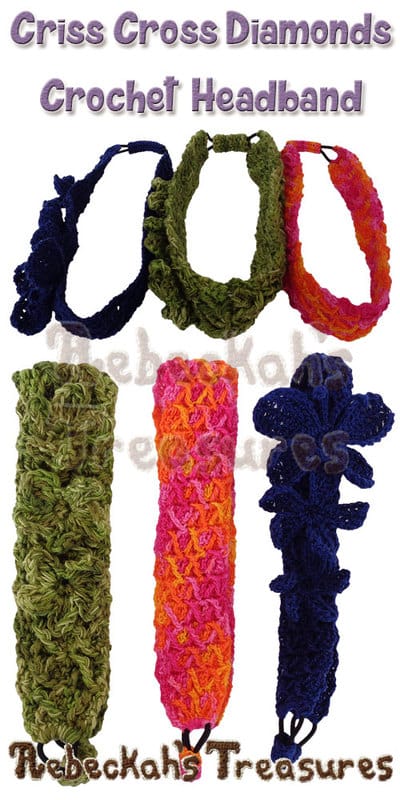
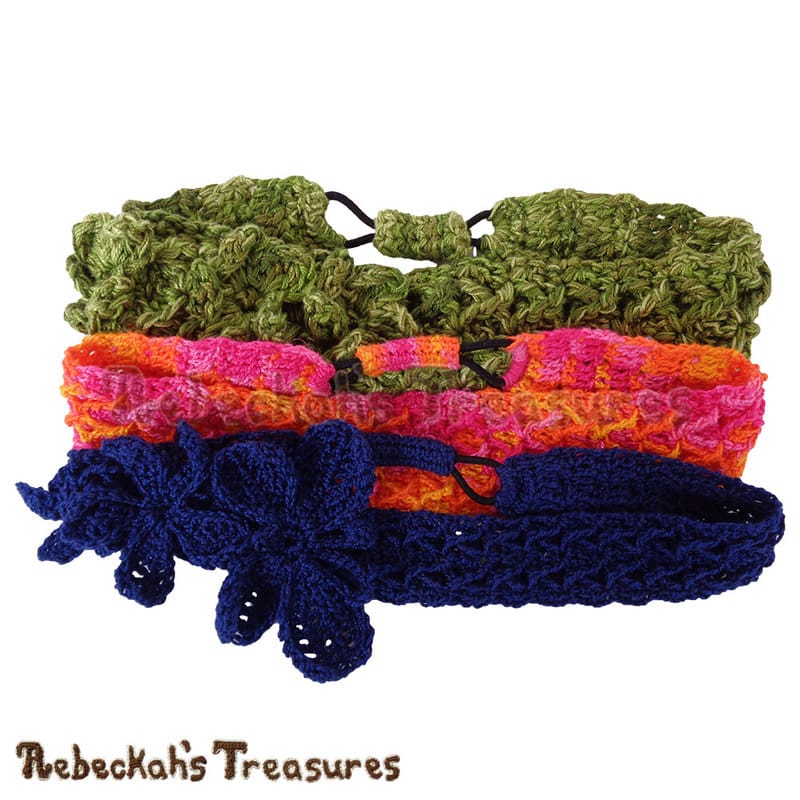
If you love headbands and are looking for a more intricate stitch to try, this gorgeous Criss Cross Diamonds headband has got you covered...
Not ONLY can you use ANY yarn / hook and crochet this headband to ANY width / size, but you'll get to crochet with cables and learn a brand new stitch too!
This accessory pattern includes written directions for crocheting intricate Criss Cross Diamond stitch headbands - of any width in any yarn weight, for any head size from newborn to adult. Bonus photo tutorial and video tutorial are also included!
And it just so happens to use the crochet stitch, of the same name, that I personally designed several years ago when I was working on a special baby project. This project is my final contribution to the Designer's Potpourri CAL for December 2016, and is one of three headband patterns I shared this month. See all 3 gorgeous headbands here. Creating crochet headband patterns is something I have been wanting to do for years, but there was always another project that was more pressing. The Designer's Potpourri CAL gave me the opportunity to check a few headband designs of my list, which was really great! One of my most favourite things about each of my new headband designs is how flexible they are. No need to go hunting for yarn for this project - not to say you can't, you totally should if you want to and can do so - but you can use whatever you've got on hand, no matter the weight. It's so easy to get the right fit, and one size will fit many! Do you prefer a relaxed, loose fit? Crochet more rows. Do you prefer a tighter fit? Crochet fewer rows. Do you like your headbands nice and wide? Add more starting stitches to the first row! Or do you prefer a dainty, delicated headband? That's great too! Simply start with fewer stitches. :D UPDATE - January 2017: This crochet pattern was available to view for free on this page for the month of December 2016 ONLY. Now, this crochet pattern is exclusively available as a printer friendly, 10-page PDF download. It's only $3.75 + when you purchase TWO headband patterns, you'll get the 3rd variation free! FULL DETAILS on this promotion can be found on the PDF listing page here. The accompanying photos and video tutorial will remain here as support for those with this pattern. Queue it, LOVE it, and Add your Criss Cross Diamond Headband projects to Ravelry here!
This pattern is copyrighted to Rebeckah Ferger of www.rebeckahstreasures.com. It is for personal use only. No part of this pattern may be copied or distributed in any way. If you sell what you make from this pattern, please credit me as the designer. All rights reserved, 2016.
Supplies:
- sport (2:Fine / 5 ply UK) yarn - about 8m (8.75yd).
- 3.75mm (F/5) hook works great with sport yarn.
Sizing:
This headband was designed to be completely flexible by adjusting yarn weight, hook size, stitch count and the total rows to get desired look.
The headband width is determined by the number of X's per row, whereas the finished circumference is determined by the number of rows crocheted + the width of the hair elastic. Standard Head Circumferences: It is always best to measure the head circumference of the intended recipient. When this is not possible, use the following size chart as a guide...
*The finished headband circumference should be shorter than the above measurements by roughly 2-4" (5-10cm). Use a shorter gab for a looser/relaxed headband fit, or a wider gap for a snugger fit. Size of Model/Demo Headbands:
*Each fits a child's 18" (46cm) - a woman's 21" (54cm) circumference head. **Note: These headband sizes are approximates. Gauge:
Gauge is not important for this pattern. Follow the sizing guidelines to achieve the look you like.
Plan in advance the width of your headband or make similar sized headbands by following these swatch guidelines and the included gauge pattern. 9 X x 19 rows = 4" (10cm) in thread size 10 with a 2.10mm hook. 3 X x 7 rows = 2" (5cm) in sport yarn with a 3.75mm hook. Pattern for Gauge is included in the PDF pattern. TIP: Thread/Yarn weight and hook size are flexible. Use lighter weights for narrow, dainty headbands, and thicker weights for wider cozy headbands. Also, these have a really good stretch, so one size will fit many sized heads! Pattern Notes:
You should be familiar with basic crochet stitches (chs, sl sts, sc, dc), tall crochet stitches (dtr), and working in rows, rounds and posts. Some special techniques you should know are how to sc attach directly onto another item, such as an elastic, and surface crochet.
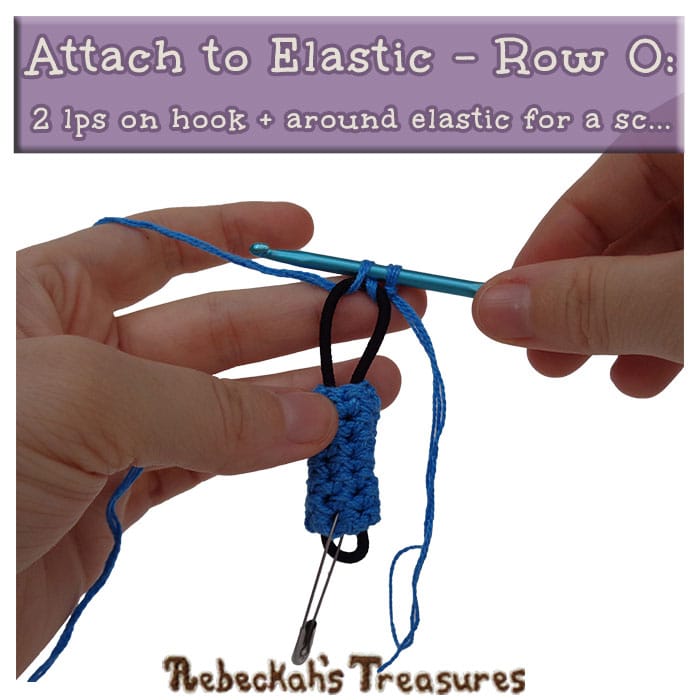
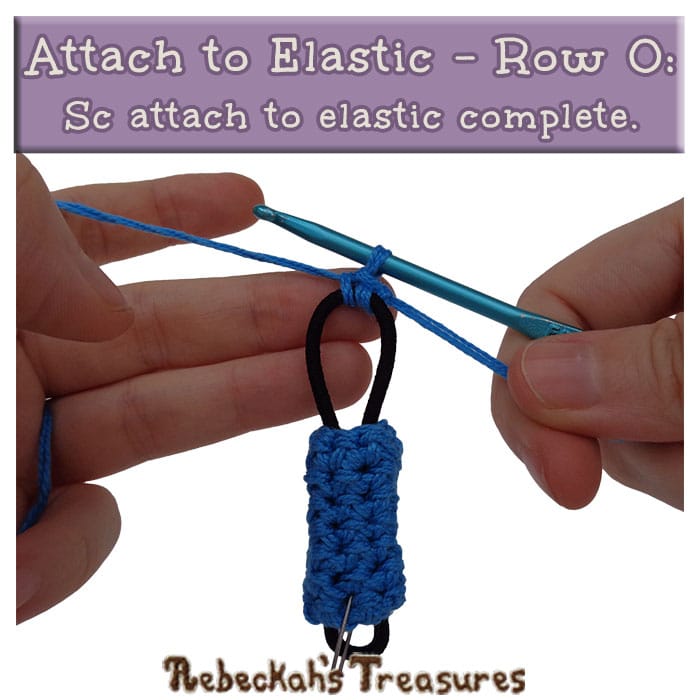
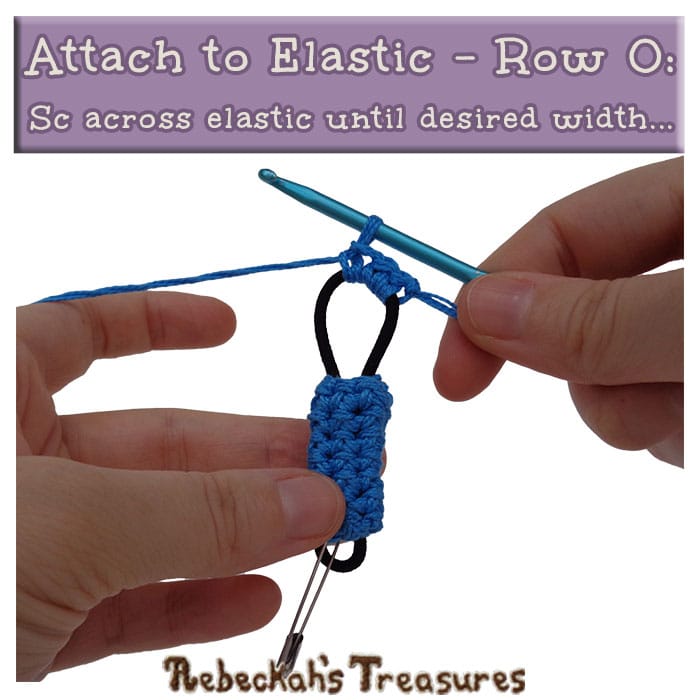
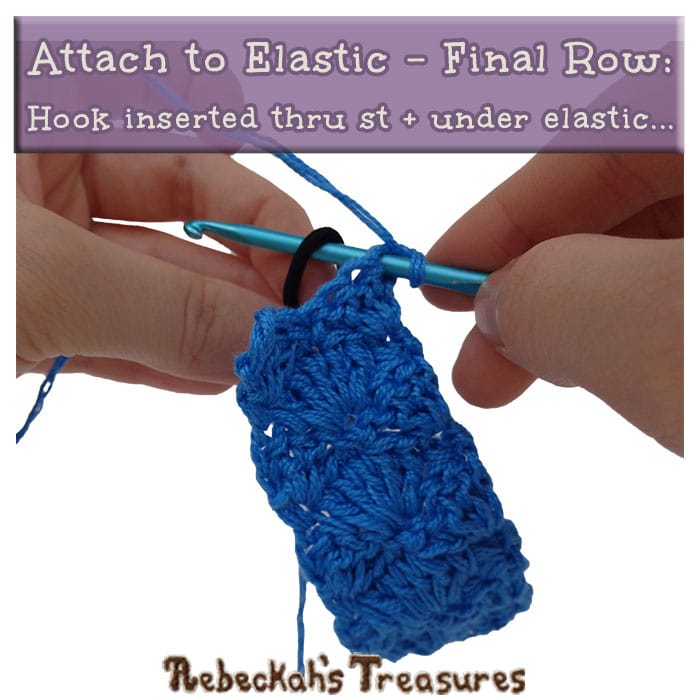
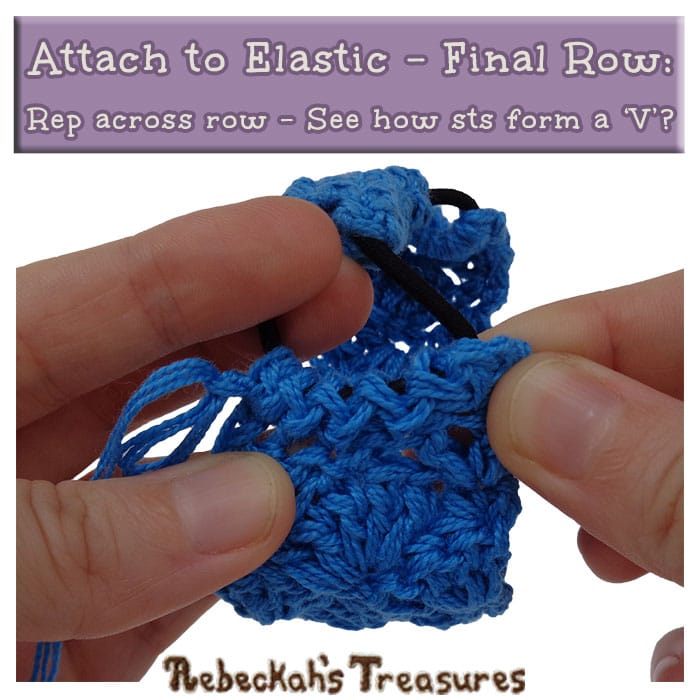
This headband is worked by attaching to a hair elastic. This allows a good amount of stretch, which secures the headband into place without compressing the head. Make sure you test your elastic first by stretching it out to ensure you have a quality one that won't break and ruin your headband. Add more starting sc stitches to the attach row for a wider headband, and fewer starting sc stitches for a narrower headband. Increase or decrease the number of rows according to your needs. When the number comes after the stitch, crochet across the stitches. However, when the number comes first, this is indicative of an increase, so work them into the same stitch or space as directed. The Criss Cross Diamond Stitch looks exactly like it sounds, but when there is only own row of this stitch, it just looks like X's lined up in a row. Extensive notes on this and sand a link to its tutorial are included here. When working the dtr sts for the Criss Cross Diamond, you'll want to keep the lps on the hook as tight as possible. Additional notes are included as needed throughout the pattern. Special Stitch Instructions:
The Criss Cross Diamond Stitch is created by working surface crochet (or cables) into specific front post stitches on previous ODD rows. The first row this stitch is worked is on row 3. Here you will alternate between working double treble crochet stitches into the single crochet posts from row 1 and single crochet stitches into row 2.
The base row of the criss cross diamond stitch (a.k.a. row 3) is the only time where it is necessary to count stitches to figure out where the surface stitches should be made. All other criss cross diamond rows will be worked in a similar fashion, but into the top slants of the previous set of criss cross diamond stitches.
How to Work the Criss Cross Diamond Stitch:
In order for the Criss Cross Diamond Stitch pattern to work, there needs to be a multiple of 4+2 stitches in the row. The multiple of 4 make up the actual Criss Cross Diamond stitches. Whereas the +2 are the anchor stitches - one for each side, which secures the post stitches of the Criss Cross Diamnd into place. Break up the stitches in each row, where you will be working the criss cross diamond, into groups of 4 stitches and number them from 1-4 - do NOT count the anchor stitches on either side of the project. This way, the stitches always line up and the following instructions make sense.
Special Stitch Abbreviations:
Criss-Left = work a dtr into the FP of the 4th st of the group from the prev odd row OR (for future rows) into the top of the 2nd dtr slat - a.k.a. top of the Cross-Right slant - of the group from the prev odd row. Cross-Right = work a dtr into the FP of the first st of the group from the prev odd row, hereby crossing over the last dtr made and creating an "X" OR (for future rows) into the top of the first dtr slat - a.k.a. top of the Criss-Left slant - of the group from the prev odd row crossing over the last dtr made. Criss Cross Diamond = Criss-Left, sk 1 st of current row, sc 2, [Cross-Right, Criss-Left, sk 2 sts of current row, sc 2] rep across section until only one more st of the section rems, Cross-Right, sk 1 st of current row.
Additional Stitch Notes:
This crochet headband is worked in two parts. The first part is optional, but highly recommended as it helps to create a narrow end of the headband. This in turn helps the headband to rest comportably on the wearer's head.
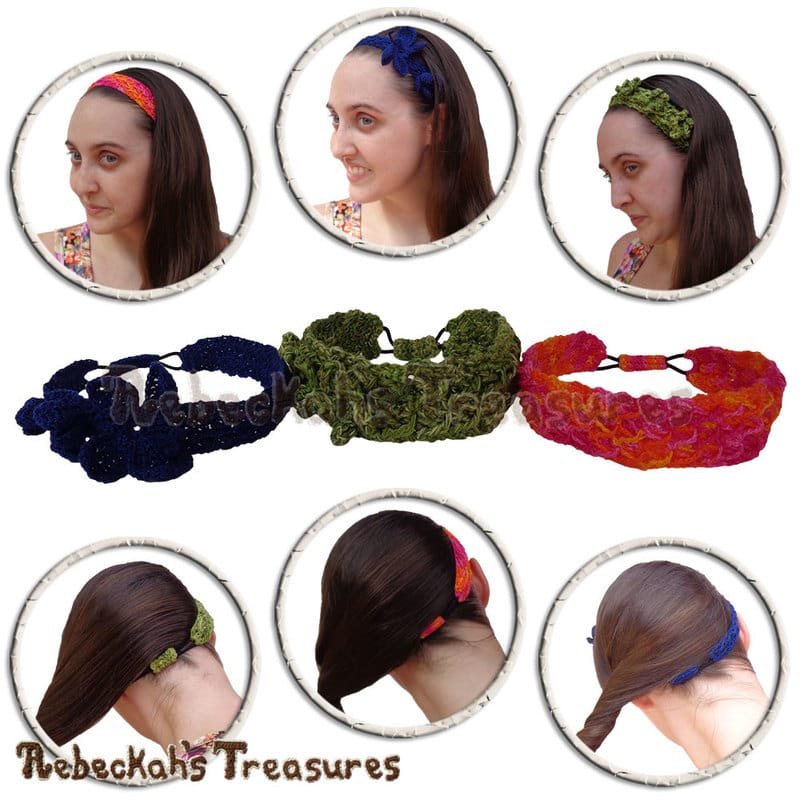
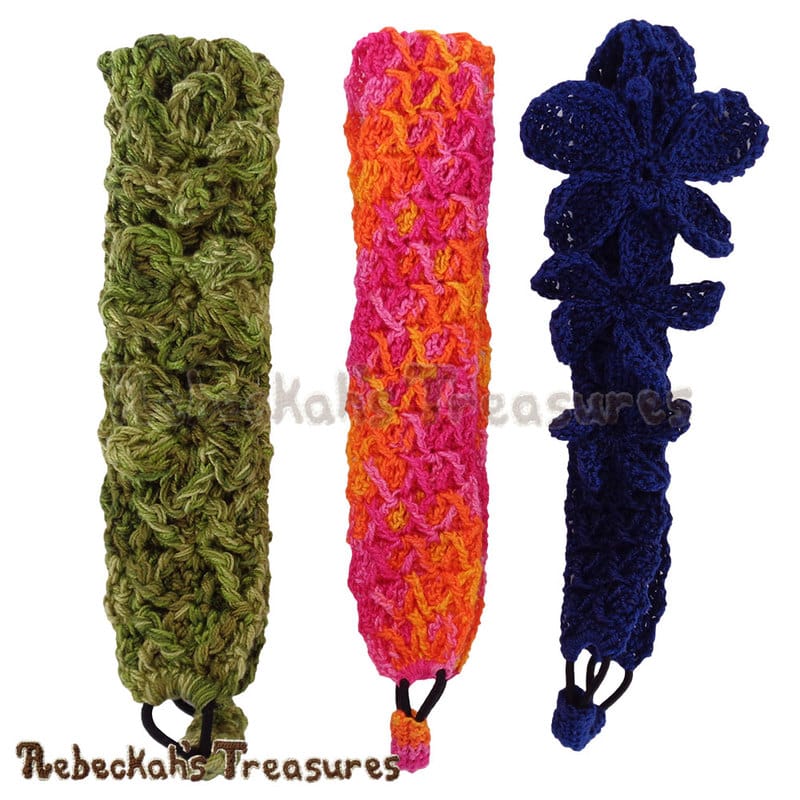
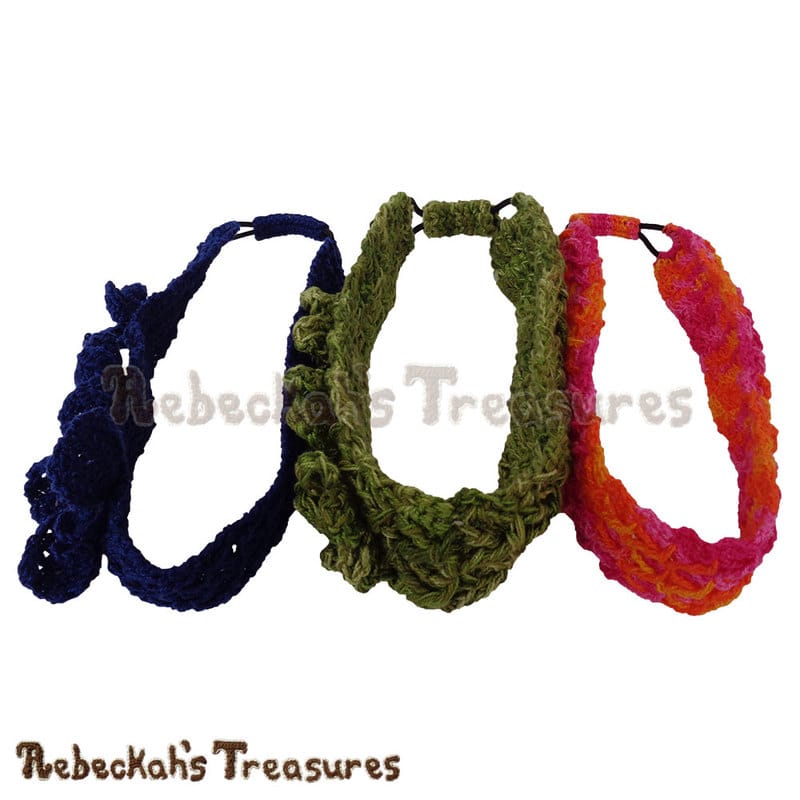
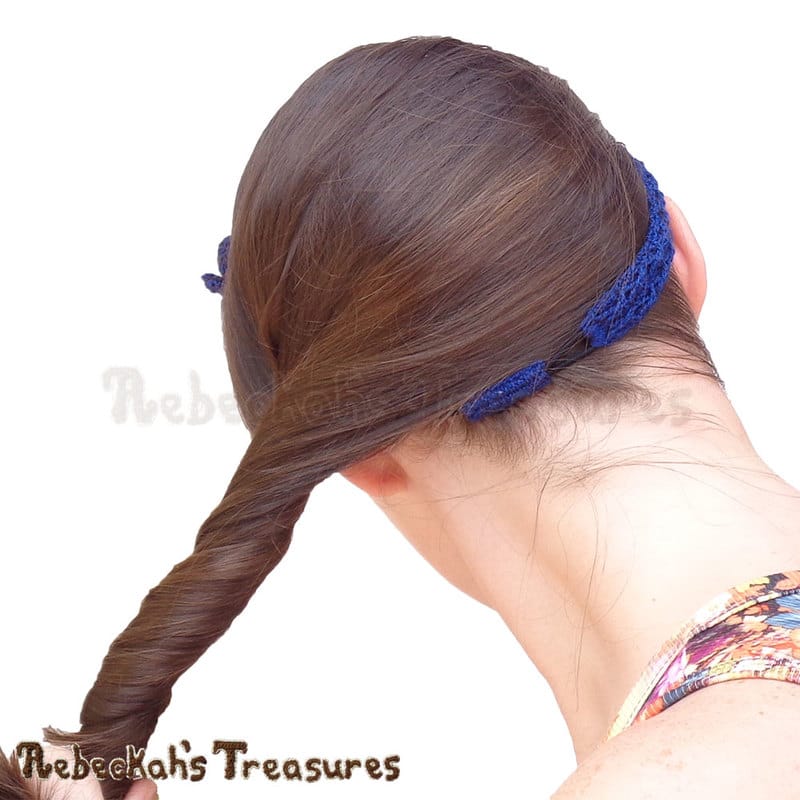
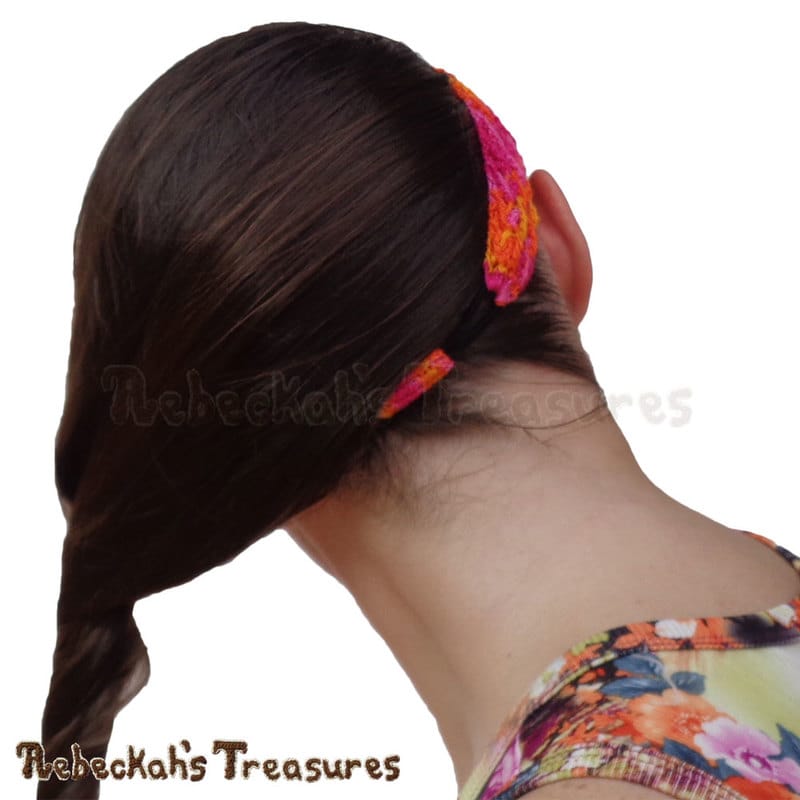
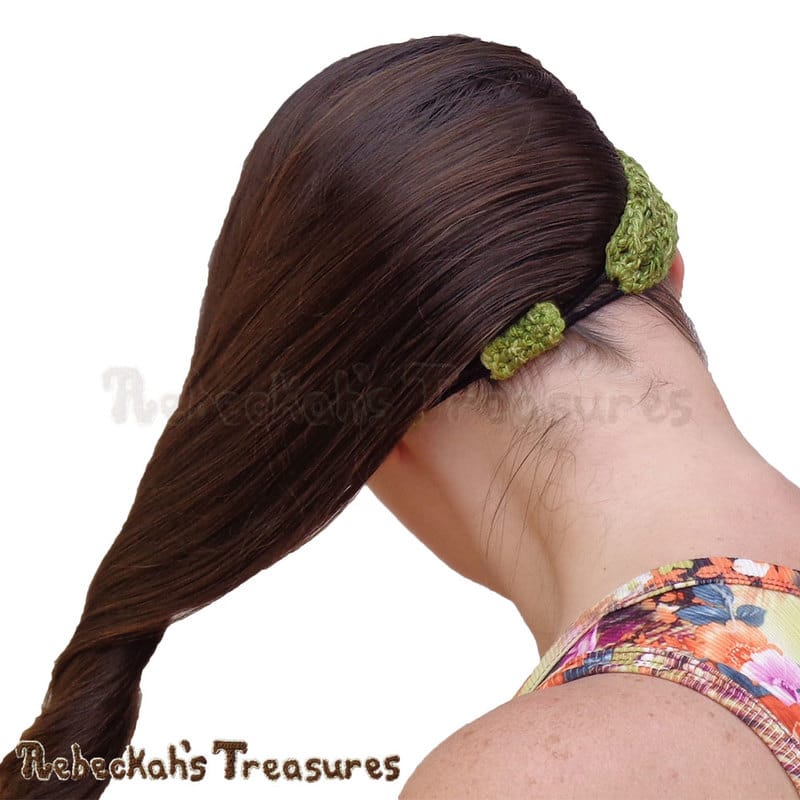
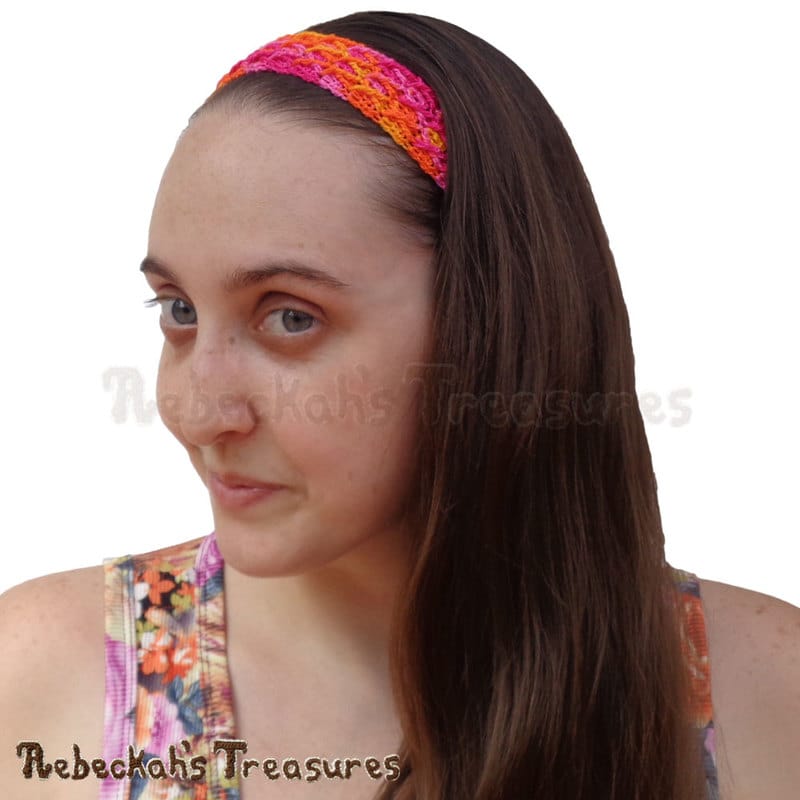
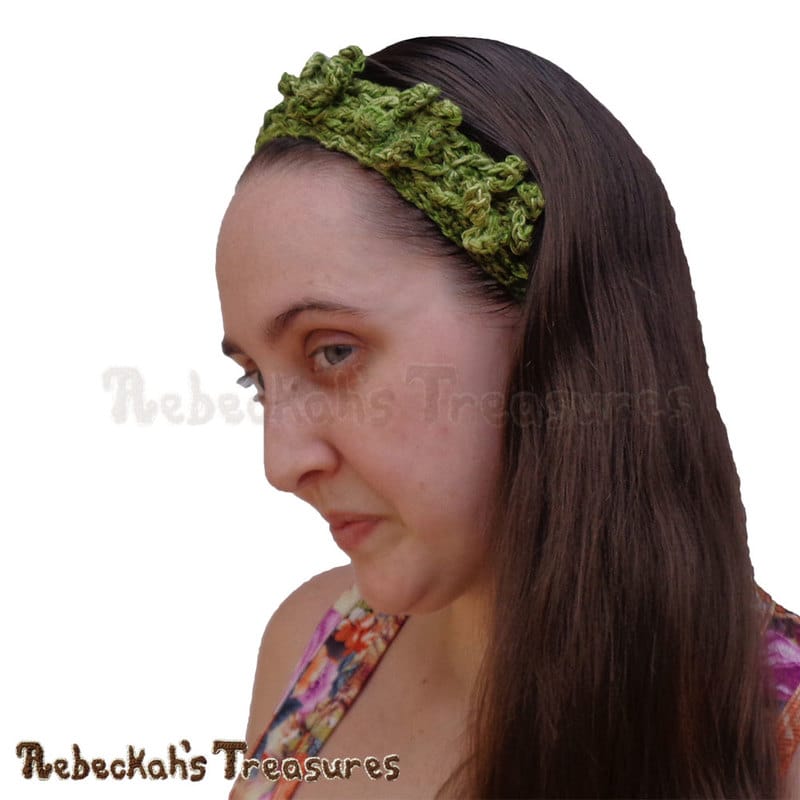
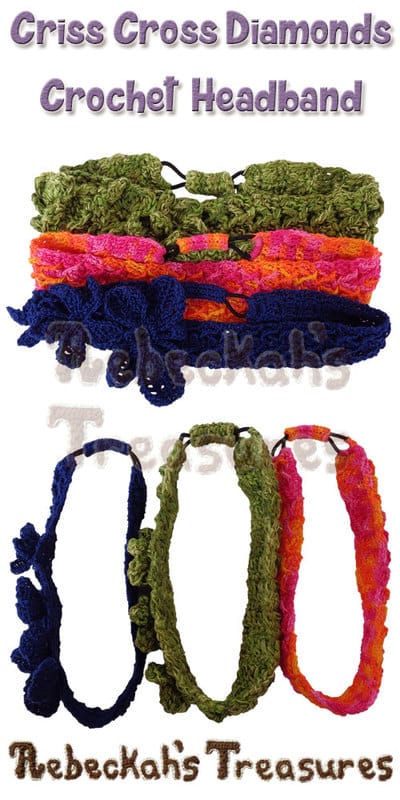
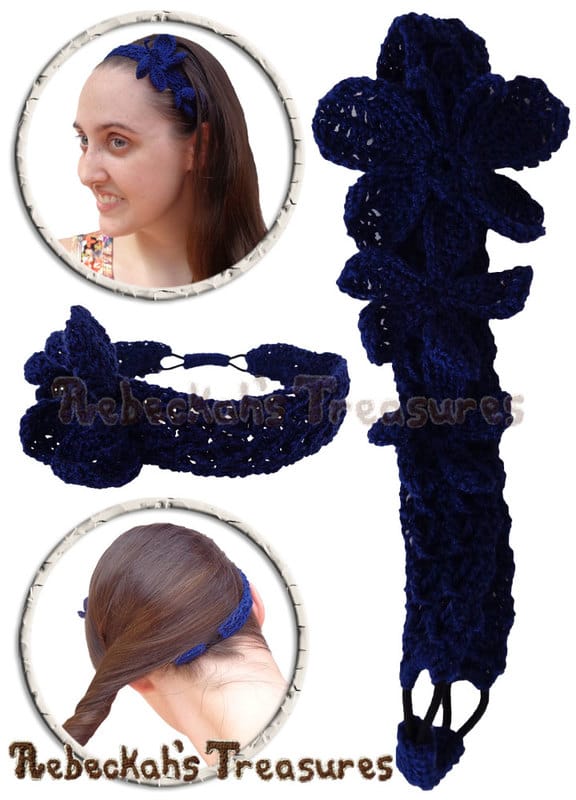
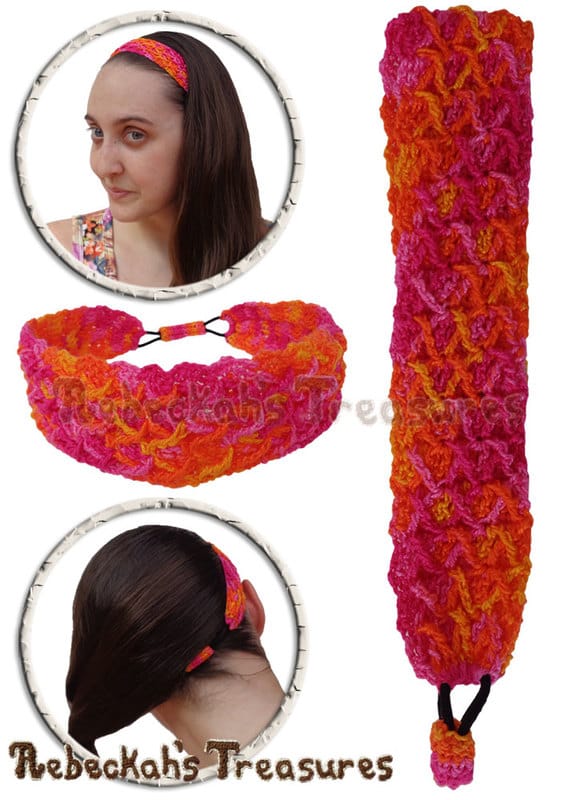
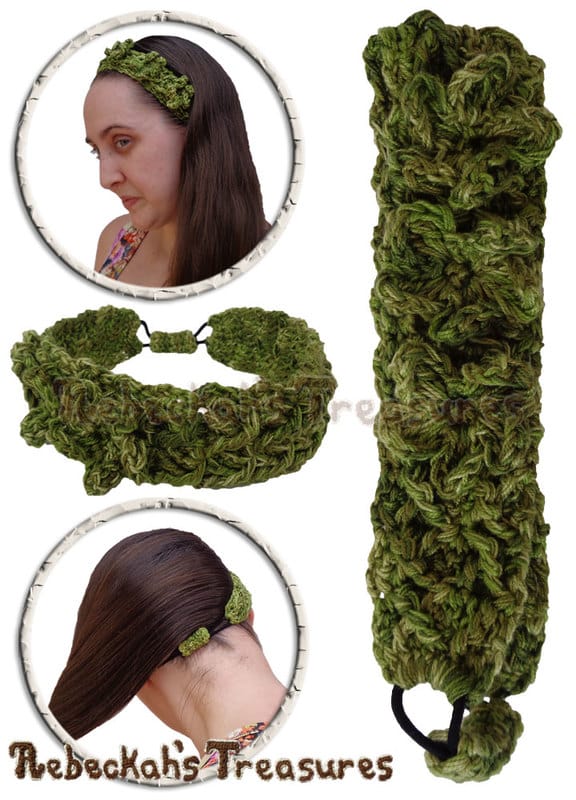
The second part, creates the headband using the criss cross diamond stitch. Since it is worked from side to side with few repeat rows, this helps to make it fully adjustable to suit your size needs. Also, since the rows themselves are repetitive too, you can adjust the headband to ANY width you like! Here's how the headbands look from the back...
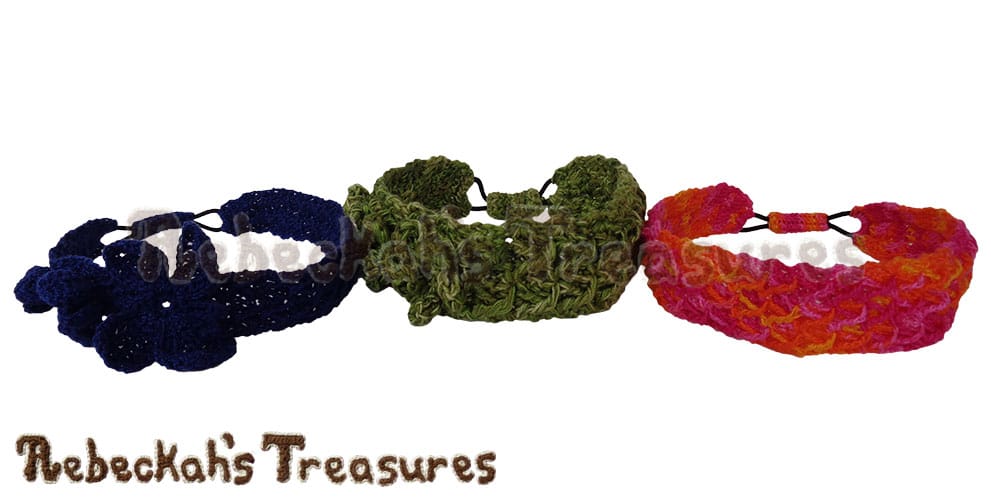
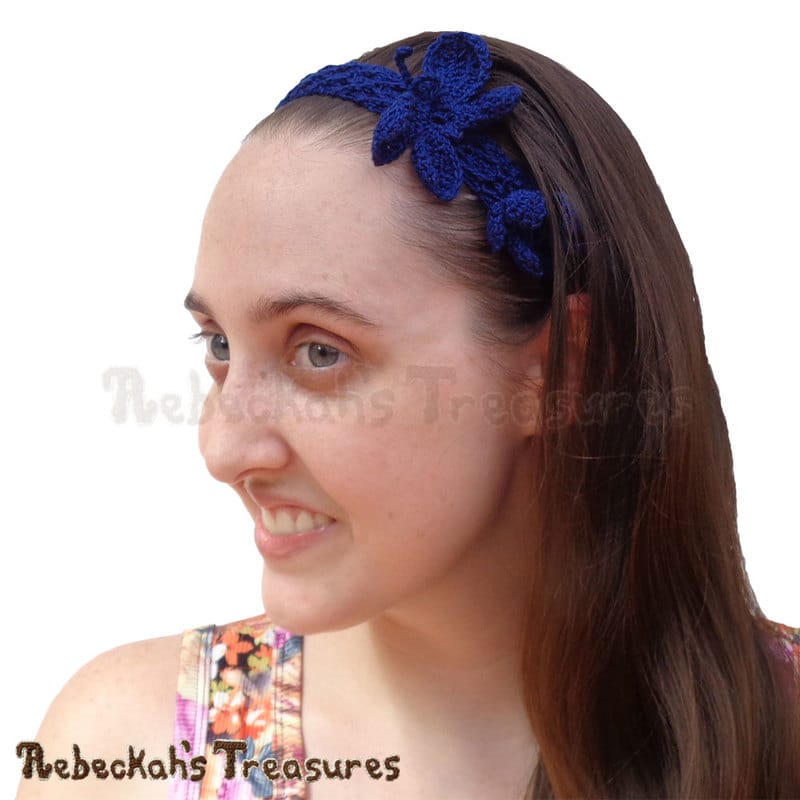
And here's how they look from the front...
Here are the Tutorial Pictures + Video Tutorial that show how to get started with your headband and how to finish your headband too. *Click on pictures to expand them...
Three Flowers + One Butterfly:
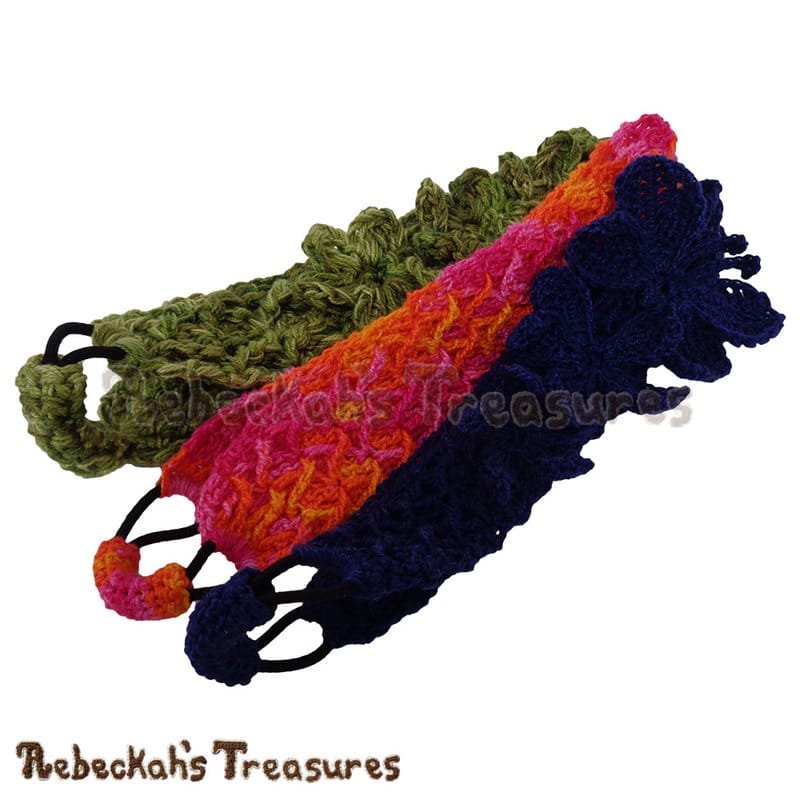
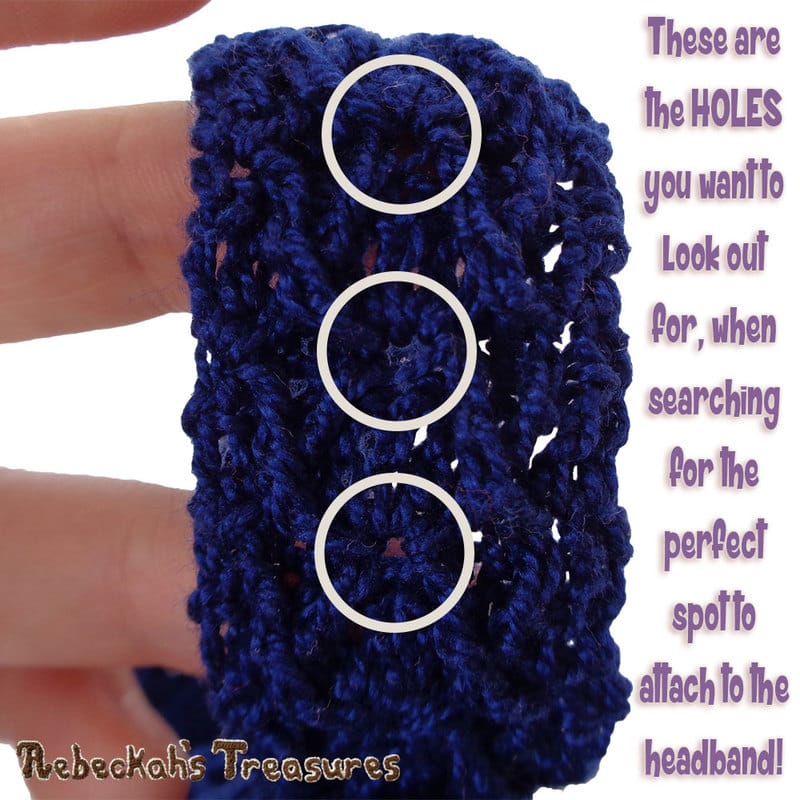
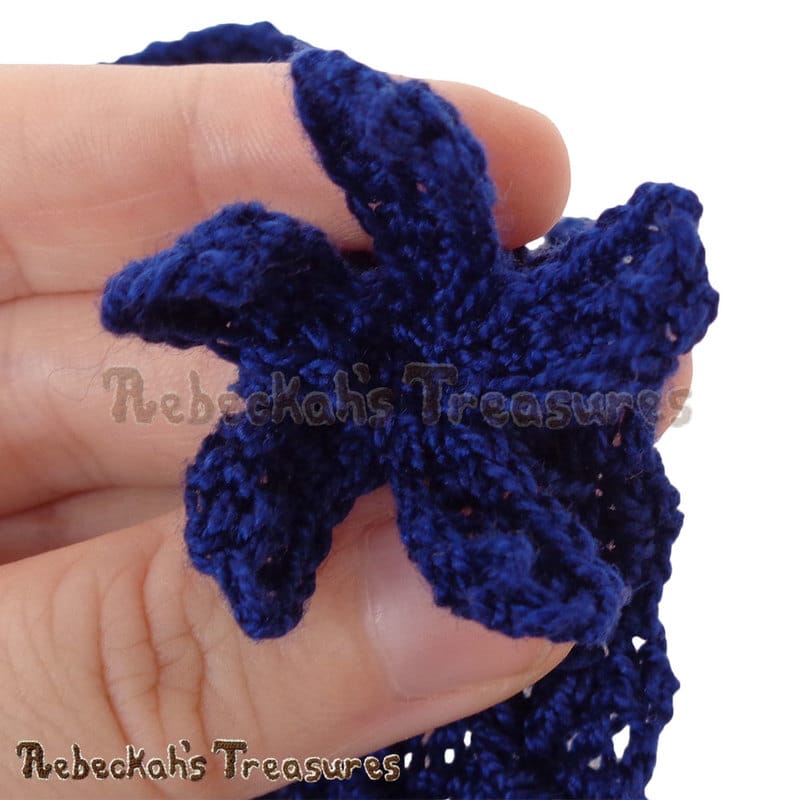
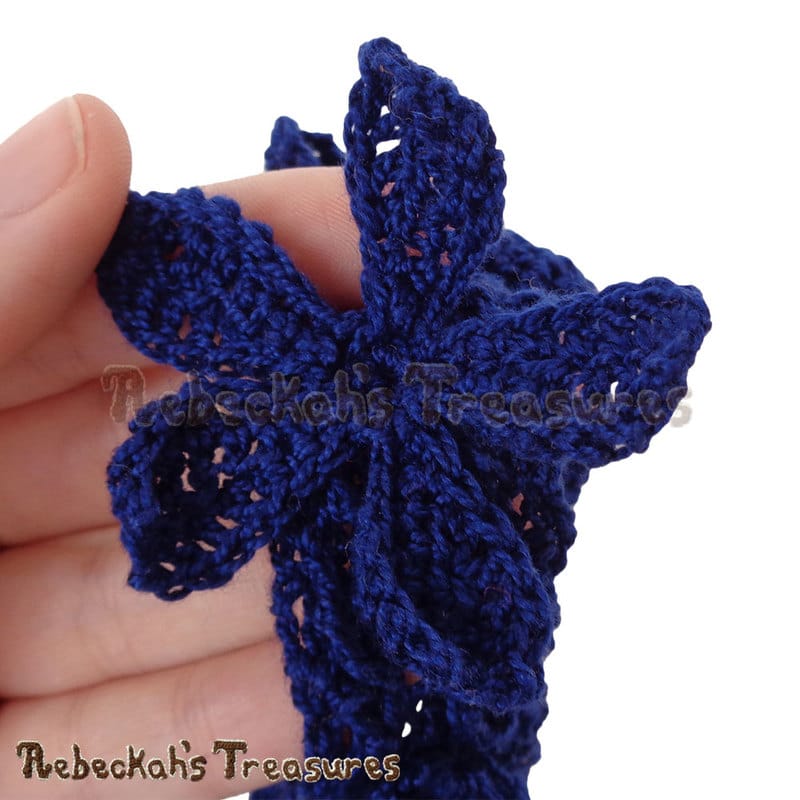
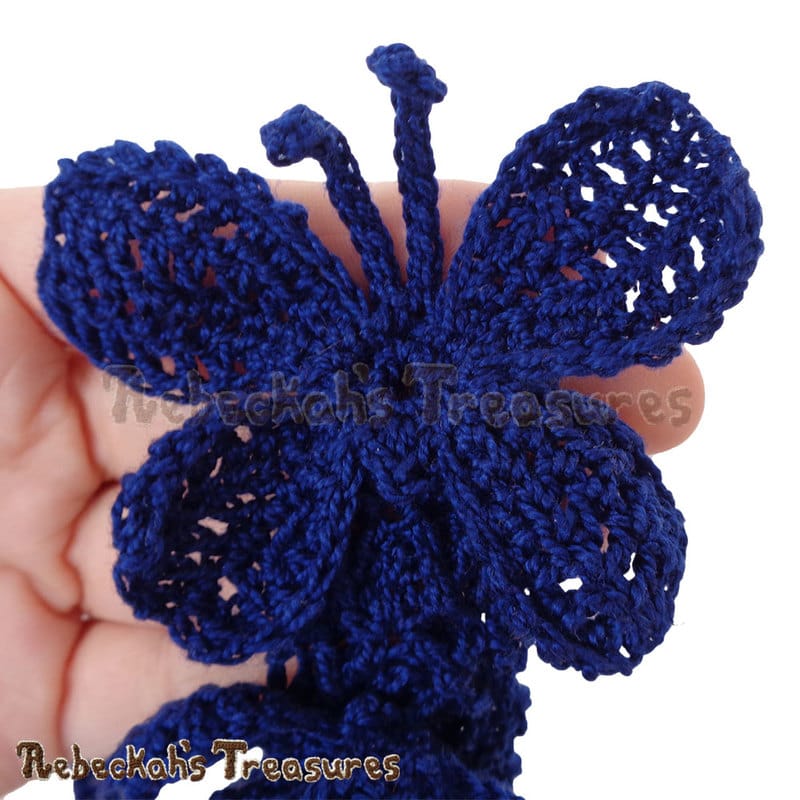
The Criss Cross Diamond stitch makes a special spot for a flower to get worked. The bonus flowers and butterfly are designed to get worked directly into the headband...
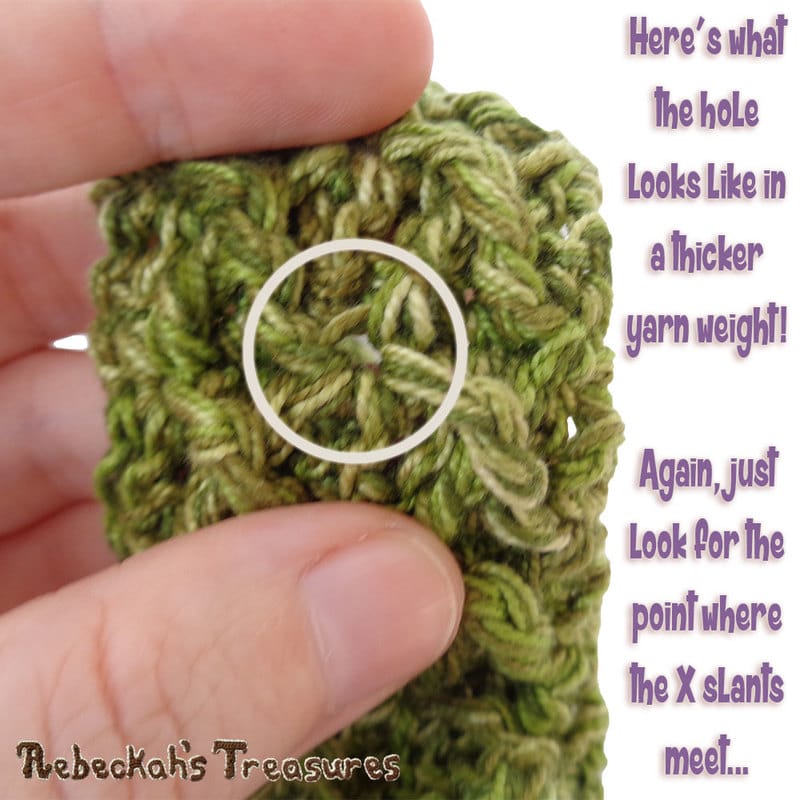
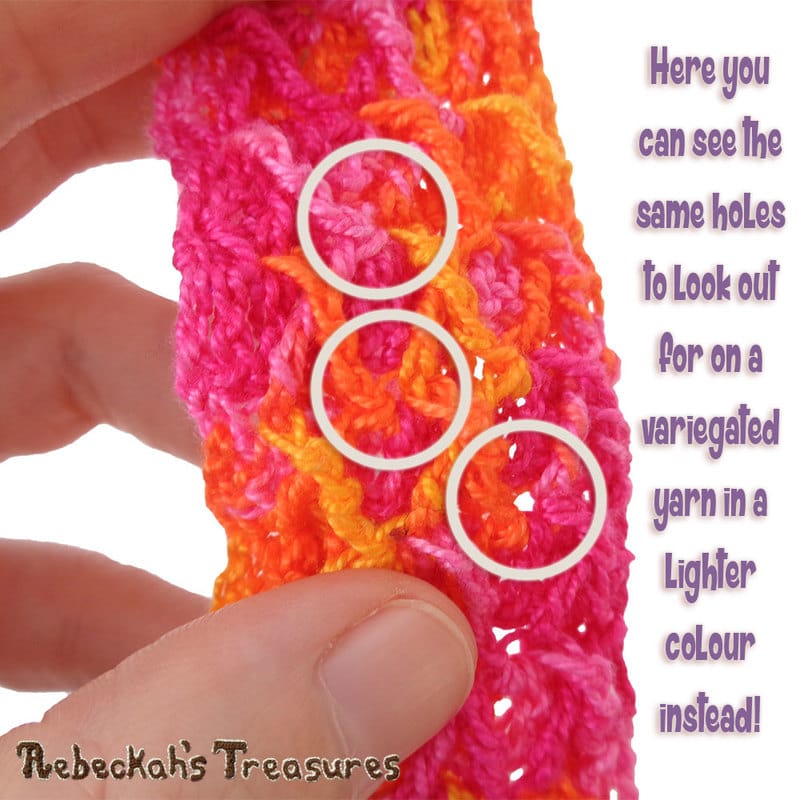
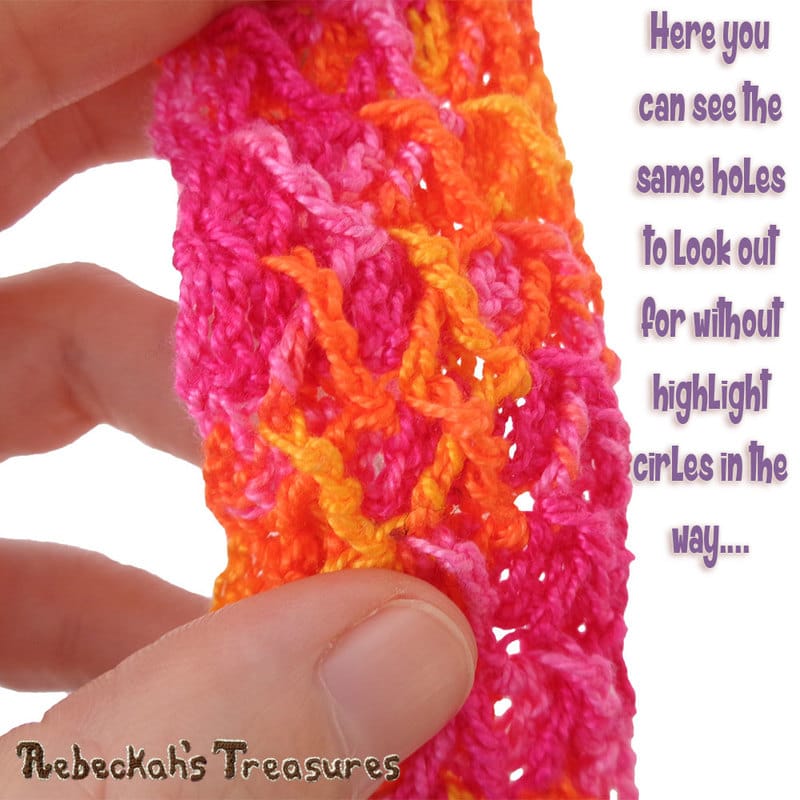
They look best on headbands with EVEN X's per row, since the center point, where the slants meet, are where they are worked. With an odd number of X's, the applique won't be perfectly centered. You'll know you've got the right spot because there is a small hole where the slants meet!
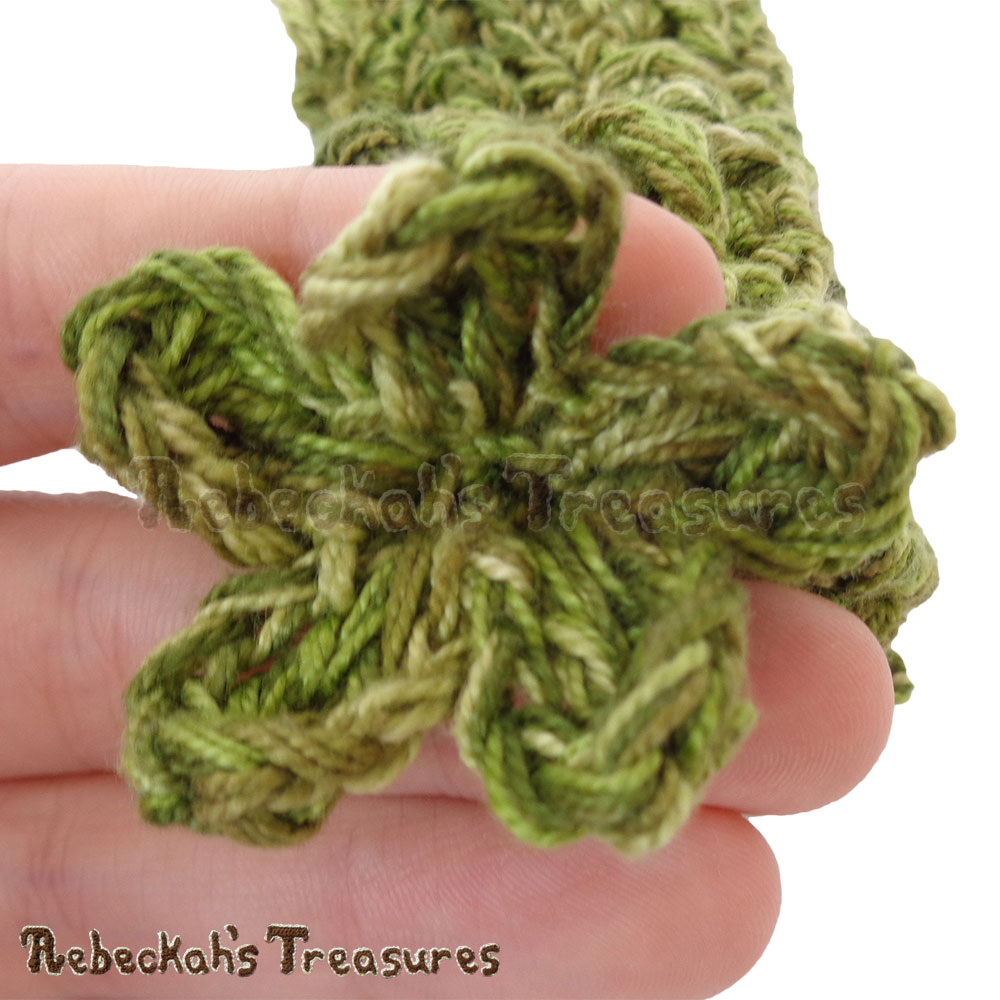
Here are close-ups of the four gorgeous appliques included in the PDF pattern...
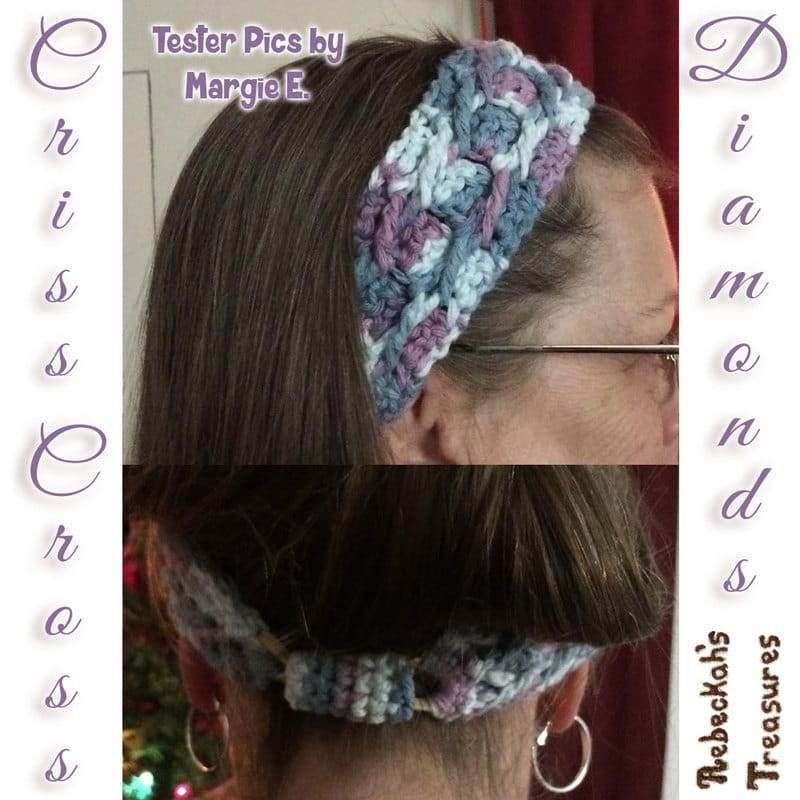
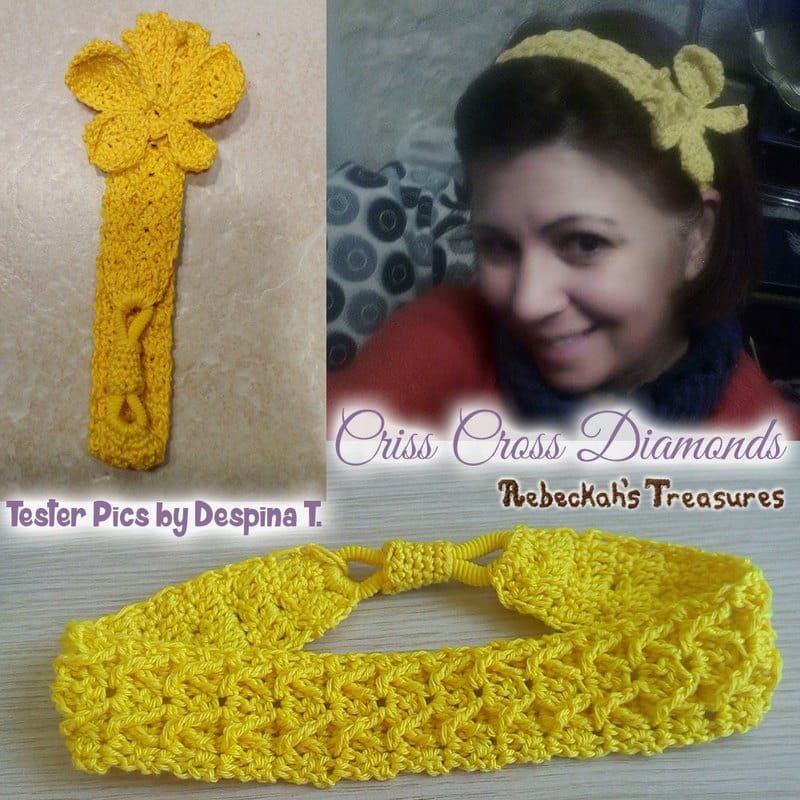
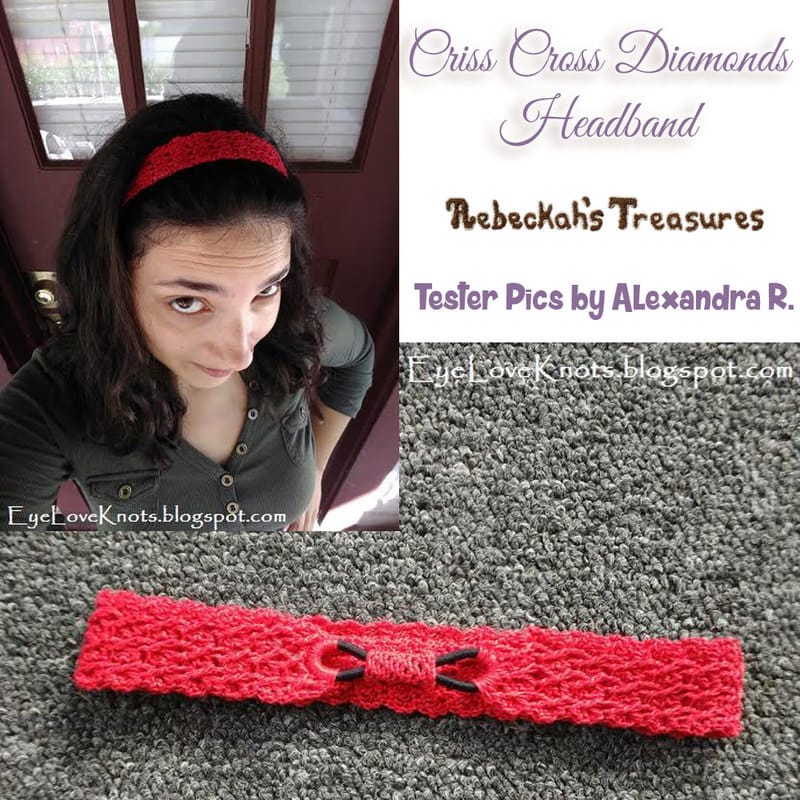
Thanks Alexandra R., Despina T. and Margie E. for testing the Criss Cross Diamonds Headband crochet pattern for me, and thanks Theresa P. for your help tech editing this pattern too!
Hello Visitor and Welcome to Rebeckah's Treasures... I am a Norwegian/Canadian currently studying Midwifery in the UK. I love to crochet! At Rebeckah's Treasures, I share my crochet patterns and treasures. I hope they inspire you to crochet your own little treasures too... 
Comments
|
Hello, my name is Rebeckah.
I hope my crochet inspires you to create your very own treasures! Learn more about me... Categories
All
Archives
October 2021
© 2012-2021 Rebeckah Ferger
All rights reserved. Disclaimer: This website makes use of sponsored and/or affiliate links. Please see this page for more information.
|
- Home
-
-
- Special Offers
- New Releases
- Accessory Crochet Patterns
- Afghan Square Crochet Patterns
- Amigurumi Crochet Patterns
- Applique Crochet Patterns
- Baby Crochet Patterns
- Dolly Crochet Patterns
- Fashion Doll Crochet Patterns
- Free Downloads
- Holiday Crochet Patterns
- Tapestry Crochet Patterns
- Under the Sea Crochet Patterns
- Wedding Crochet Patterns
- Disclaimer and FAQs
-
-
- Free Crochet Patterns
- New Free Releases
- Free Accessory Crochet Patterns
- Free Afghan Square Crochet Patterns
- Free Amigurumi Crochet Patterns
- Free Applique Crochet Patterns
- Free Baby Crochet Patterns
- Free Dolly Crochet Patterns
- Free Fashion Doll Crochet Patterns
- Free Guest Crochet Patterns
- Free Holiday Crochet Patterns
- Free Tapestry Crochet Patterns
- Free Under the Sea Crochet Patterns
- Free Wedding Crochet Patterns
- Free Crochet Patterns Coming Soon
Welcome Visitor! I hope you enjoy my treasures.















 RSS Feed
