|
Disclaimer: This website makes use of sponsored and/or affiliate links. Please see this page for more information.
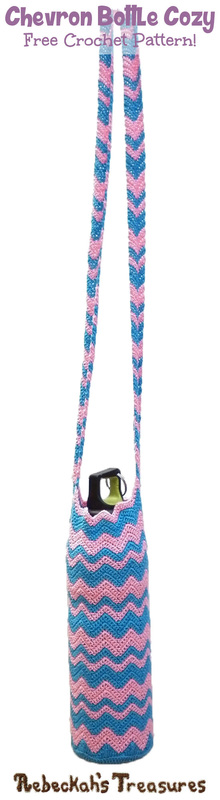
Looking for a way to carry or take your favourite drink along with you? Crochet this awesome Chevron Water Bottle Cozy!
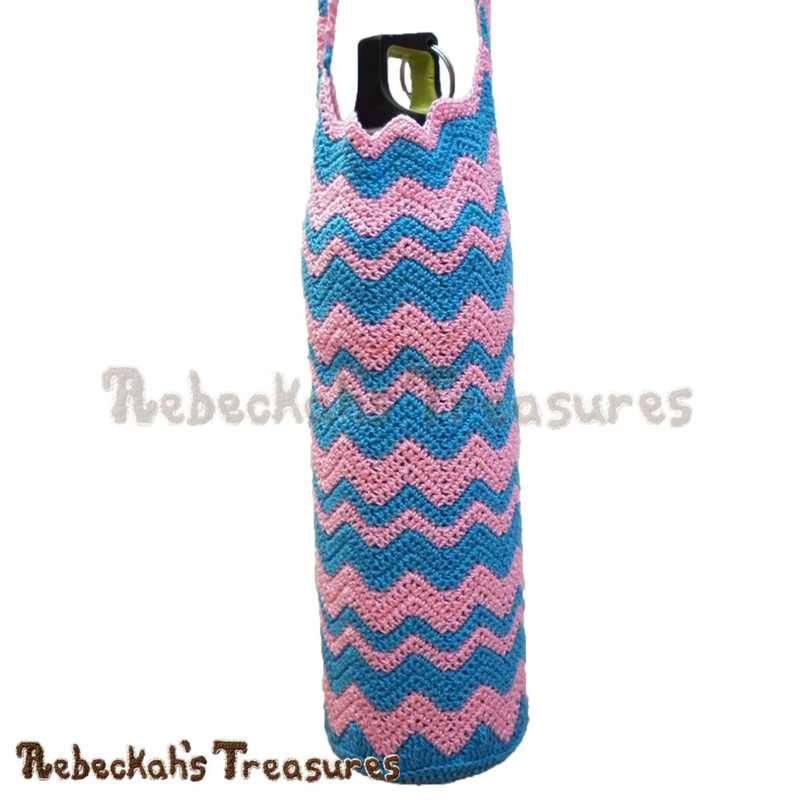
This crochet pattern includes written instructions for crocheting the chevron water bottle cozy you see pictured in two or more colours according to your preference.
This project was inspired by the Chevron Soda Can Cozy I crocheted for a friend.
This pattern is copyrighted to Rebeckah Ferger of www.rebeckahstreasures.com. It is for personal use only. No part of this pattern may be copied or distributed in any way. If you sell what you make from this pattern, please credit me as the designer. All rights reserved, 2016.

Gauge:
One Chevron = 11 sts (from peak to peak) = 1” (2.5 cm).
Or work the first 15 rnds (a.k.a. the base) of the instructions below. You should end up with similar measurements like these: 10” (25 cm) Circumference; 3.2” (8 cm) Diameter. Note: This is just an approximate size. Your gauge will be the determining factor for your project size, and it’s perfectly all right if your water bottle cozy is a bit bigger or smaller than this one! Pattern Notes:
Water Bottle Cozy Instructions: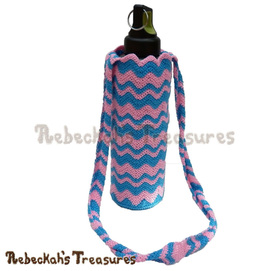
Make 1
Starting the Base Section – using whichever colour you would like the base to have – work in continuous rnds... rnd 1: sc 6 into a magic circle (6 sts). rnd 2: sc 2 in each st around (12 sts). rnd 3: [sc, sc 2 in next st] x 6 (18 sts). rnd 4: [sc 2, sc 2 in next st] x 6 (24 sts). rnd 5: [sc 3, sc 2 in next st] x 6 (30 sts). rnd 6: [sc 4, sc 2 in next st] x 6 (36 sts). rnd 7: [sc 5, sc 2 in next st] x 6 (42 sts). rnd 8: [sc 6, sc 2 in next st] x 6 (48 sts). rnd 9: [sc 7, sc 2 in next st] x 6, sl st join to first st of rnd, ch 1, turn (54 sts). rnd 10: [sc 8, sc 2 in next st] x 6 (60 sts). rnd 11: [sc 9, sc 2 in next st] x 6 (66 sts). rnd 12: [sc 10, sc 2 in next st] x 6, sl st join to first st of rnd, ch 1, turn (72 sts). rnd 13: [sc 11, sc 2 in next st] x 6 (78 sts). rnd 14: [sc 12, sc 2 in next st] x 6 (84 sts). rnd 15: [sc 13, sc 2 in next st] x 6, sl st join to first st of rnd, ch 1, turn (90 sts). Starting the Chevron Section... From here, you will sl st join to first st of rnd, ch 1 and turn at the end of each rnd. Change colours as frequently as you like – I recommend doing at least 2 rnds (or even rnds) in one colour before switching. Simply switch colours as you work the ch 1, turn at the end of the rnd. Carry the dropped colour up as you complete each rnd, so that it is ready for the switch and so you don’t have to weave in as many ends in later. rnd 16: work this rnd in BL only – [sc, hdc, dc 2, (tr, dtr, tr) in next st, dc 2, hdc, sc] rep around for a total of 10 times, sl st join to first st of rnd, switch colour, ch 1, turn (110 sts). *Stitch count from here on is the same as this rnd. rnd 17-59: sk first st, [*sc 4, sc 3 in next st, sc 4,** sk 2 sts] rep around for a total of 9 times, rep from * to **, sk last st, sl st join to first st of rnd, switch colour here or keep going with current colour, ch 1, turn. Continue to the finishing touches... Colour change pattern for the above pictured water bottle cozy: First 16 rnds are worked in colour A. Then, follow this rep – 4 rnds colour B, 4 rnds colour A, 2 rnds colour B, 2 rnds colour A. Finishing Touches – Strap Handle Instructions:
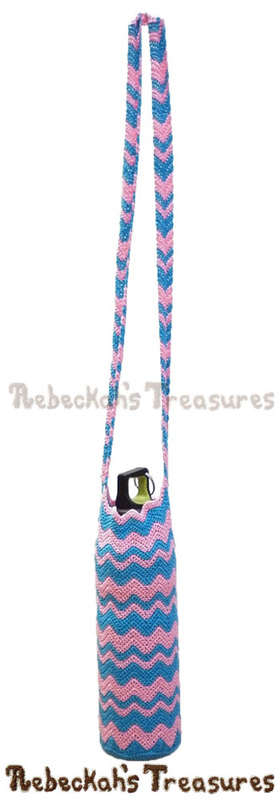
All that remains is to make a strap handle to help you carry your bottle from place to place. Before you get started on the strap, fasten off each colour from the chevron section.
Make the following twice... row 1: Starting with a slip knot in the next colour of your pattern, sc attach to center st of any point (a.k.a the middle st of any sc 3 in next st) you prefer, sc in same st, sc 4, sk 2 sts, sc 4, sc 2 in next st, switch colour here or keep going with current colour, ch 1, turn (12 sts). row 2-98: sc 2 in first st, sc 4, sk 2 sts, sc 4, sc 2 in last st, switch colour here or keep going with current colour, ch 1, turn (12 sts). CL of 3 = leaving the last lp of the following dc on hook – work a dc into the next 3 sts (you should have 4 lps on hook), yo, draw thru all 4 lps.
row 99: sc, hdc, CL of 3, tr 2, CL of 3, hdc, sc, ch 1, turn (8 sts).
row 100: sc 8, ch 1, f/o with tail (8 sts). Rep strap for a second time on adjacent side. Sew ends of straps tog. Weave in all ends. PLEASE NOTE: You may need to increase or decrease the number of rows from row 2-98 to get the desired strap length. Keep in mind, that the strap is worked twice. This means that the first is only half the length you’ll need.
Thanks so much for visiting today!
If you have any questions, or need help, leave me a comment below or ask away in my facebook group... I'll get back to you as quickly as I can. Have a fantastic day!  

Hello Visitor and Welcome to Rebeckah's Treasures... I am a Norwegian/Canadian currently studying Midwifery in the UK. I love to crochet! At Rebeckah's Treasures, I share my crochet patterns and treasures. I hope they inspire you to crochet your own little treasures too... 
Comments
|


Hello, my name is Rebeckah.
I hope my crochet inspires you to create your very own treasures! Learn more about me... Categories
All
Archives
October 2021
© 2012-2021 Rebeckah Ferger
All rights reserved. Disclaimer: This website makes use of sponsored and/or affiliate links. Please see this page for more information.
|
- Home
-
-
- Special Offers
- New Releases
- Accessory Crochet Patterns
- Afghan Square Crochet Patterns
- Amigurumi Crochet Patterns
- Applique Crochet Patterns
- Baby Crochet Patterns
- Dolly Crochet Patterns
- Fashion Doll Crochet Patterns
- Free Downloads
- Holiday Crochet Patterns
- Tapestry Crochet Patterns
- Under the Sea Crochet Patterns
- Wedding Crochet Patterns
- Disclaimer and FAQs
-
-
- Free Crochet Patterns
- New Free Releases
- Free Accessory Crochet Patterns
- Free Afghan Square Crochet Patterns
- Free Amigurumi Crochet Patterns
- Free Applique Crochet Patterns
- Free Baby Crochet Patterns
- Free Dolly Crochet Patterns
- Free Fashion Doll Crochet Patterns
- Free Guest Crochet Patterns
- Free Holiday Crochet Patterns
- Free Tapestry Crochet Patterns
- Free Under the Sea Crochet Patterns
- Free Wedding Crochet Patterns
- Free Crochet Patterns Coming Soon
Welcome Visitor! I hope you enjoy my treasures.


 RSS Feed
