|
Disclaimer: This website makes use of sponsored and/or affiliate links. Please see this page for more information. 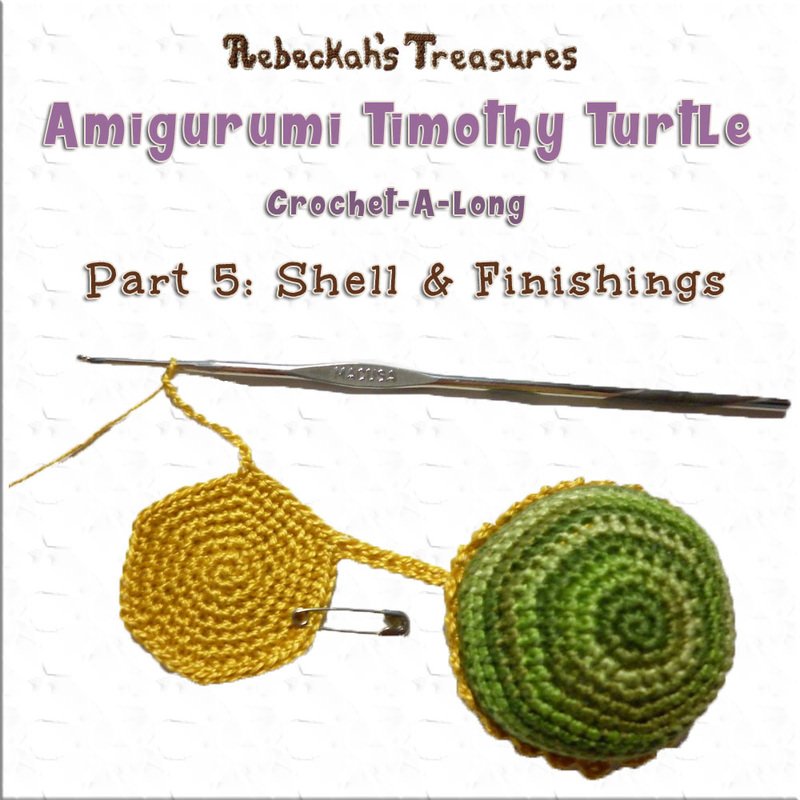
Welcome to the 5th and Final Part of the Amigurumi Timothy Turtle CAL!
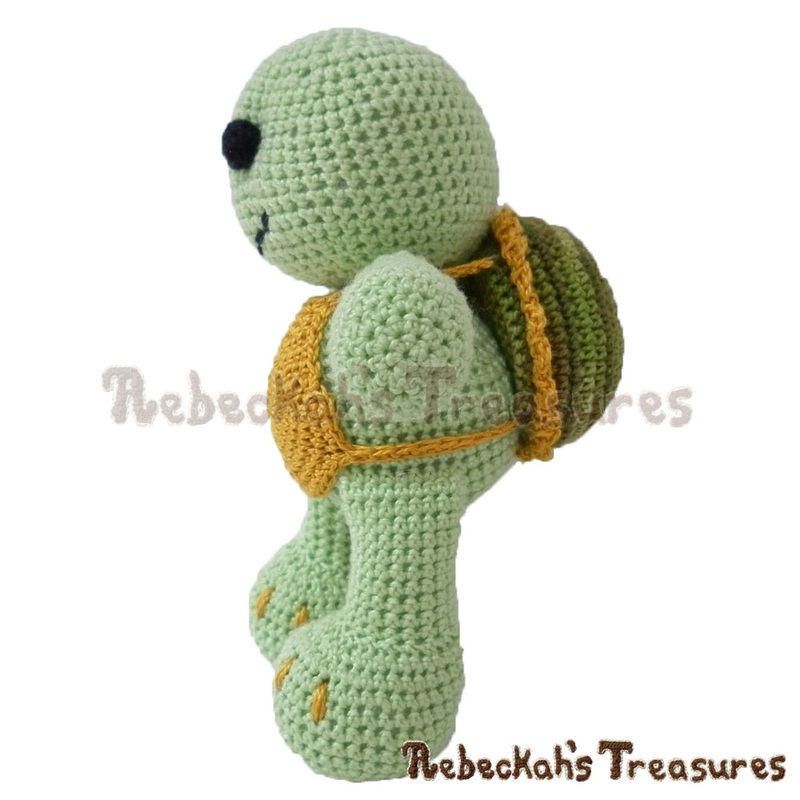
Today we are going to start making Timothy's shell and adding the finishing touches to this turtle.
Are you just joining us today? Be sure to check out Amigurumi Timothy Turtle CAL Part 1, where we go over the pattern notes, abbreviations and gather our supplies.
Already completed this step? Share your finished Amigurumi Timothy Turtle with us for a chance to win a free copy of the PDF version of this pattern. Learn more about this giveaway here (link will activate on Thursday, July 16th, 2015), or check out the full schedule for this CAL below...
This pattern is copyrighted to Rebeckah Ferger of www.rebeckahstreasures.com. It is for personal use only. No part of this pattern may be copied or distributed in any way. If you sell what you make from this pattern, please credit me as the designer. All rights reserved, 2015.
REMINDER: Crochet in continuous rnds.
Turtle Outer Shell Instructions:
Make 1 in Darker AC - this time the RS faces you as you work
rnd 1: sc 6 into a magic circle (6 sts) rnd 2: sc 2 into each st around (12 sts) rnd 3: [sc, sc 2 into next st] x 6 (18 sts) rnd 4: [sc 2, sc 2 into next st] x 6 (24 sts) rnd 5: [sc 3, sc 2 into next st] x 6 (30 sts) rnd 6: [sc 4, sc 2 into next st] x 6 (36 sts) rnd 7: [sc 5, sc 2 into next st] x 6 (42 sts) rnd 8: [sc 6, sc 2 into next st] x 6 (48 sts) rnd 9-12: sc 48 for 4 rnds. At the end of last rnd, sl st join to first st of rnd, f/o. Turtle Inner Shell Instructions:
Make 1 in Darker AC - this time the RS faces you as you work
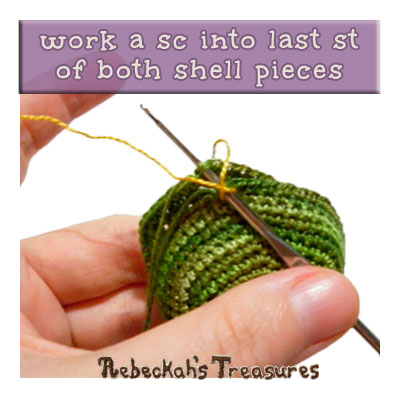
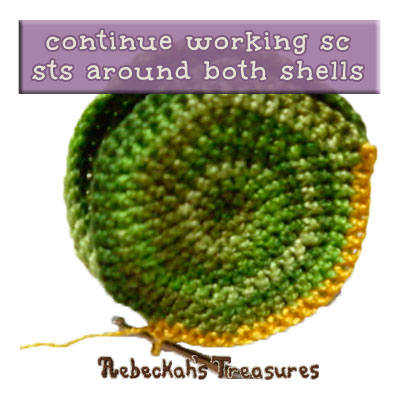
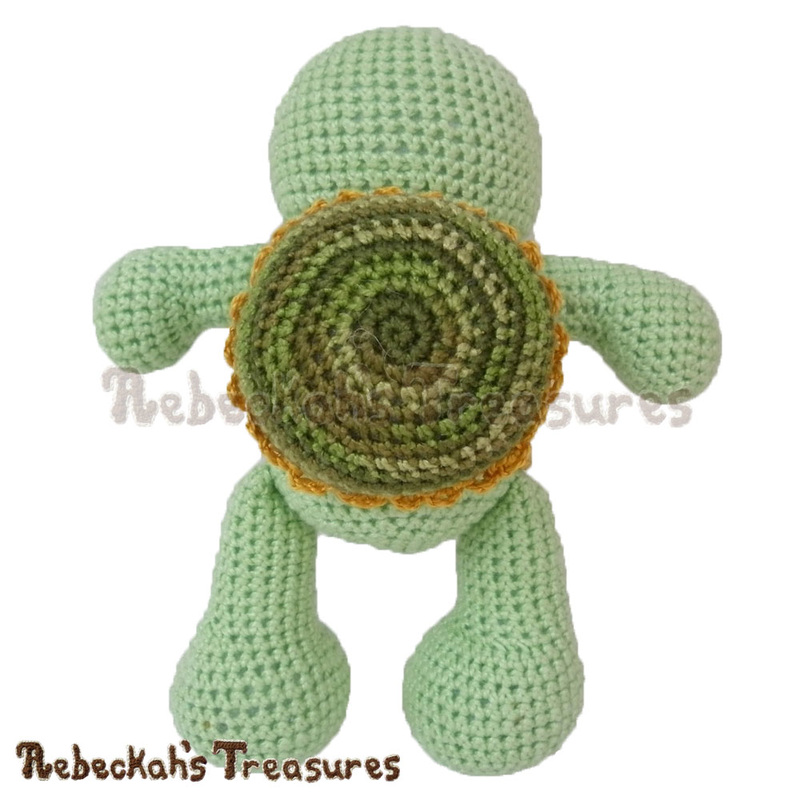
rnd 1-8: rep rnds 1-8 of Turtle Outer Shell above, sl st, f/o. Join Outer & Inner Shells Together: Place RS of Inner Shell against the WS of the Outer Shell. In a complementary AC, make a slip knot and join shell edges tog by sc attaching to last st of both pieces (RS of Outer shell should face you), sc around, joining the shells tog. Stuff shell before crocheting the last few sts closed (48 sts). *Click on Images to enlarge them.
Next, [sl st, ch 3, sl st] x 24 around, sl st join to first st of rnd, f/o, weave in ends (24 ch sps). *This creates a pretty edge.
Turtle Front Shell Panel Instructions:
Make 1 in complementary AC - this time the RS faces you as you work
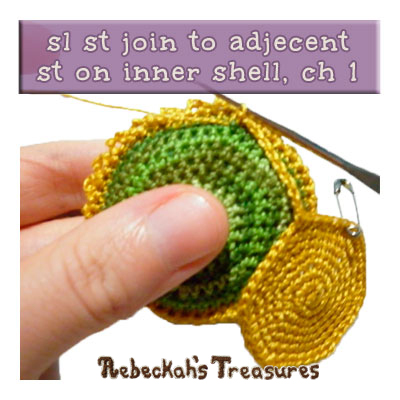
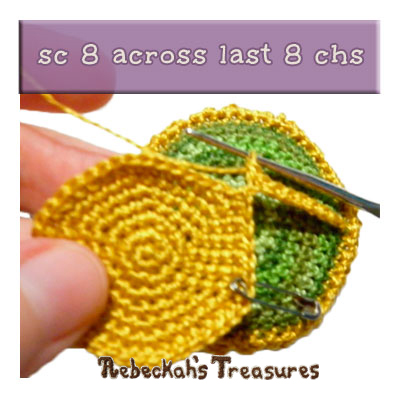
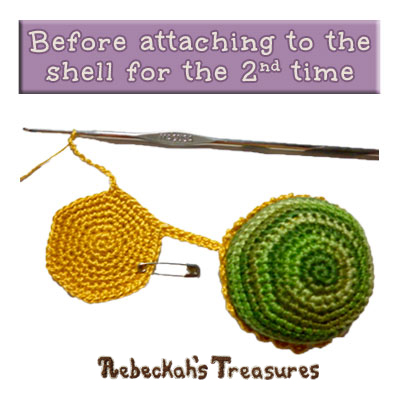
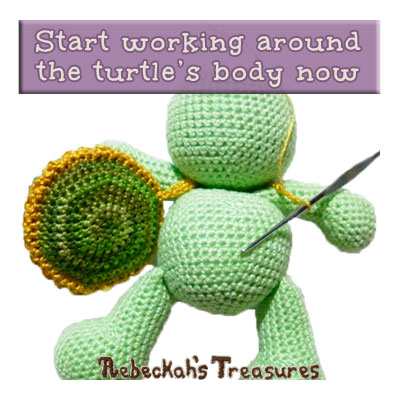
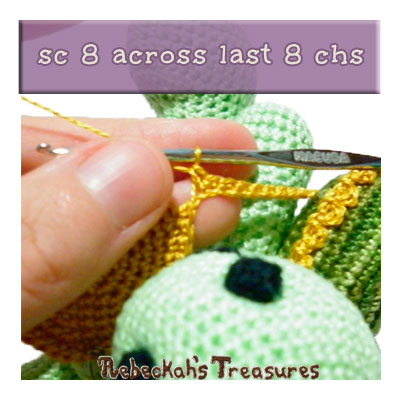
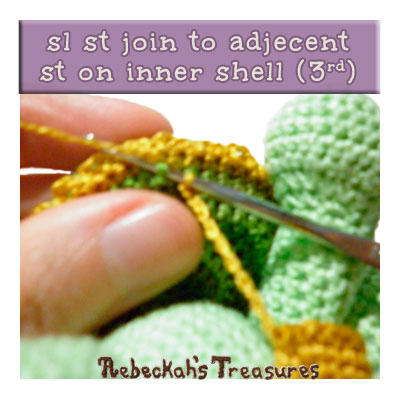
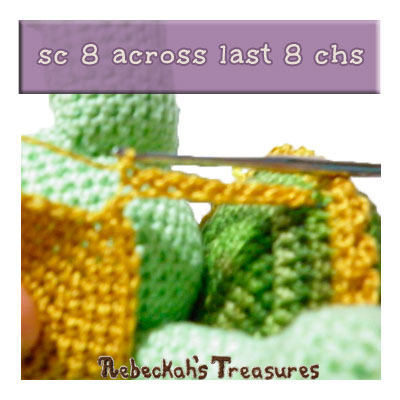
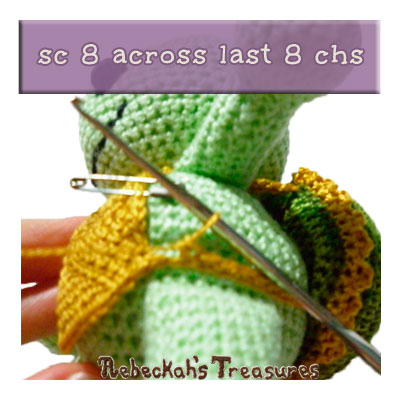
rnd 1-7: rep rnds 1-7 of Turtle Outer Shell above Now, it’s time to join the front shell panel to the shell and turtle... rnd 8: sc 6, *ch 8, sl st join to adjacent st on inner shell, ch 1, sc 8 across the last 8 chs,* sc 2 into next avail st of front shell panel, sc 6, rep from * to * (this time before you join to shell, place front shell panel on the turtle’s tummy with RS facing out, the first ch 8 on left shoulder & inner shell on turtle’s back – this ch 8 will go over turtle’s right shoulder, continue as normal), sc 2 into next avail st of front shell panel, sc 6, sc 2 in next st, sc, rep from * to * (this time the ch 8 will go over turtle’s right hip, continue as normal), sc 5 over next 5 avail sts of front shell panel, sc 2 in next st, sc 6, sc 2 in next st, sc 3, rep from * to * (this time the ch 8 will go over turtle’s left hip, continue as normal), sc 3 over next 3 avail sts of front shell panel, sc 2 in next st, sl st join to first st of rnd, f/o, weave in ends. TIP for Front Shell Panel rnd 8:When working the hip joins, hold everything especially tight. Let the last lp on the hook after chs stretch so you can reach the inner shell st. Tighten it as you attach to the inner shell. It will also help to squeeze the turtle’s body until you start working the sc sts of the chs.
See and use the following photos as a guide for working rnd 8 of the Front Shell Panel...
Make Your Turtle Shell Removable instead!Change the Edge rnd of the shell join to... [sl st, ch 3, sl st] x 15, *ch 20, sc in 17th ch from hook & next 3 chs, sl st join to next avail st of shell, ch 3, sl st,* [sl st, ch 3, sl st] x 5, rep from * to *, [sl st, ch 3, sl st] x 2, sl st join to first st of rnd, f/o, weave in ends (24 ch sp + 2 straps). *The 2 longer straps go over the turtle’s shoulders. Change rnd 8 of the front panel to... [sc 6, sc 2 into next st] x 3, sc, *ch 8, sl st join to adjacent st on inner shell, ch 1, sc 8 across the last 8 chs,* sc 5 over next 5 avail sts of front shell panel, sc 2 in next st, sc 6, sc 2 in next st, sc 3, rep from * to * sc 3 over next 3 avail sts of front shell panel, sc 2 in next st, sl st join to first st of rnd, f/o, weave in ends. Sew buttons into the top 2 corners of the front panel. To dress your turtle, simply squeeze the legs and insert into shell. Next, use straps to fasten onto buttons. Enjoy your new amigurumi Timothy Turtle!
Did you enjoy this CAL? Tell me what you think below, on Ravelry, or give this pattern a rating!
Amigurumi Timothy Turtle CAL Schedule & Links to Each Part:
See you soon for the Share Your Amigurumi Timothy Turtle CAL Giveaway (link activates Thursday, July 16th, 2015 and you'll have until Sunday, July 26th, 2015 to share for a chance to win).

Hello Visitor and Welcome to Rebeckah's Treasures... I am a Norwegian/Canadian currently studying Midwifery in the UK. I love to crochet! At Rebeckah's Treasures, I share my crochet patterns and treasures. I hope they inspire you to crochet your own little treasures too... 
Comments
|
Hello, my name is Rebeckah.
I hope my crochet inspires you to create your very own treasures! Learn more about me... Categories
All
Archives
October 2021
© 2012-2021 Rebeckah Ferger
All rights reserved. Disclaimer: This website makes use of sponsored and/or affiliate links. Please see this page for more information.
|
- Home
-
-
- Special Offers
- New Releases
- Accessory Crochet Patterns
- Afghan Square Crochet Patterns
- Amigurumi Crochet Patterns
- Applique Crochet Patterns
- Baby Crochet Patterns
- Dolly Crochet Patterns
- Fashion Doll Crochet Patterns
- Free Downloads
- Holiday Crochet Patterns
- Tapestry Crochet Patterns
- Under the Sea Crochet Patterns
- Wedding Crochet Patterns
- Disclaimer and FAQs
-
-
- Free Crochet Patterns
- New Free Releases
- Free Accessory Crochet Patterns
- Free Afghan Square Crochet Patterns
- Free Amigurumi Crochet Patterns
- Free Applique Crochet Patterns
- Free Baby Crochet Patterns
- Free Dolly Crochet Patterns
- Free Fashion Doll Crochet Patterns
- Free Guest Crochet Patterns
- Free Holiday Crochet Patterns
- Free Tapestry Crochet Patterns
- Free Under the Sea Crochet Patterns
- Free Wedding Crochet Patterns
- Free Crochet Patterns Coming Soon
Welcome Visitor! I hope you enjoy my treasures.






 RSS Feed
