|
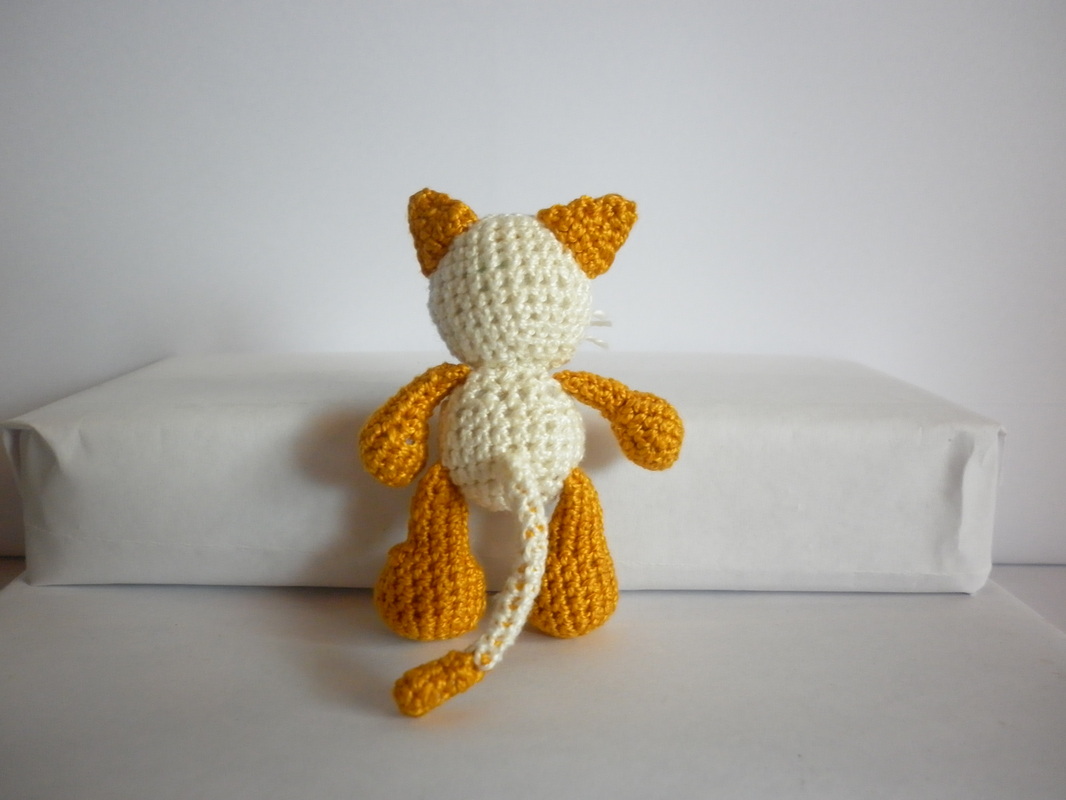
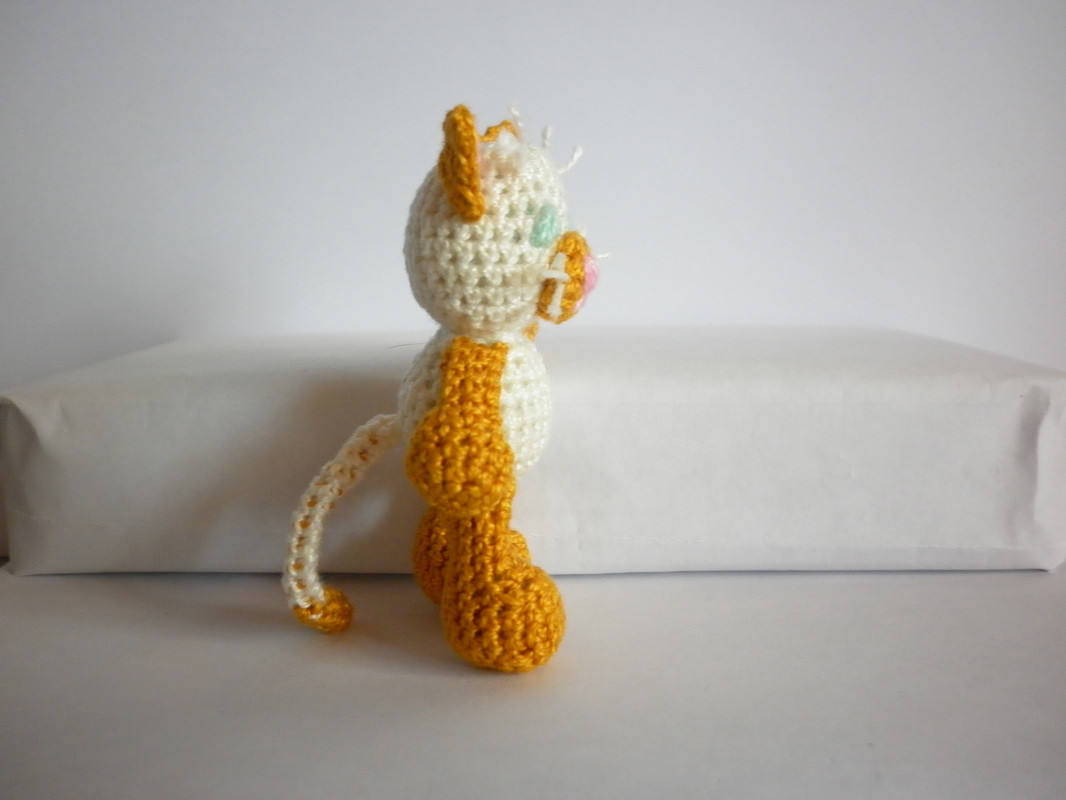
Disclaimer: This website makes use of sponsored and/or affiliate links. Please see this page for more information. 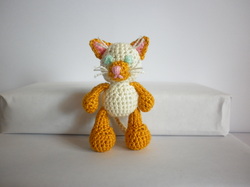 Amigurumi Cat Amigurumi Cat I wanted to add a Cat to my collection of Amigurumi Animals. So this is what I came up with. I used Sharon's basic pattern for the Little Bigfoot Collection as a starting point, and then changed it up to get the look I wanted. She is 2.5" tall. Check out Amigurumi Animals to see other animals I have made in a similar fashion. Or continue reading below for the pattern on how I made her. This project is worked in continuous rounds, unless otherwise stated. I used a 1.6mm hook and crochet cotton (I am guessing it is somewhere between sizes 3-10). This produced a 2.5" tall animal. If you used a 3.75mm hook and worsted-weight yarn, that would produce a 5"-6" animal approximately. So long as you use a hook size with a yarn that produces hole-less and tight stitches, you are good to go! *Note: This is just one way to make the cat. By playing around with colours and where you place them, you can get all sorts of different effects. Have fun crocheting your very own Kitty Cat!
Now that you have all your pieces, it is time to put them together. Sew the body to the head. Then, sew the arms & legs to the body. Next, Sew the tail to the back of the body. Next, embroider a nose and mouth onto the muzzle. Use excess yarn as stuffing. Next prepare the whiskers. Cut 4 strings of yarn about 2-4". Remember it is easier to cut the excess off later. Set one of the strings aside (string d). With the remaining 3, use one string (string c) to tie a knot in the middle of the other two strings (string a & b). Fold strings a and b in half so that a is to one side and b is to the other (these are now 2 of the 3 whiskers for each side). String c becomes the third whisker for each side. Now, take string d; fold in half. Then, wrap it around the center of the whiskers, and pull the ends through the loop. Pull tight. These strings will be used for tying onto the face. Go ahead, and tie the whiskers to the center of the space on the face where you will sew the muzzle onto. Then pull each set of whiskers out the sides of the muzzle. Lastly, Sew the muzzle onto the face. Embroider your eyes, or use whatever method you like for the eyes. If you are using safety eyes, remember to put those into rnd 6-8 before you finish the head. Use the tail of the outer ear to sew the inner ear onto the outer ear. Then, proceed to sew the ears onto the head. Finally, attach two whiskers above the eyes by folding the yarn in half, pulling that part way through one of the stitches above the eye, and then, pulling the ends of the yarn through the loop. If you are familiar with latch hooking, then you will note that it is a similar process. If you find any mistakes in the pattern, or need help, please feel free to write them in the comments section below. 
Hello Visitor and Welcome to Rebeckah's Treasures... I am a Norwegian/Canadian currently studying Midwifery in the UK. I love to crochet! At Rebeckah's Treasures, I share my crochet patterns and treasures. I hope they inspire you to crochet your own little treasures too... 
Comments
|
Hello, my name is Rebeckah.
I hope my crochet inspires you to create your very own treasures! Learn more about me... Categories
All
Archives
October 2021
© 2012-2021 Rebeckah Ferger
All rights reserved. Disclaimer: This website makes use of sponsored and/or affiliate links. Please see this page for more information.
|
- Home
-
-
- Special Offers
- New Releases
- Accessory Crochet Patterns
- Afghan Square Crochet Patterns
- Amigurumi Crochet Patterns
- Applique Crochet Patterns
- Baby Crochet Patterns
- Dolly Crochet Patterns
- Fashion Doll Crochet Patterns
- Free Downloads
- Holiday Crochet Patterns
- Tapestry Crochet Patterns
- Under the Sea Crochet Patterns
- Wedding Crochet Patterns
- Disclaimer and FAQs
-
-
- Free Crochet Patterns
- New Free Releases
- Free Accessory Crochet Patterns
- Free Afghan Square Crochet Patterns
- Free Amigurumi Crochet Patterns
- Free Applique Crochet Patterns
- Free Baby Crochet Patterns
- Free Dolly Crochet Patterns
- Free Fashion Doll Crochet Patterns
- Free Guest Crochet Patterns
- Free Holiday Crochet Patterns
- Free Tapestry Crochet Patterns
- Free Under the Sea Crochet Patterns
- Free Wedding Crochet Patterns
- Free Crochet Patterns Coming Soon
Welcome Visitor! I hope you enjoy my treasures.







 RSS Feed
