|
Disclaimer: This website makes use of sponsored and/or affiliate links. Please see this page for more information. 
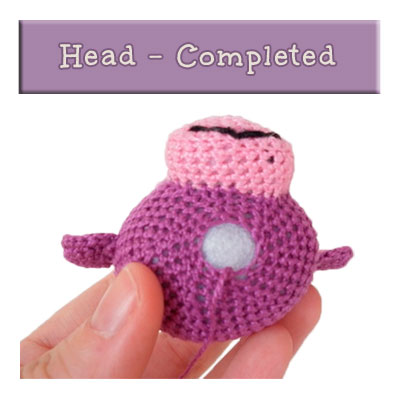
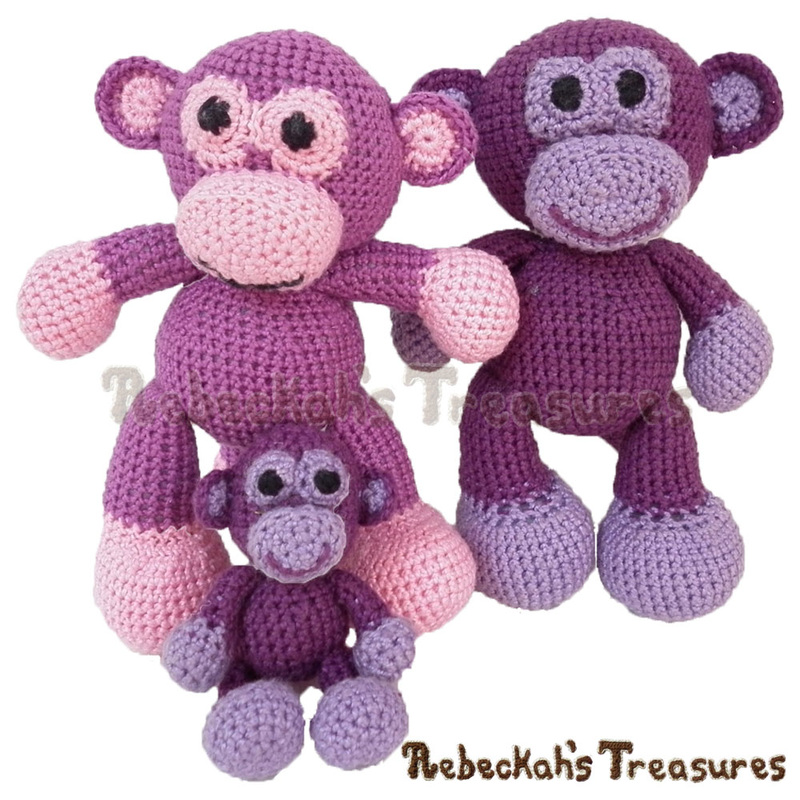
Welcome to the 6th and final of the Amigurumi Grape Ape Monkey CAL! Today we are going to crochet Grape Ape's Head. Then, we're going to join her head to her body. At the end of this step, your monkey will be complete!
Are you just joining us today? Be sure to check out Amigurumi Grape Ape Monkey CAL Part 1, where we go over the pattern notes, abbreviations and gather our supplies.
Already completed this step? Share your finished Amigurumi Grape Ape Monkey with us for a chance to win free patterns. Learn more about this giveaway here (link will activate on Sunday, August 9th, 2015), or check out the full schedule for this CAL below...
This pattern is copyrighted to Rebeckah Ferger of www.rebeckahstreasures.com. It is for personal use only. No part of this pattern may be copied or distributed in any way. If you sell what you make from this pattern, please credit me as the designer. All rights reserved, 2015.
REMINDER: Side facing you as you crochet equals the WS of work. Crochet in continuous rnds.
Monkey Head Instructions:
You have 2 options for crocheting the head. You can either crochet the head normally and attach the ears, eyes and muzzle via sewing later, OR you can save time and incorporate them into the head as you crochet. Both start and end the same. Further instructions for each are included below...
OPTION 2: Attach pieces as you crochet: Always insert hook into head sts before inserting hook into the joining pieces.
You will start attaching the eye patches in rnd 8, the ears in rnd 9 and the muzzle in rnd 15. For each side of the eye patch, you’ll have 14 open sts for 28 sts around the whole set. Decide which side you want to be the top and bottom. On the top side, determine the top 2 center st for each side (they will be the ones closest to where the eye patches were joined tog). The 3 sts to either side of those sts are the very first sts you will be attaching to the head in rnd 8. When attaching the eye patches and the muzzle to the head, always insert the hook from the RS to WS of the patch/muzzle for the top half of the sts. Then, switch it to the WS to RS for the last half. Additionally, for the first rnd of attachment, you will want to hold the eye patch/muzzle piece upside down with the RS pressed against the RS of the head and the top sts of the eye patch/muzzle lined up with the head’s current rnd. Once the first rnd of attachment is complete, you’ll fold the piece down, so that the WS is pressed to the RS of the head. The flat side of the ears is what you will be attaching to the head. Each row you will attach one st of each ear to the head for a total of 6 rows (first and last sts of the last rnd of ears count as the first and last sts to be attached to the head). As you are attaching the ears, pull the tails of the ears into the head.
Stitch #16-#9 of muzzle are the first 8 sts to be attached to the head in rnd 15. Back to crocheting the head... rnd 8: sc 9 over first sts of head, sc 3 over next 3 sts of head tog with top 3 sts of left side of eye patch, sc 2 over next 2 sts of head only, sc 3 over next 3 sts of head tog with top 3 sts of right side of eye patch (you will sk the 2 most center sts of eye patch and attach them in rnd 10 later), sc 27 over rem sts of head only (44 sts).
rnd 10: sc 3 over first sts of head, *insert hook into same st sp as the last sc made and sc that st of head tog with next avail st of left ear so that you create an inc,* sc 2 in next st of head, sc 4 over next 4 sts of head, sc next st of head tog with first/closest avail st of eye patch, sc 4 over next 4 sts of head only, sc next st of head tog with the first unworked avail center-top st of eye patch, sc next st of head tog with the next unworked avail center-top avail st of eye patch, sc 4 over next 4 sts of head only, sc next st of head with last/closest avail st of eye patch, sc 5 over next 5 sts of head only, rep from * to * but for right ear this time, sc 2 in next st of head, sc 18 over rem sts of head only (48 sts).
rnd 13: sc 3 over first sts of head, sc next st of head tog with next avail st of left ear, sc 6 over next 6 sts of head only, sc next st of head tog with first/closest avail st of eye patch, sc 4 over next 4 sts of head only, sc next st of head tog with the 5th avail st of eye patch (you will sk 4 sts of the eye patch and work into the first bottom center st of eye patch here), sc next st of head tog with the next st of eye patch, sc 4 over next 4 sts of head only, sc next st of head with last/closest avail st of eye patch, sc 5 over next 5 sts of head only, sc next st of head tog with next st of right ear, sc 20 over rem sts of head only (48 sts).
rnd 14: sc 3 over first sts of head, sc next st of head tog with first st of left ear’s last rnd (hereby securing last st of this ear onto head), sc 6 over next 6 sts of head only, sc next st of head tog with first/closest avail st of eye patch, sc 10 over next 10 sts of head only, sc next st of head with last st of eye patch, sc 5 over next 5 sts of head only, sc next st of head tog with last st of right ear’s last rnd (hereby securing last st of this ear onto head), sc 20 over rem sts of head only (48 sts).
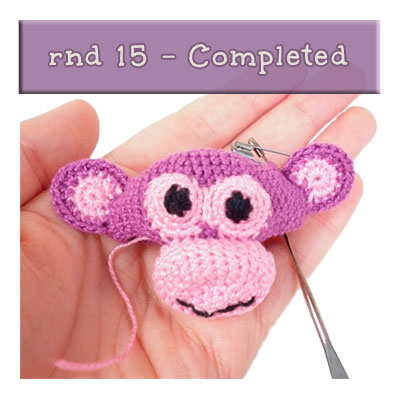
rnd 15: sc 12 over first sts of head, sc next st of head tog with first/closest avail st of eye patch AND tog with st #16 of muzzle, sc next st of head tog with next avail st of eye patch AND tog with st #15 of muzzle, sc next st of head tog with next avail st of eye patch AND tog with st #14 of muzzle, sc next st of head tog with st #13 of muzzle, sc next st of head tog with st #12 of muzzle, sc next st of head tog with next avail st of eye patch AND tog with st #11 of muzzle, sc next st of head tog with next avail st of eye patch AND tog with st #10 of muzzle, sc next st of head tog with last avail st of eye patch AND tog with st #9 of muzzle, sc 28 over rem sts of head only (48 sts).
rnd 16: sc 11 over first sts of head, sc next st of head tog with first/closest avail st of muzzle, sc 8 over next 8 sts of head only, sc next st of head with last/closest avail st of muzzle, sc 27 over rem sts of head only (48 sts).
rnd 17-18: sc 10 over first sts of head, sc next st of head tog with first/closest avail st of muzzle, sc 10 over next 10sts of head only, sc next st of head with last/closest avail st of muzzle, sc 26 over rem sts of head only (48 sts).
TIP for rnds 19-21 of Head:Remember to insert your hook into both back lps of the sts for the sc2tog before inserting hook into the muzzle sts. Then, work st normally.
rnd 19: (sc 6, sc2tog, sc 3) over first sts of head, sc next st of head tog with first/closest avail st of muzzle, (sc 2, sc2tog, sc 5) over head sts only, sc next st of head tog with last/closest avail st of muzzle, (sc2tog, [sc 6, sc2tog] x 3) over rem sts of head only. (42 sts)
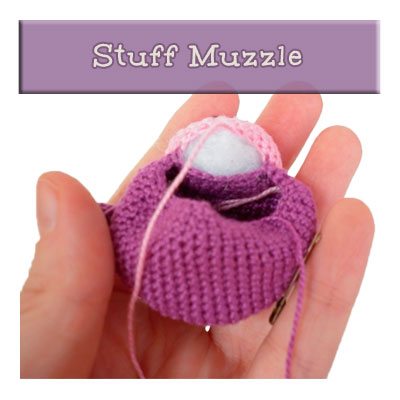
rnd 20: (sc 5, sc2tog, sc 3) over first sts of head, sc next st of head tog with first/closest avail st of muzzle, (sc, sc2tog, sc 5) over head sts only, sc2tog next 2 sts of head tog with last/closest avail st of muzzle, [sc 5, sc2tog] x 3 over rem sts of head only. (36 sts) Stuff Muzzle...
rnd 21: (sc 4, sc2tog, sc 3) over first sts of head, sc next st of head tog with first/closest avail st of muzzle, sc2tog next 2 sts of head tog with next avail st of muzzle, sc next 4 sts of head tog with next/last 4 sts of muzzle, (sc2tog, [sc 4, sc2tog] x 3) over rem sts of head only. (30 sts)
rnd 22: [sc 3, sc2tog] x 6 (24 sts)
rnd 23: [sc 2, sc2tog] x 6 (18 sts) Stuff head... rnd 24: [sc, sc2tog] x 6 (12 sts), sl st join to first st of rnd, f/o.
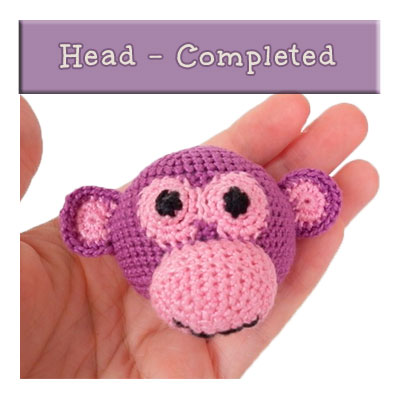
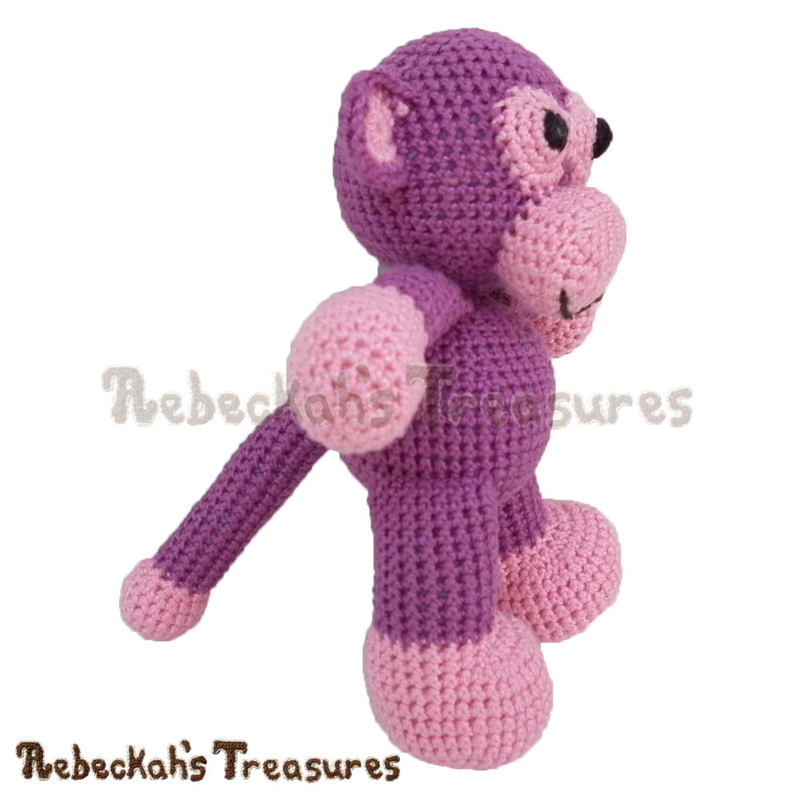
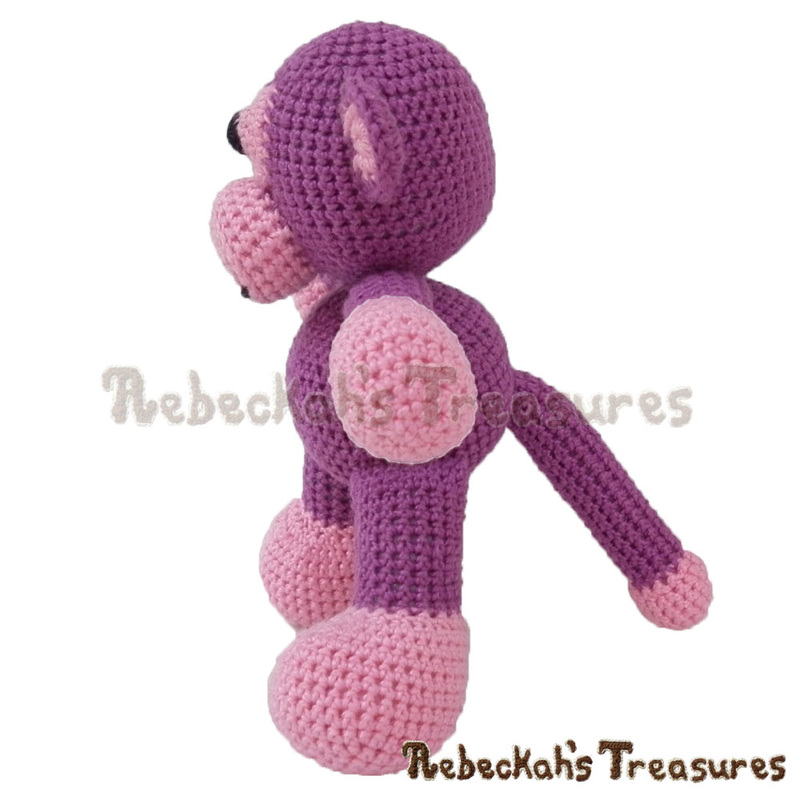
Sew head to body with the body’s tail using 2 whip stitches per st, pulling tight every few sts. First and last sts of body should line up with the last and first sts of head, respectively. Weave in all ends.
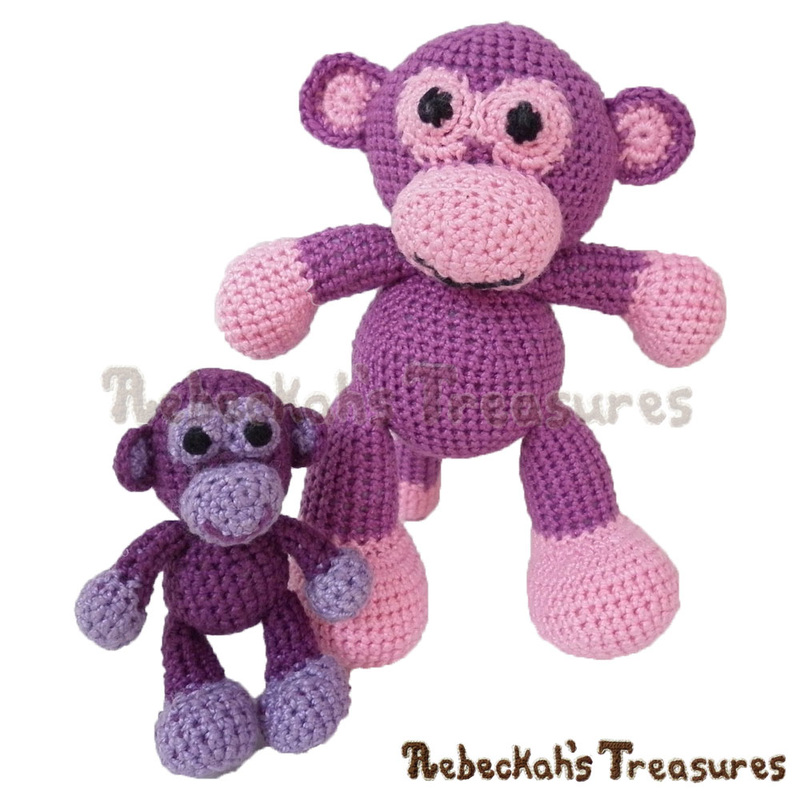
Enjoy your new amigurumi Grape Ape Monkey!
Did you enjoy this CAL? Tell me what you think below, on Ravelry, or give this pattern a rating!
Amigurumi Grape Ape Monkey CAL Schedule & Links to Each Part:
See you soon for the Share Your Amigurumi Grape Ape Monkey CAL Giveaway (link activates Sunday, August 9th, 2015 and you'll have until Sunday, August 23rd, 2015 to share for a chance to win).
If you enjoyed this CAL, then you'll love Sharon's monkey pattern too!
Make a baby monkey with Sharon Ojala's
|


|
|


Hello Visitor and Welcome to Rebeckah's Treasures...
I am a Norwegian/Canadian currently studying Midwifery in the UK. I love to crochet!
At Rebeckah's Treasures, I share my crochet patterns and treasures. I hope they inspire you to crochet your own little treasures too...

Comments


Hello, my name is Rebeckah.
I hope my crochet inspires you to create your very own treasures!
Learn more about me...
I hope my crochet inspires you to create your very own treasures!
Learn more about me...


Categories
All
Accessory
Afghan Squares
Amigurumi
Apparel
Applique
Articles & Resources
Baby Apparel
Bags & Wallets
Barbie
Barbie Furniture
Barbie's Friends
Bookbinding
Cakes & Baked Goods
CAL Crochet A Longs
Chess
Christmas
Contest
Craft
Crochet
Crochet Stitches
Crochet With Beads
Crochet With Wire
Disney Inspired
Doll
Easter
Flower
Free Pattern
Friday Features
Get Stuffed Magazine
Giveaways & Special Offers
Greybriar's Travels Magazine
Guest Post
Halloween
Holiday
Home
How To Tutorials
Interviews
Midwifery
Pay Patterns
Photo Tips
Recipes
Reviews
Round Ups
Saturday Link Party
Sewing
Shop Updates
Social
Survey
Tapestry Crochet
Toys
Tuesday Treasures
Tutorial Video
Tyc-magazine
Under The Sea
Updates
Valentines
Website Shop 101
Wedding
Wip
Archives
October 2021
August 2021
August 2017
June 2017
May 2017
April 2017
March 2017
February 2017
January 2017
December 2016
November 2016
October 2016
September 2016
August 2016
July 2016
June 2016
May 2016
April 2016
March 2016
February 2016
January 2016
December 2015
November 2015
October 2015
September 2015
August 2015
July 2015
June 2015
May 2015
April 2015
March 2015
February 2015
December 2014
November 2014
October 2014
September 2014
August 2014
July 2014
June 2014
May 2014
April 2014
March 2014
February 2014
January 2014
December 2013
November 2013
October 2013
September 2013
August 2013
July 2013
June 2013
May 2013
April 2013
March 2013
December 2012
 RSS Feed
© 2012-2021 Rebeckah Ferger
All rights reserved.
All rights reserved.
Disclaimer: This website makes use of sponsored and/or affiliate links. Please see this page for more information.
